This past week we decided to celebrate eggs. Why you may ask? Well eggs are pretty cool. Let us show you how cool eggs really are and what you can do with them.
How an egg is formed:
I was shocked that I never knew how an egg was formed. We all thought the egg always had its shell but this is not the case at all.
The chicken only has one functioning oviduct and it is the left oviduct.
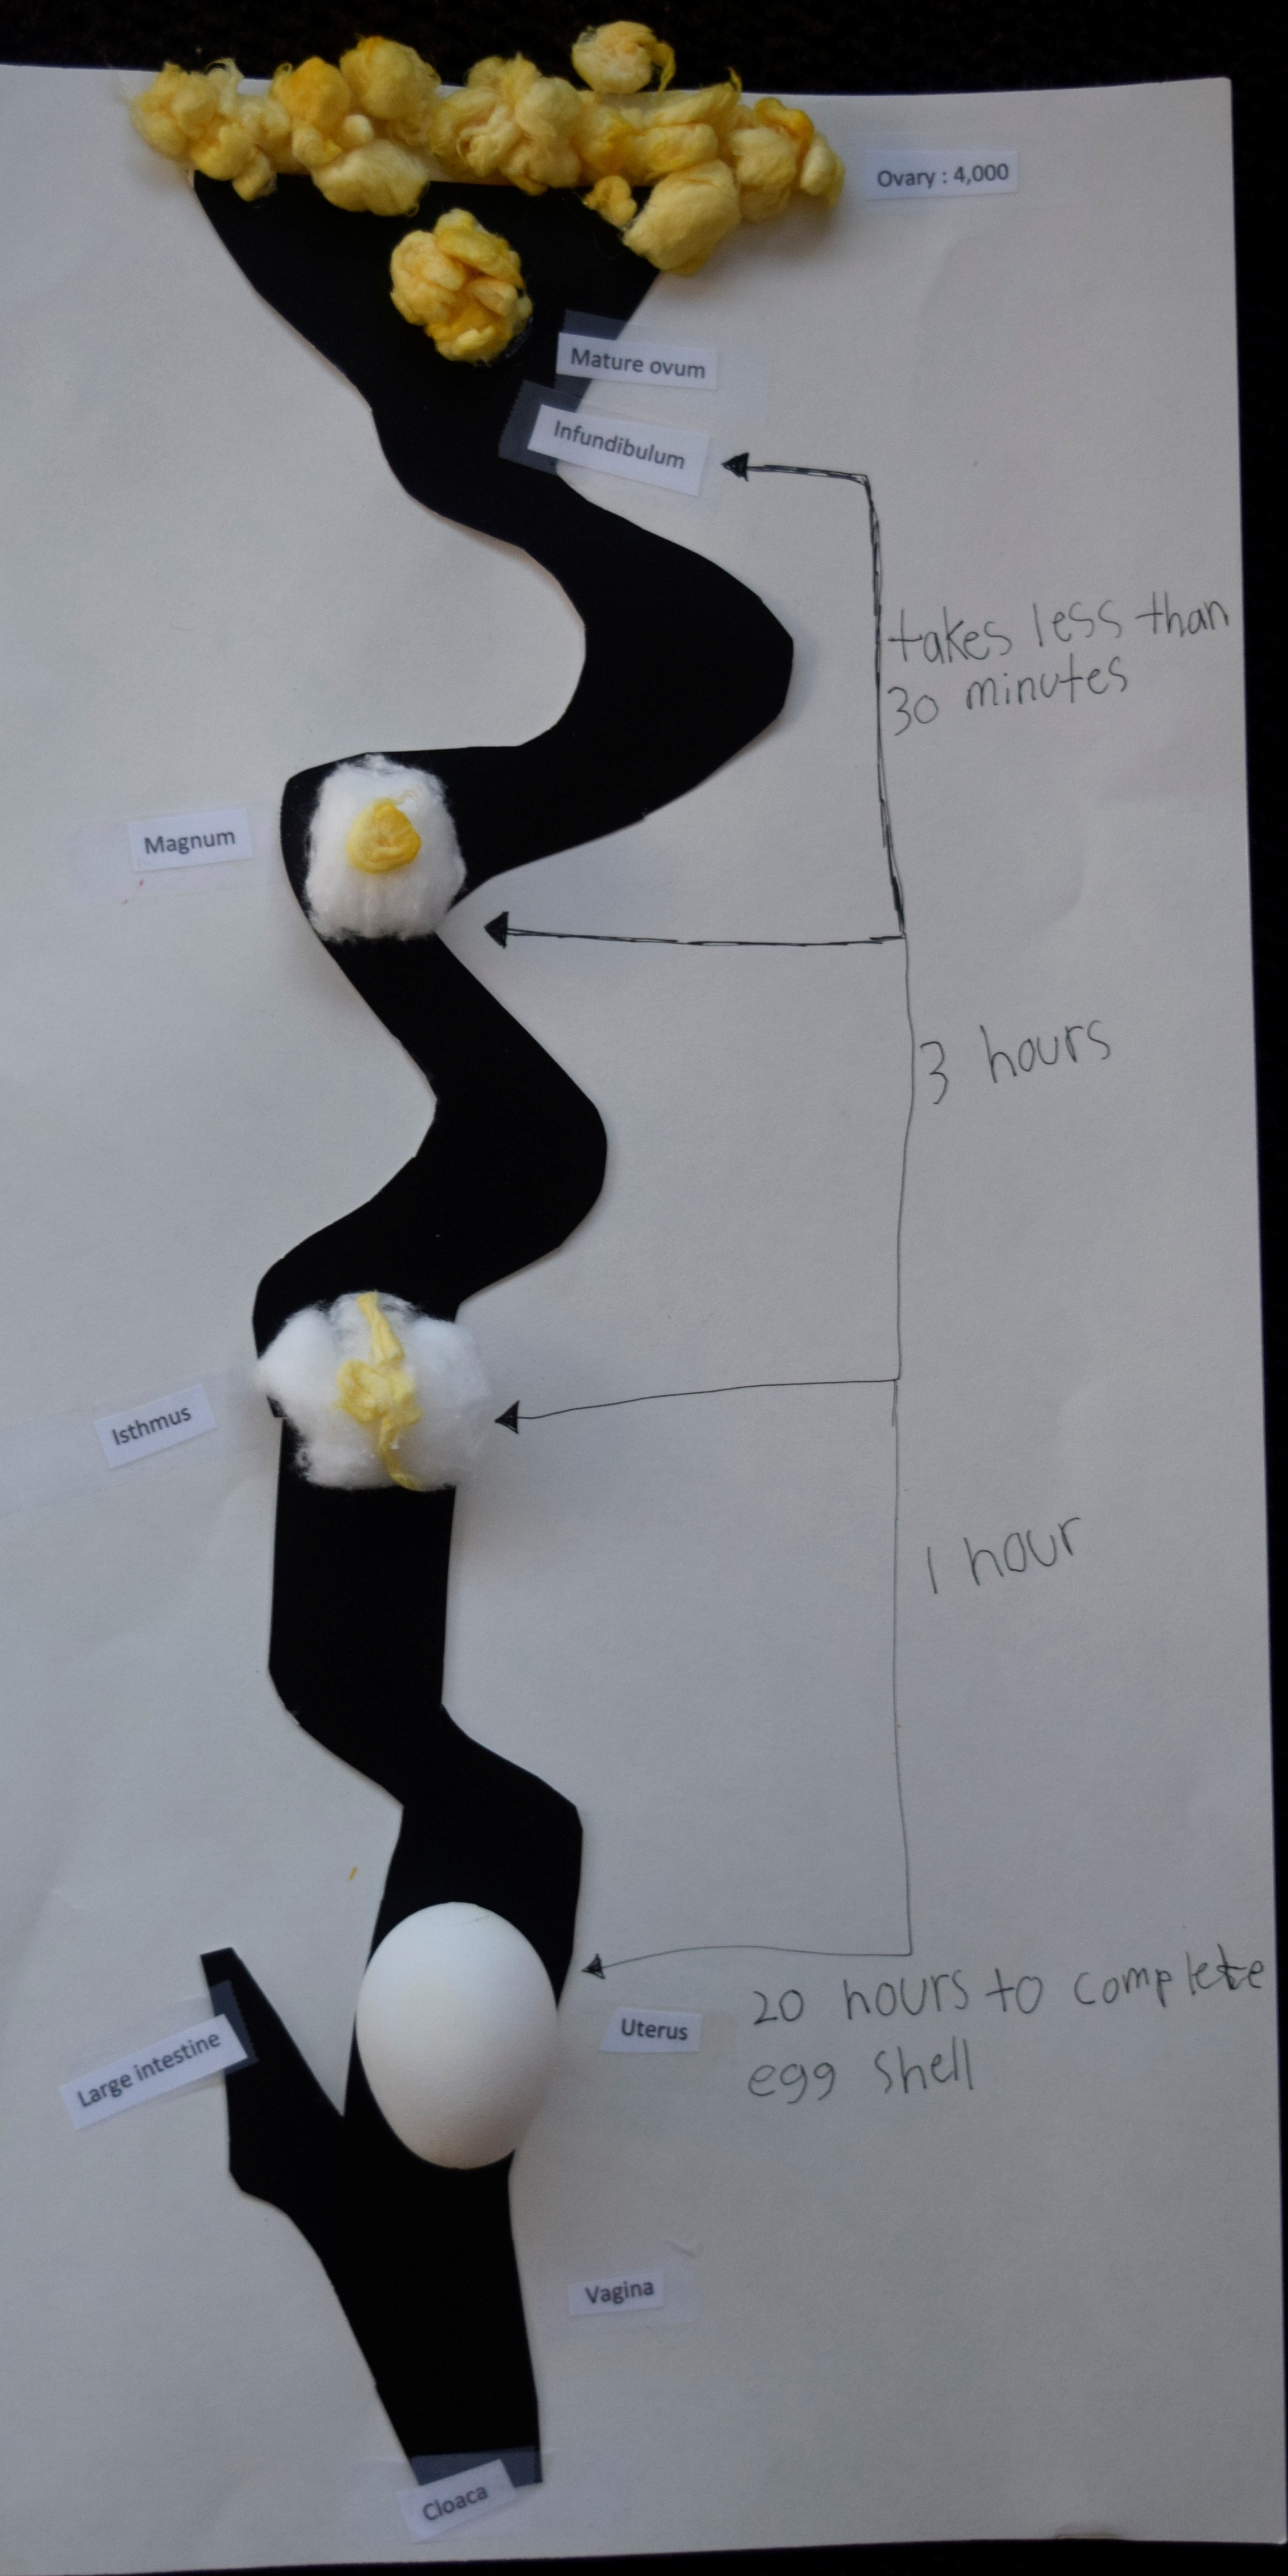
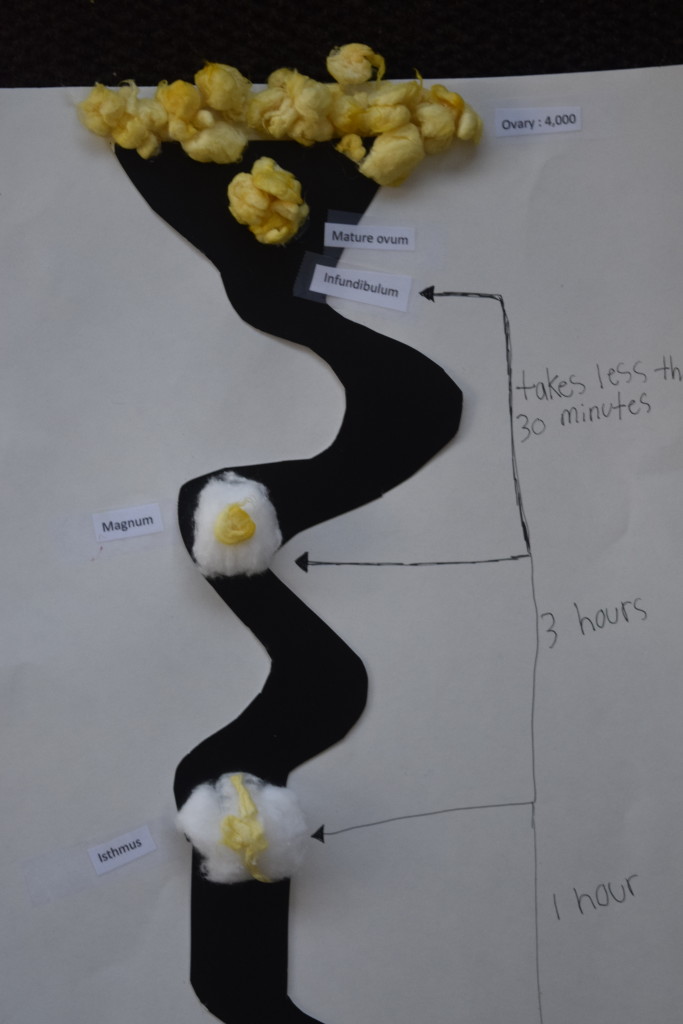
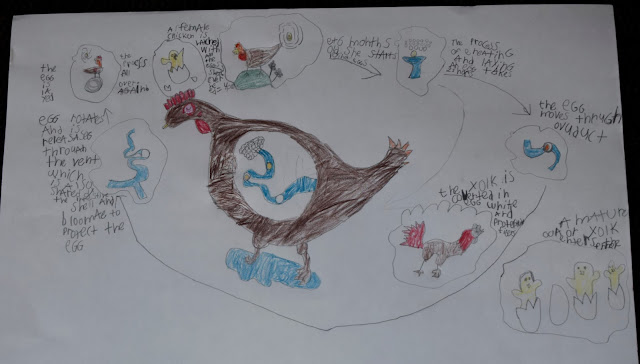
1. Ovary: At birth a female chicken hatches with all the eggs she will ever need. Usually around 4,000. The ovary has developing follicles which look like different size grapes. The younger the hen the more eggs she will hatch. Usually she will lay an egg every 1- 3 days.
2. Infundibulum: A large follicle is the egg yolk. This large egg yolk is released into the oviduct . It first passes an organ called the Infundibulum. Here the a sticky membrane will surround the yolk sac (known as the chalazae) is deposited. This takes less than 30 minutes.
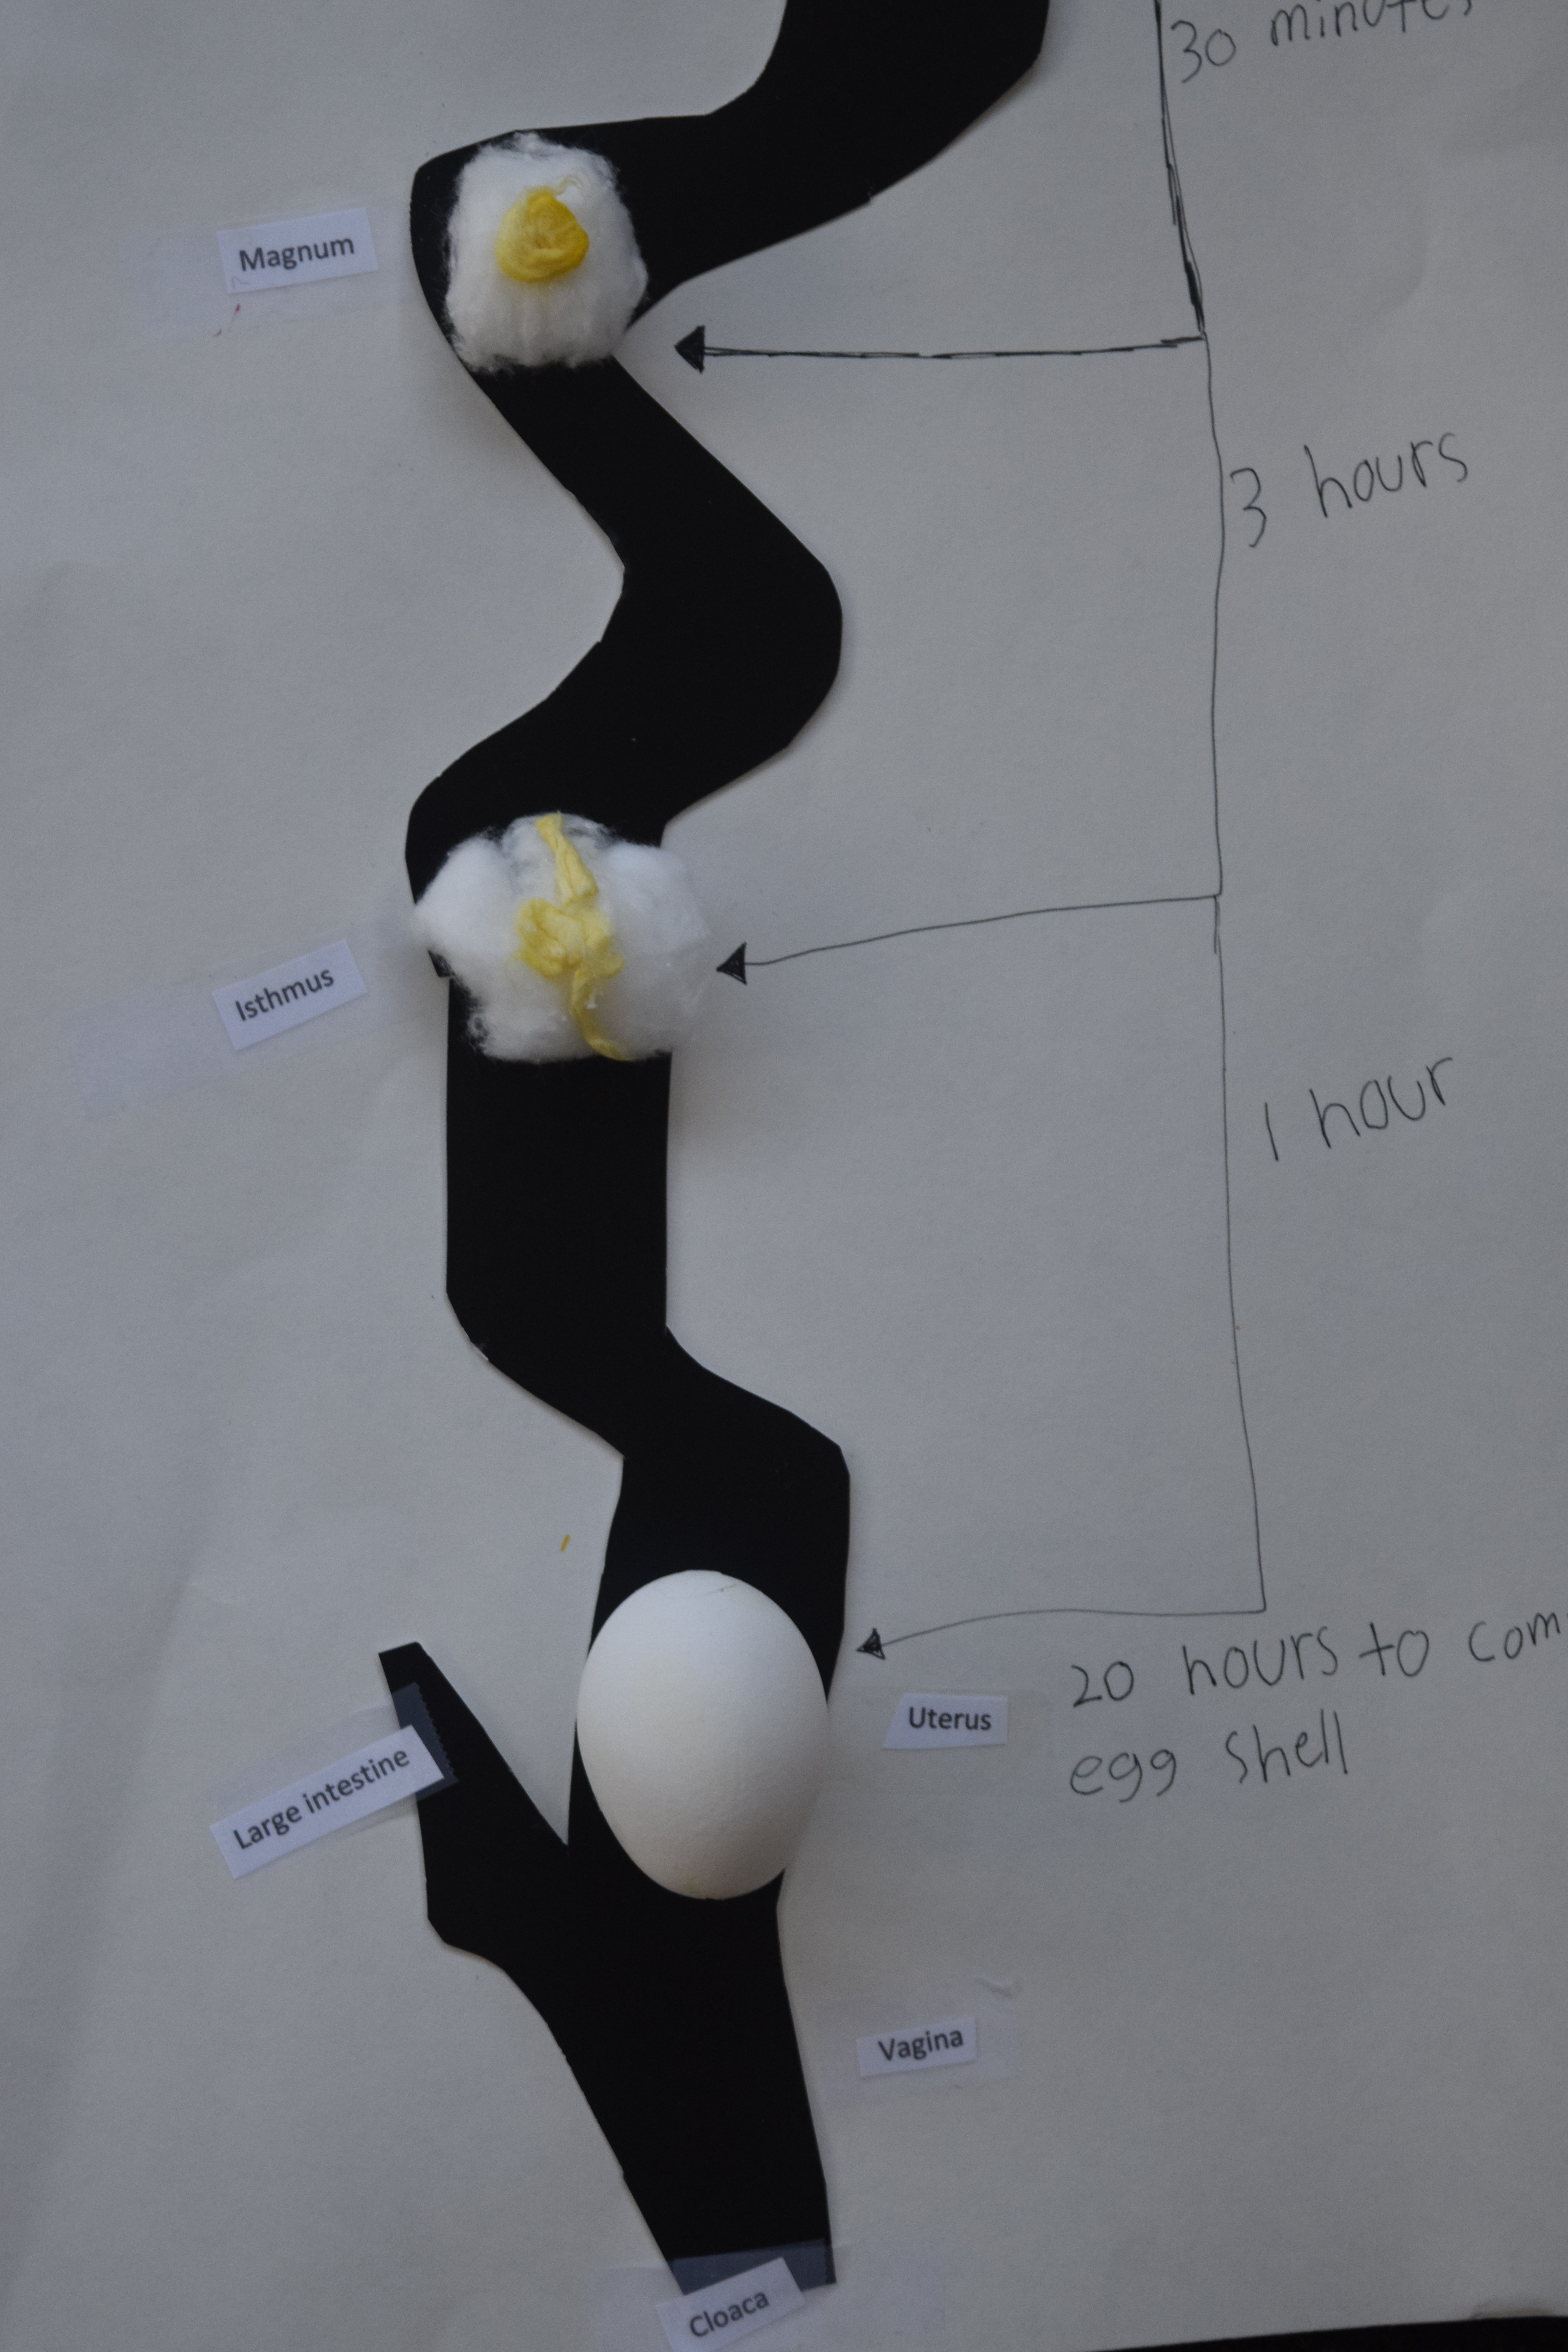
3. The next stop is the magnum. Here the albumin or egg white is formed. It takes about 3 hours.
4. It then moves down to the isthmus, where the shell membrane is made. This takes about 1 hour.
5. The last stop is the uterus. This is where the shell is deposited and becomes mineralized. It takes about 20 hours for this step to complete.
And a hen is now able to lay her egg.
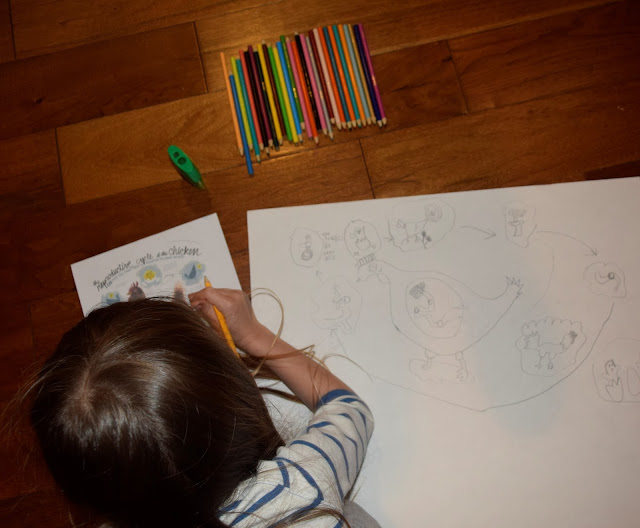
The productive cycle of the chicken:
No a hen does not need a rooster to be able to lay an egg. Remember we said that a female chicken is born with all the eggs she will ever need, somewhere around 4,000. At six months she can start laying her first egg. It takes about 25 hours for a chicken to make an egg. When a yolk is mature it will enter the funnel. The egg moves through the oviduct. If the rooster falls in love with the hen then they will hug and the egg gets fertilized in the oviduct and 21 days later a chick hatches. And the process starts all over again.
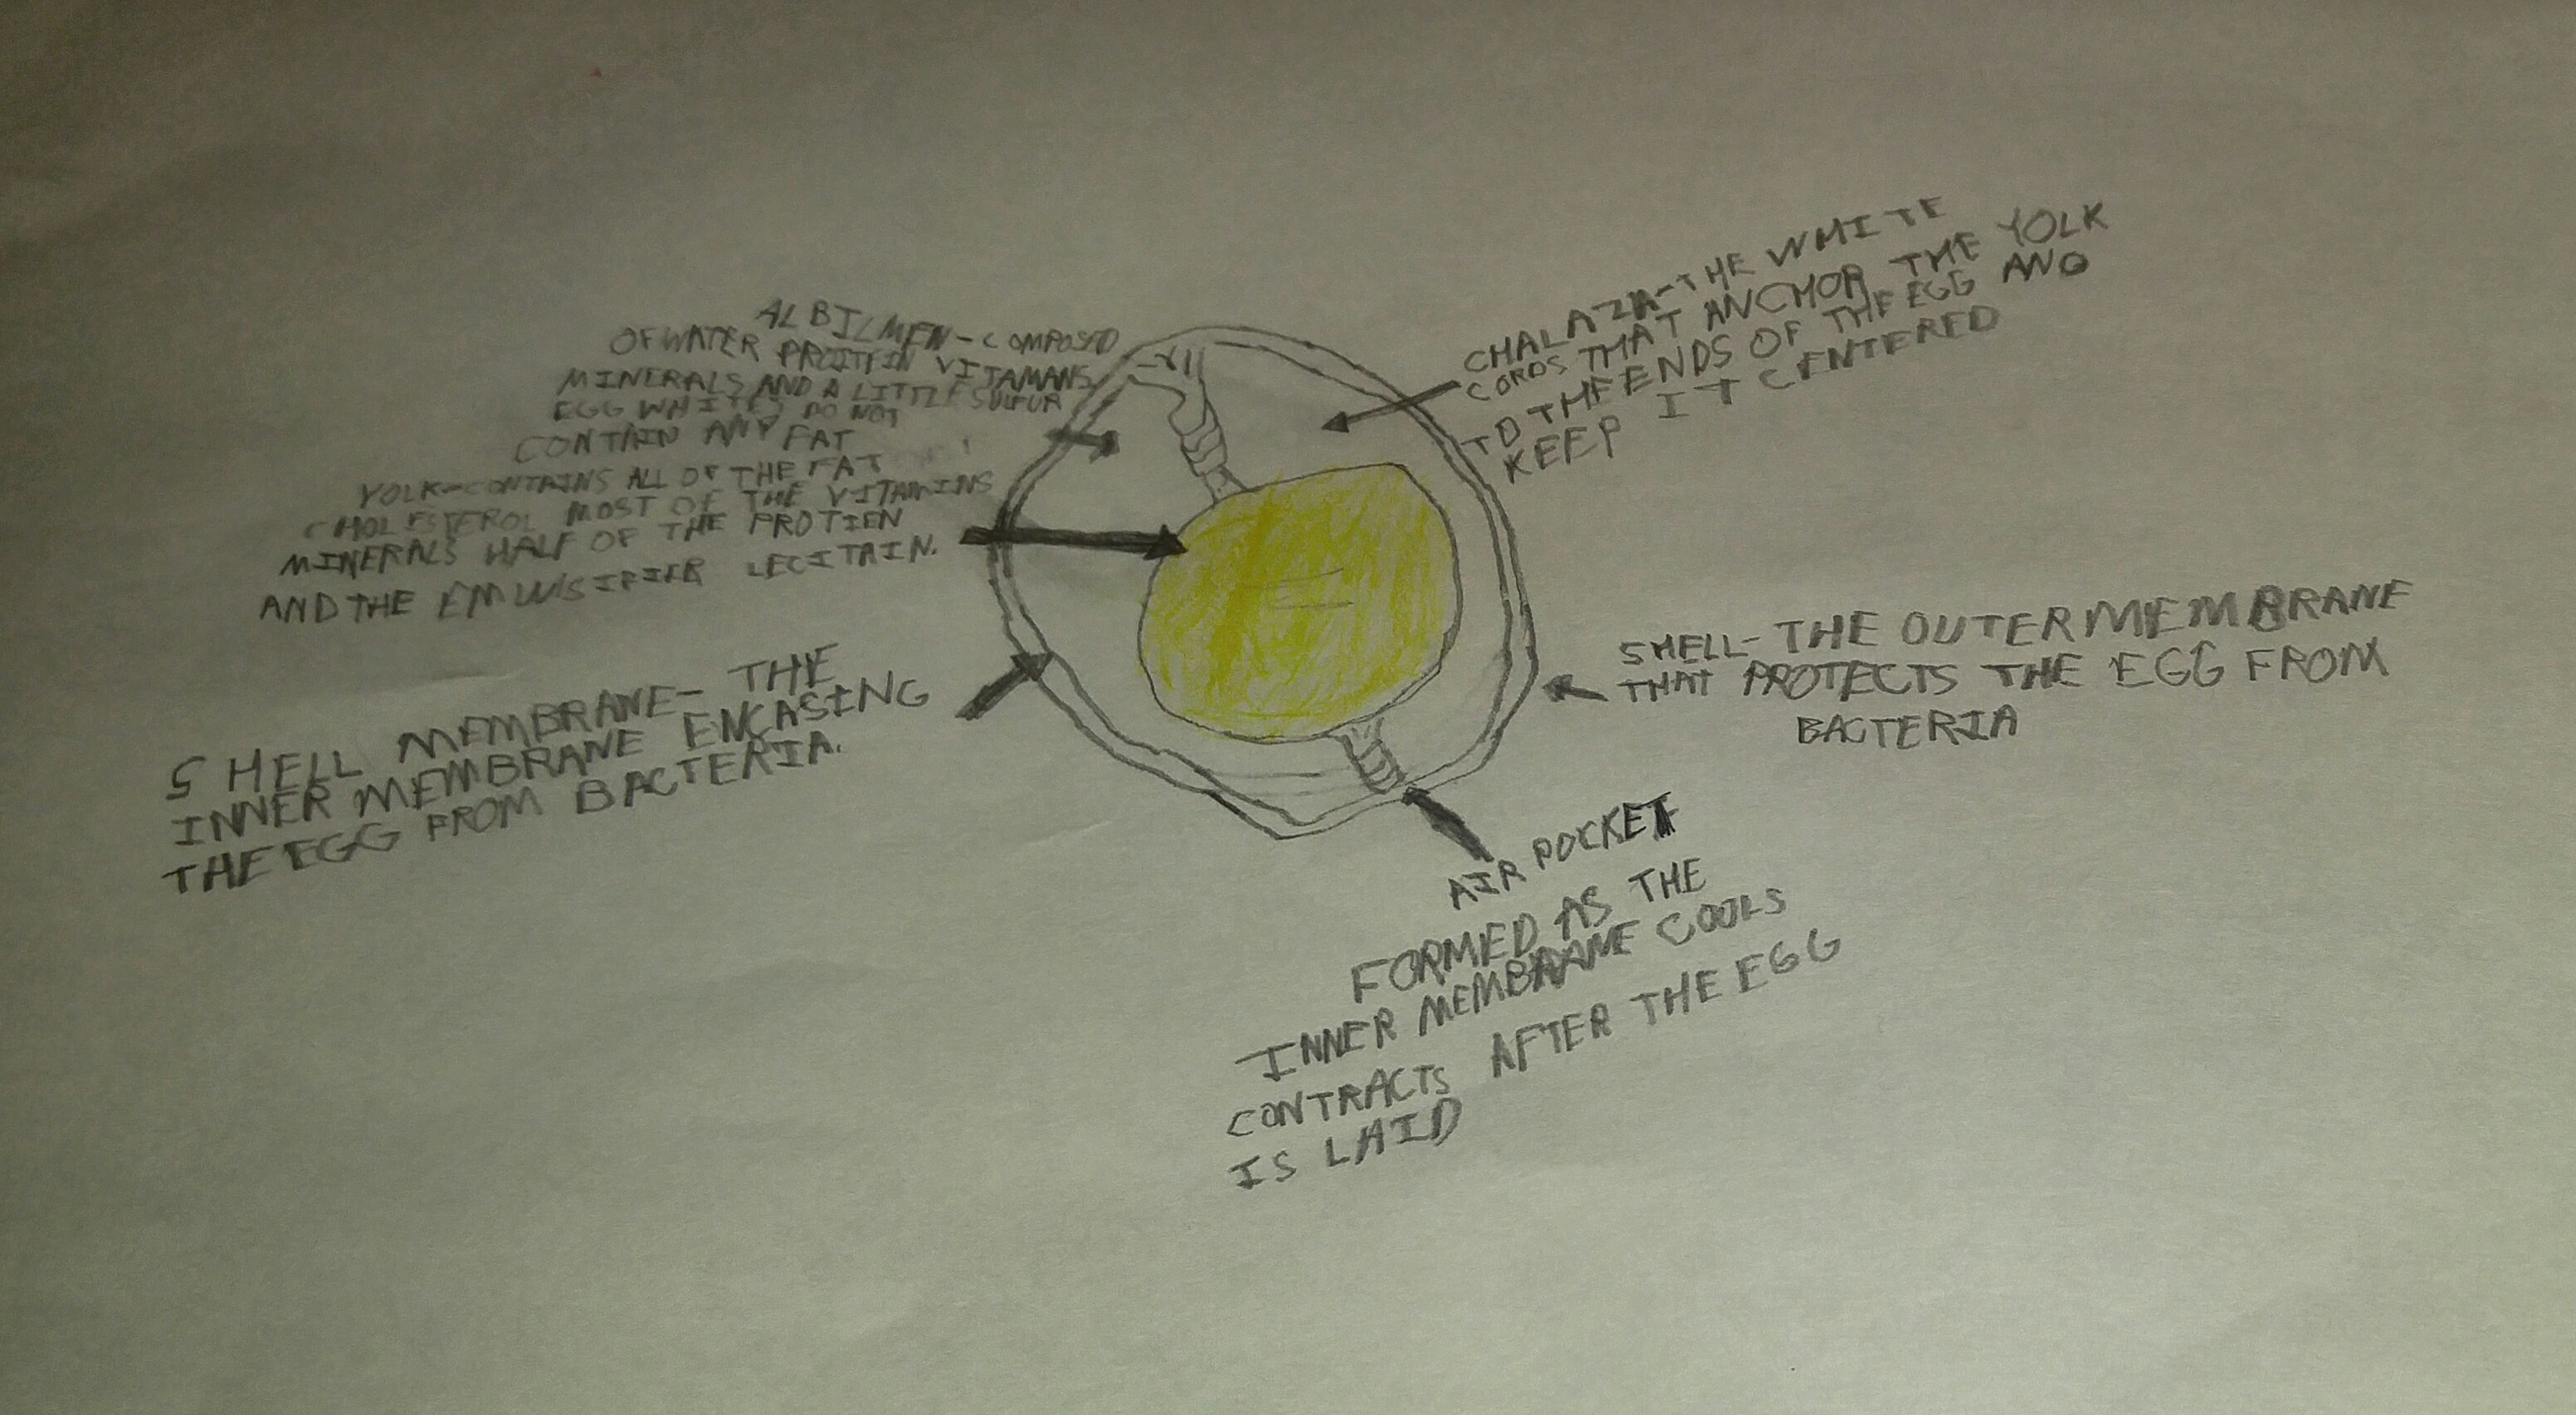
Anatomy of an egg:
Thick albumin (egg white): Excellent source of ribiboflavin and protein.
Shell: made of calcium carbonate.
Chalazae: twisted cord-like stands of egg white which keeps yolk in center of the egg.
Shell membrane: there are two membranes, inner and outer that surround the albumin.
Thin albumen: closest to the shell
Yolk: yellow, major source of vitamins, minerals, and fat.
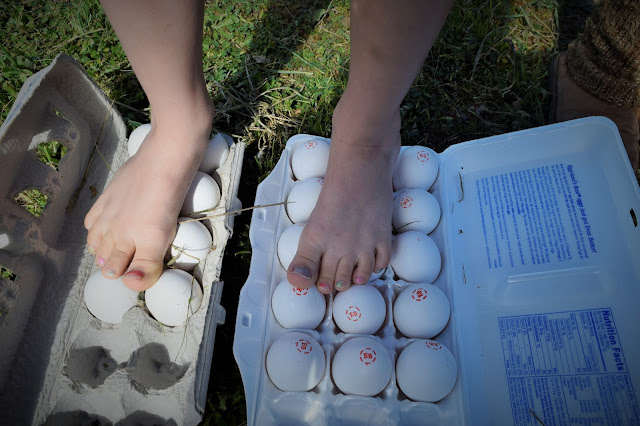
Standing on eggs:
You can actually stand or walk on eggs without them ever cracking. God designed the egg very sturdy and oval shaped because he knew that hens needed to sit on their eggs. I love that the egg is sturdy enough to not break the shell if you stand on them by balancing your weight but at the same time a chick is able to break the shell with its beak.

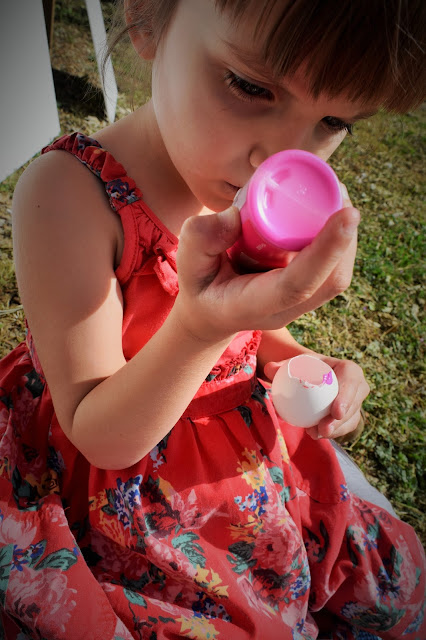
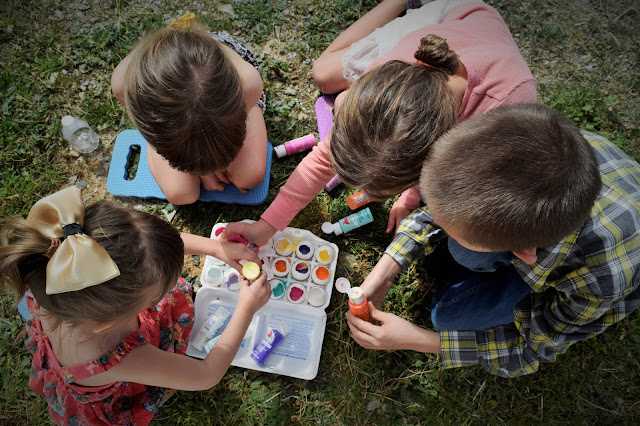
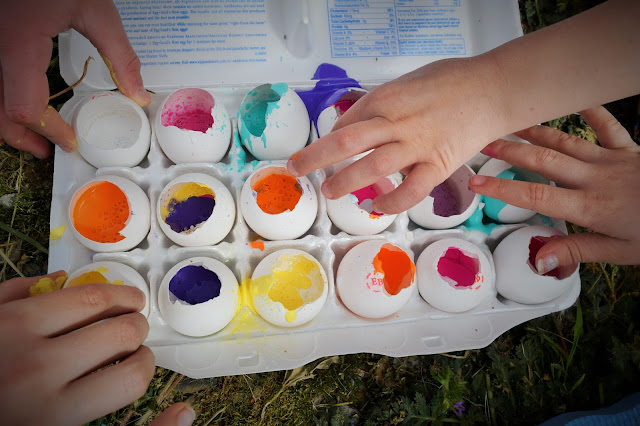
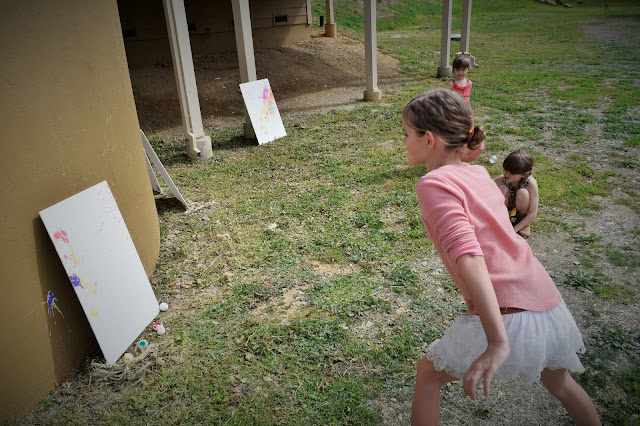
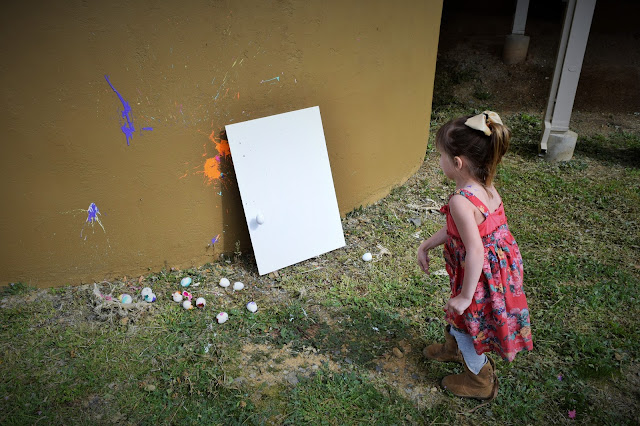
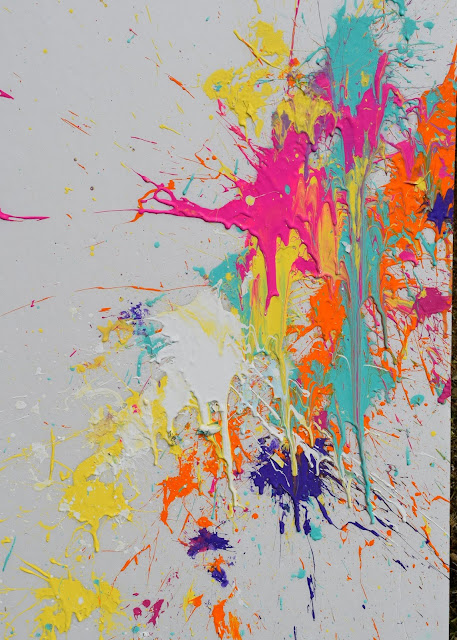
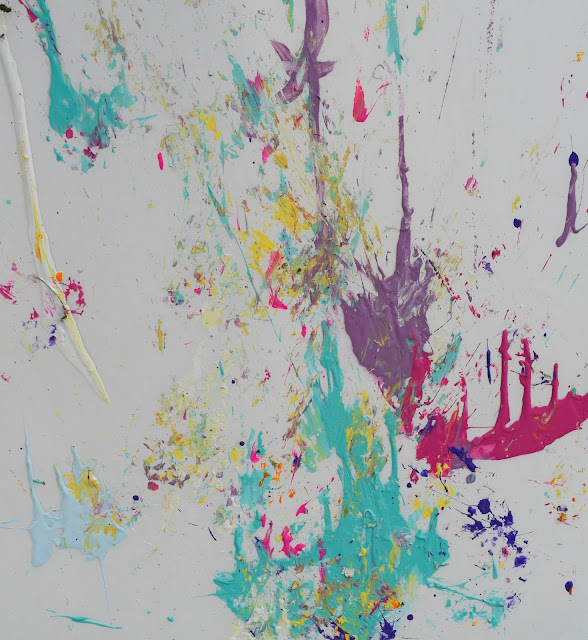
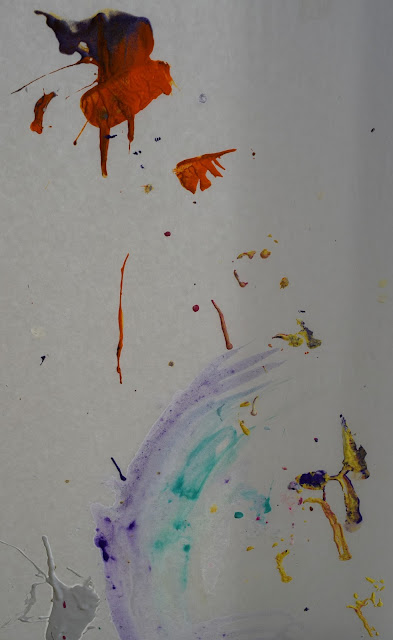
Painting with eggs:
This is so much fun to do. Next time you make some scrambled eggs just take the top off the egg shells and wash them well with water and place back in the egg carton. Fill the egg shells with paint. Get large poster boards. Find a wall and start throwing eggs at the paper.


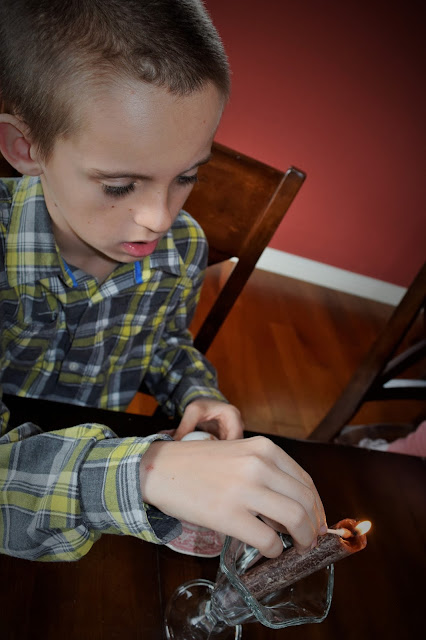
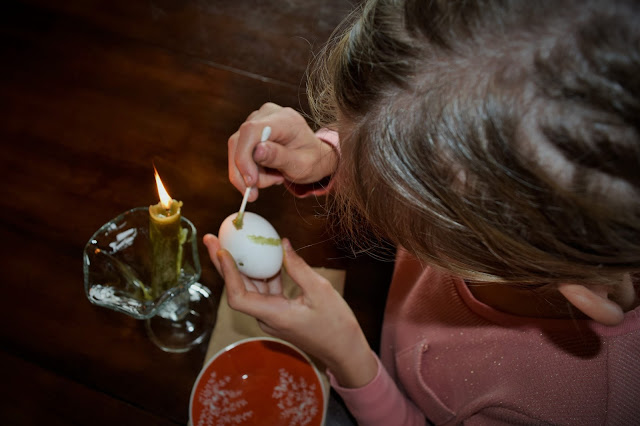
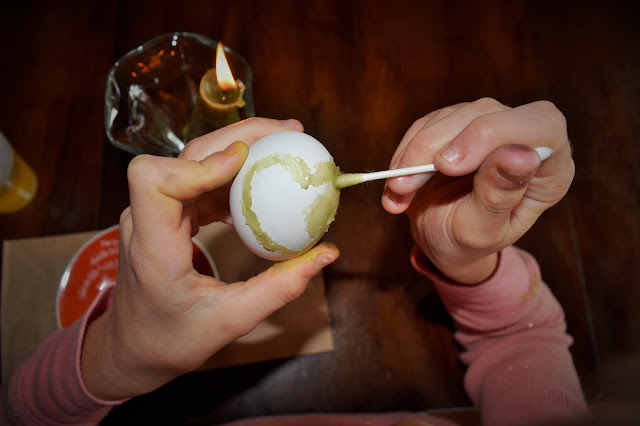
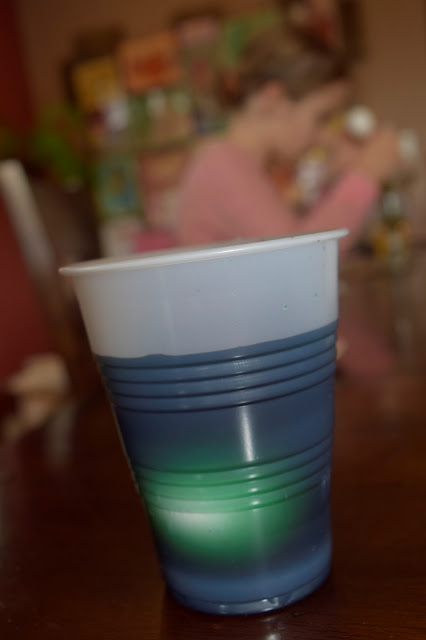
Making Pysanky eggs:
Now Pysanky (pen-SAN-keh) were originally made in Ukraine (Where my husband and I were born :)) They were traditionally made during Easter.
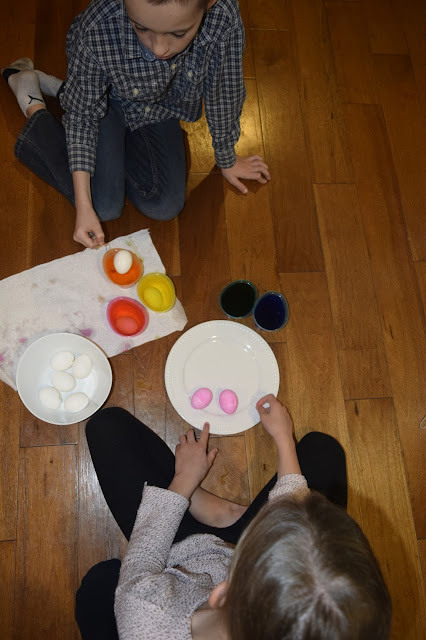
What you need: eggs, candles, cotton swabs, and powdered egg dyes (we used food coloring and it worked too).
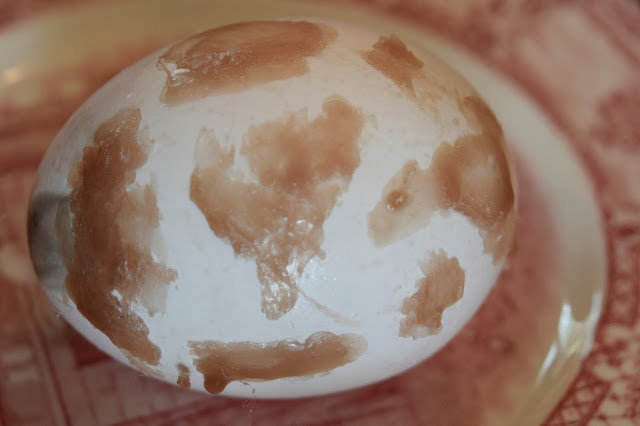
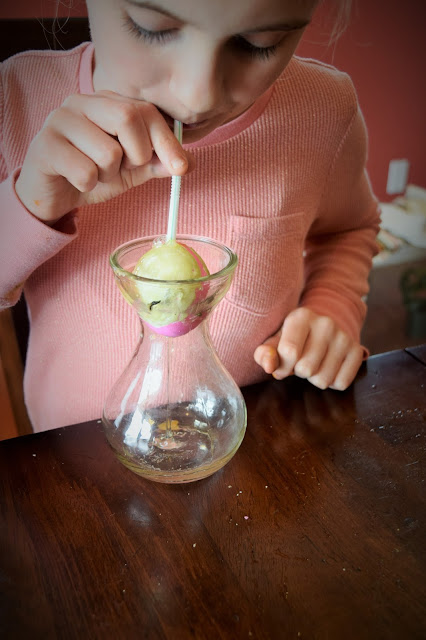
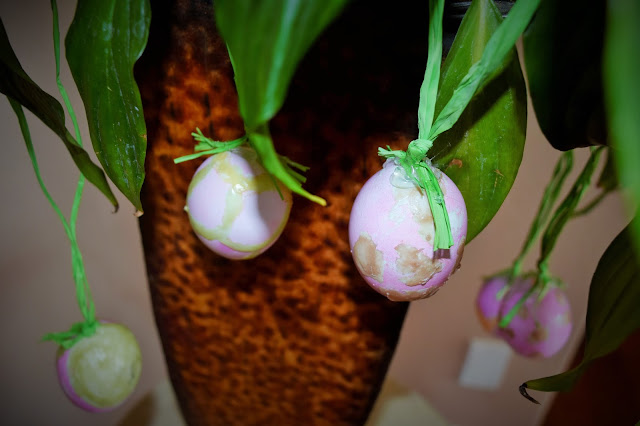
Make sure you do not boil your eggs. Light a candle. Remember to keep hair up and sleeves rolled up and this is best for older children. Dip the cotton swabs into the melted wax. Draw whatever you would like. You have to work quickly so the wax will not dry. When done, place the egg in food coloring. Then remove the egg and place over a towel and let dry. Place egg in a vase or cup. Make two small holes on top and bottom of the egg. In one of the holes stick a straw through it and blow. Blow until the inside is out. Wash with water. We hanged these in or dining room. We simply glued a string onto the egg.
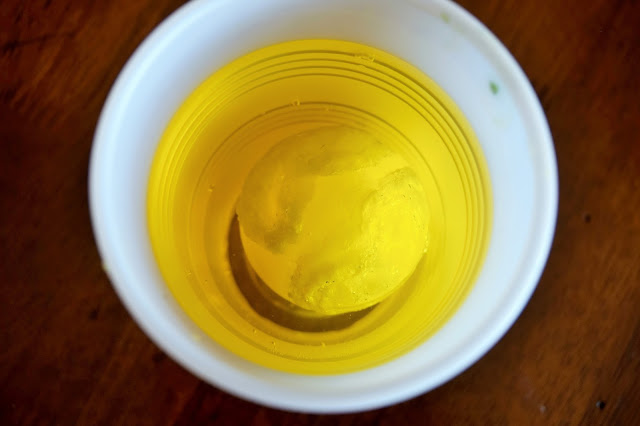

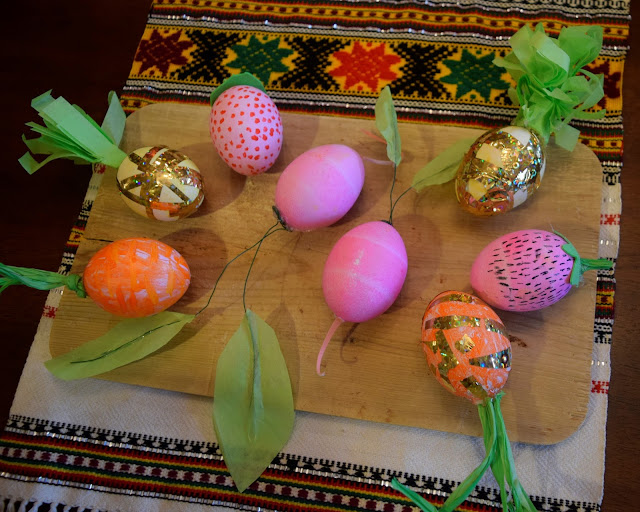
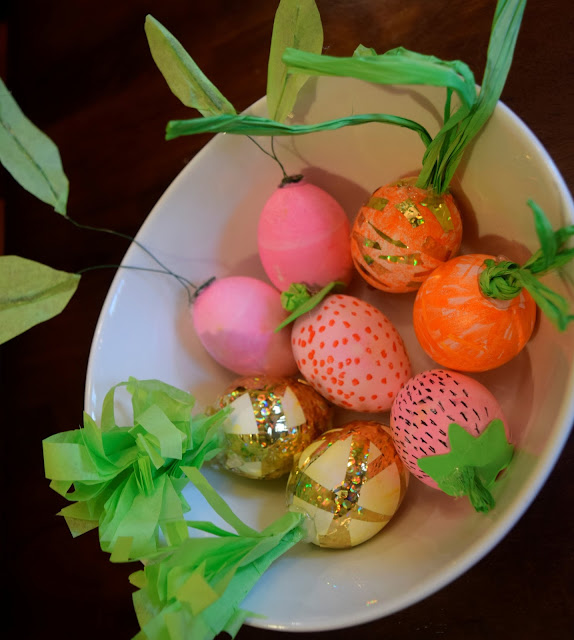
Fruit and veggie eggs:
We love our fruit and veggies. We made pineapples, strawberries, carrots, and radishes. They turned out so pretty.
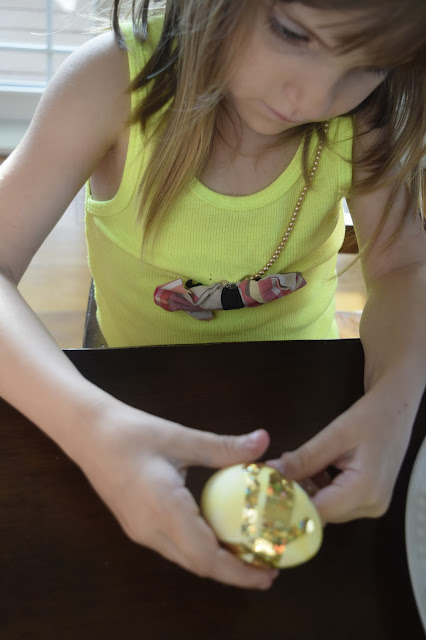
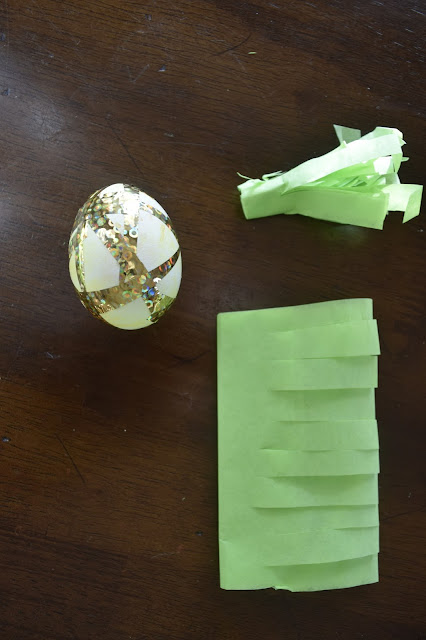
To make the pineapple you need glitter tape and green tissue paper. Make sure you boil your eggs before you start making these. Your egg needs to be yellow. With glitter tape, make x shapes throughout the egg.

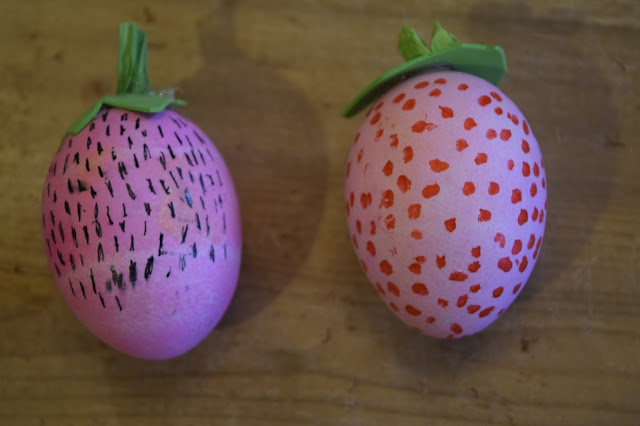
Strawberries: what you need: green felt paper, green string, and black permanent marker.
Carrots: what you need: green string and copper paint pen ( we used the golden tape instead).

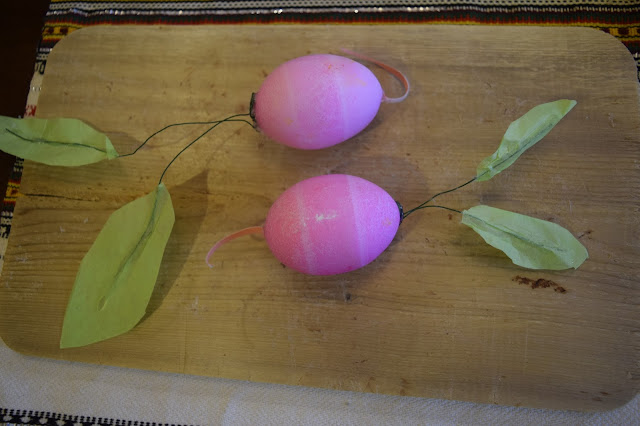
Radishes: What you need: floral wire, green tissue paper, and white string or pinkish cloth.
Laura
Thank you for sharing these fantastic ideas! Your unit study on eggs is fascinating and informative. Looking forward to trying some of these activities with my kids!
Krystyna Bowman
What a great unit! Thank you for all the craft suggestions as well – it’s so great to add sensory components to help the kiddos explore around the topic they are learning. I will have to save this for future reference. We will be doing “Eggs and Chicks” later this year 🙂
204 Park
This was such an interesting post! It kind of blows my mind that you can stand on them without them breaking! I eat eggs every day and barely knew anything about them haha
Amanda - Raising da Vinci
I love how creative you are! The egg painting must have been so fun!
Faith Outspoken Ministry
This is so cool! I never knew just how eggs were formed inside the hen! How wonderful is God’s creation! I love the hands-on activities, and the different ways the egg was used. I am so thankful for the flexibility and opportunities homeschooling gives us! These are the kinds of things our children won’t forget. Wonderful ideas. Thank you so much for sharing! God bless you.
Lisa Nelson
This is FANTASTIC!!!!!!! I’m pinning onto my unit study board. Thanks so much for sharing!