Pressure canning scared me. I never thought that I would be canning. I was so afraid it would explode on me. Now that I have made canning a weekly adventure that fear is gone. The pressure canners they make these days are so great that the chance of an All-American canner exploding is very unlikely.
Because meat is a low-acid food you have to use a pressure canner.
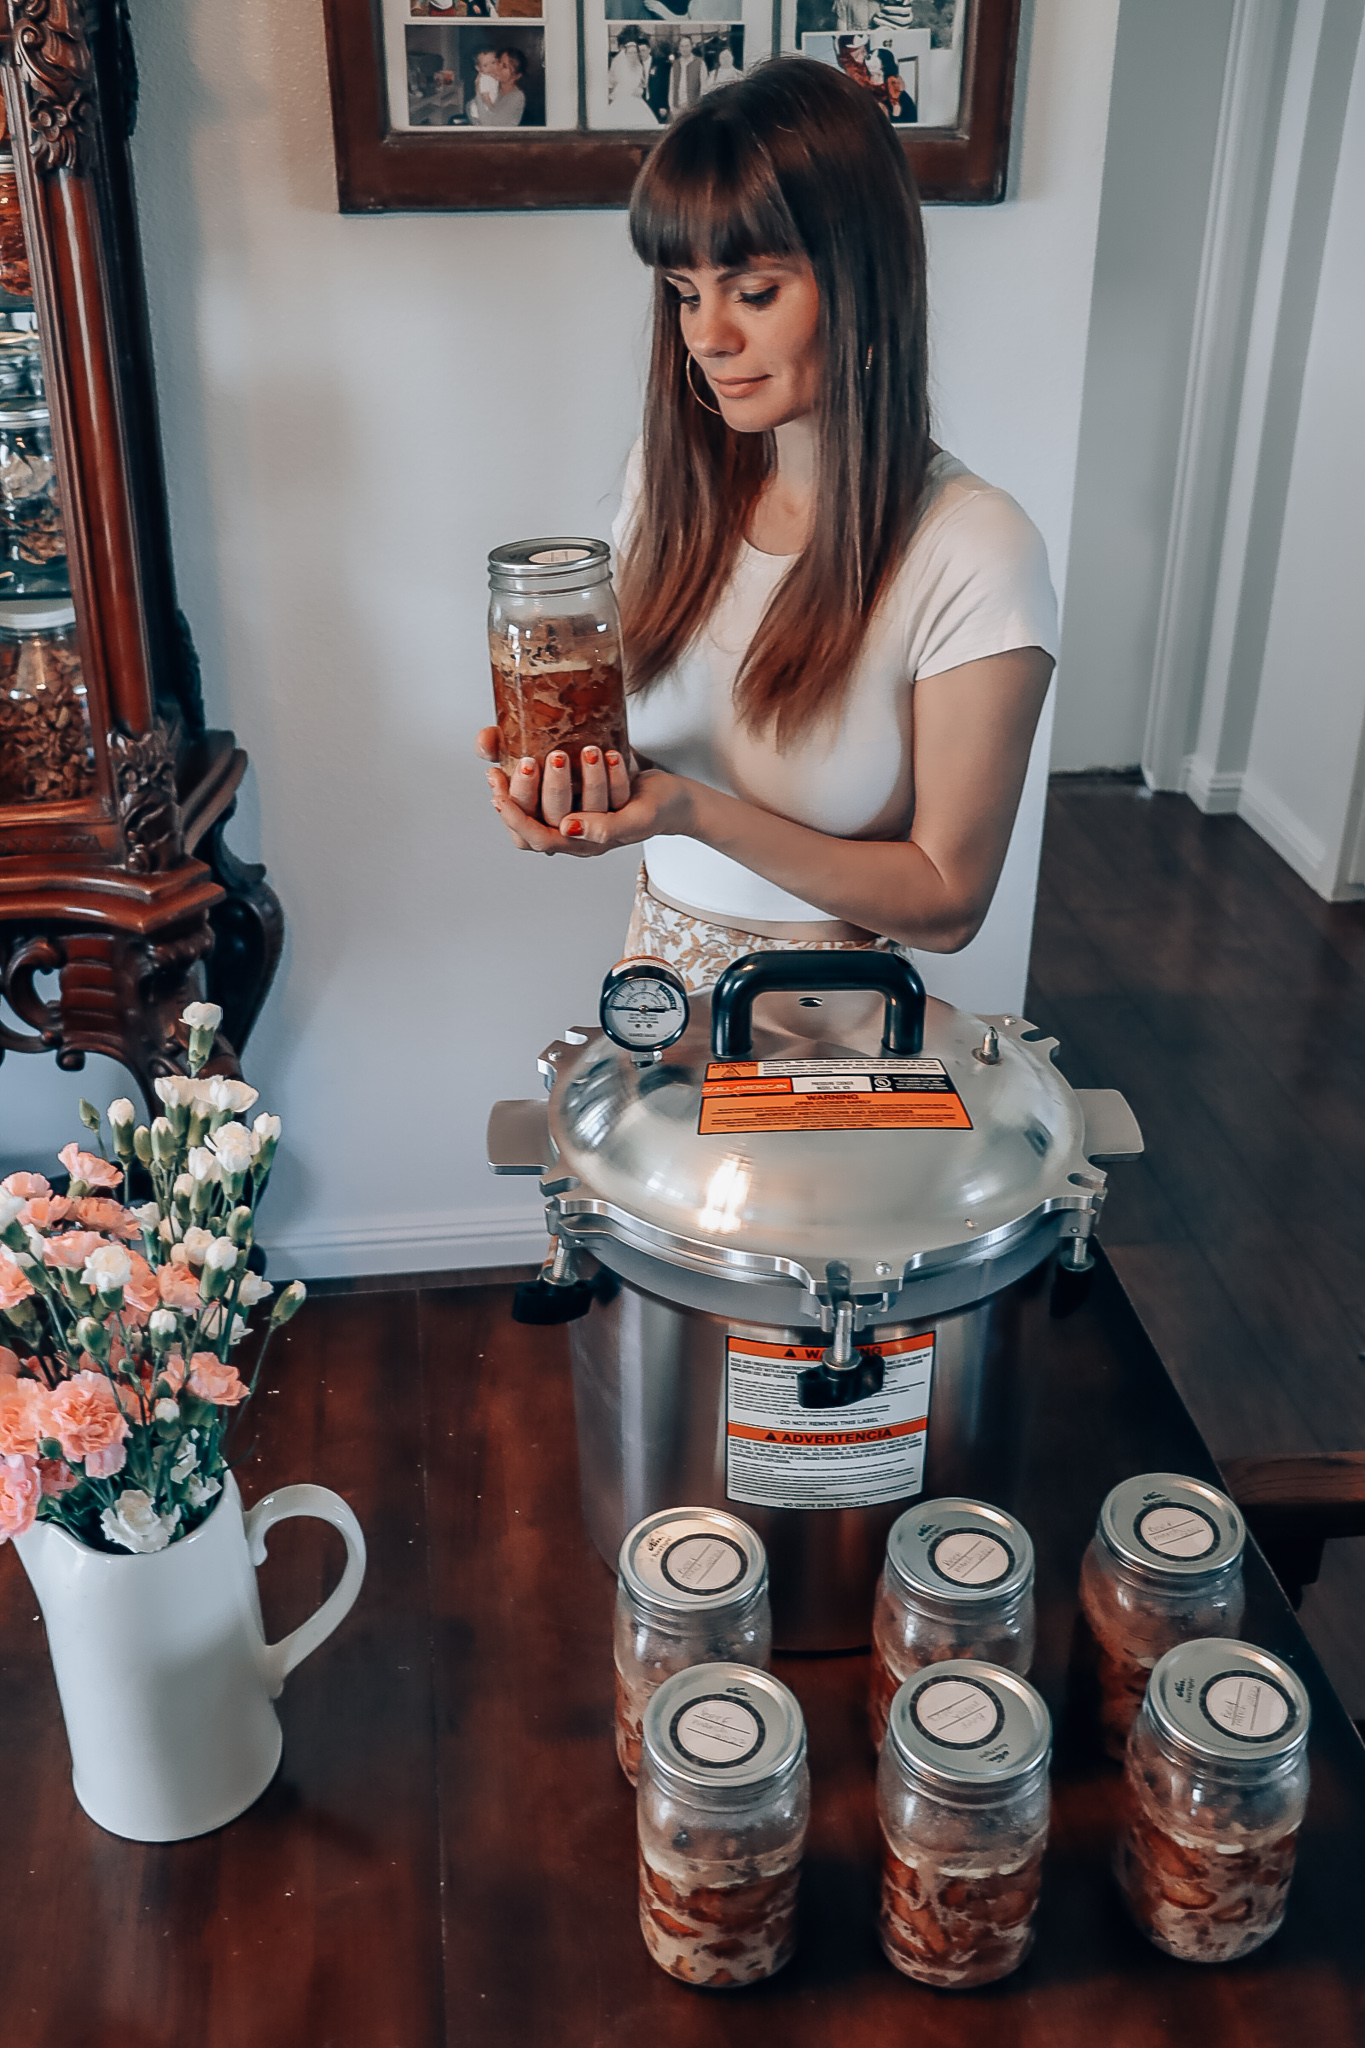
We absolutely love canning meat because it frees up our freezer. But most of all, we have a meal ready in minutes on busy days. There is no need to thaw, chop, or cook. The meat is very soft when you can meat. We always warm it up before we serve and eat.
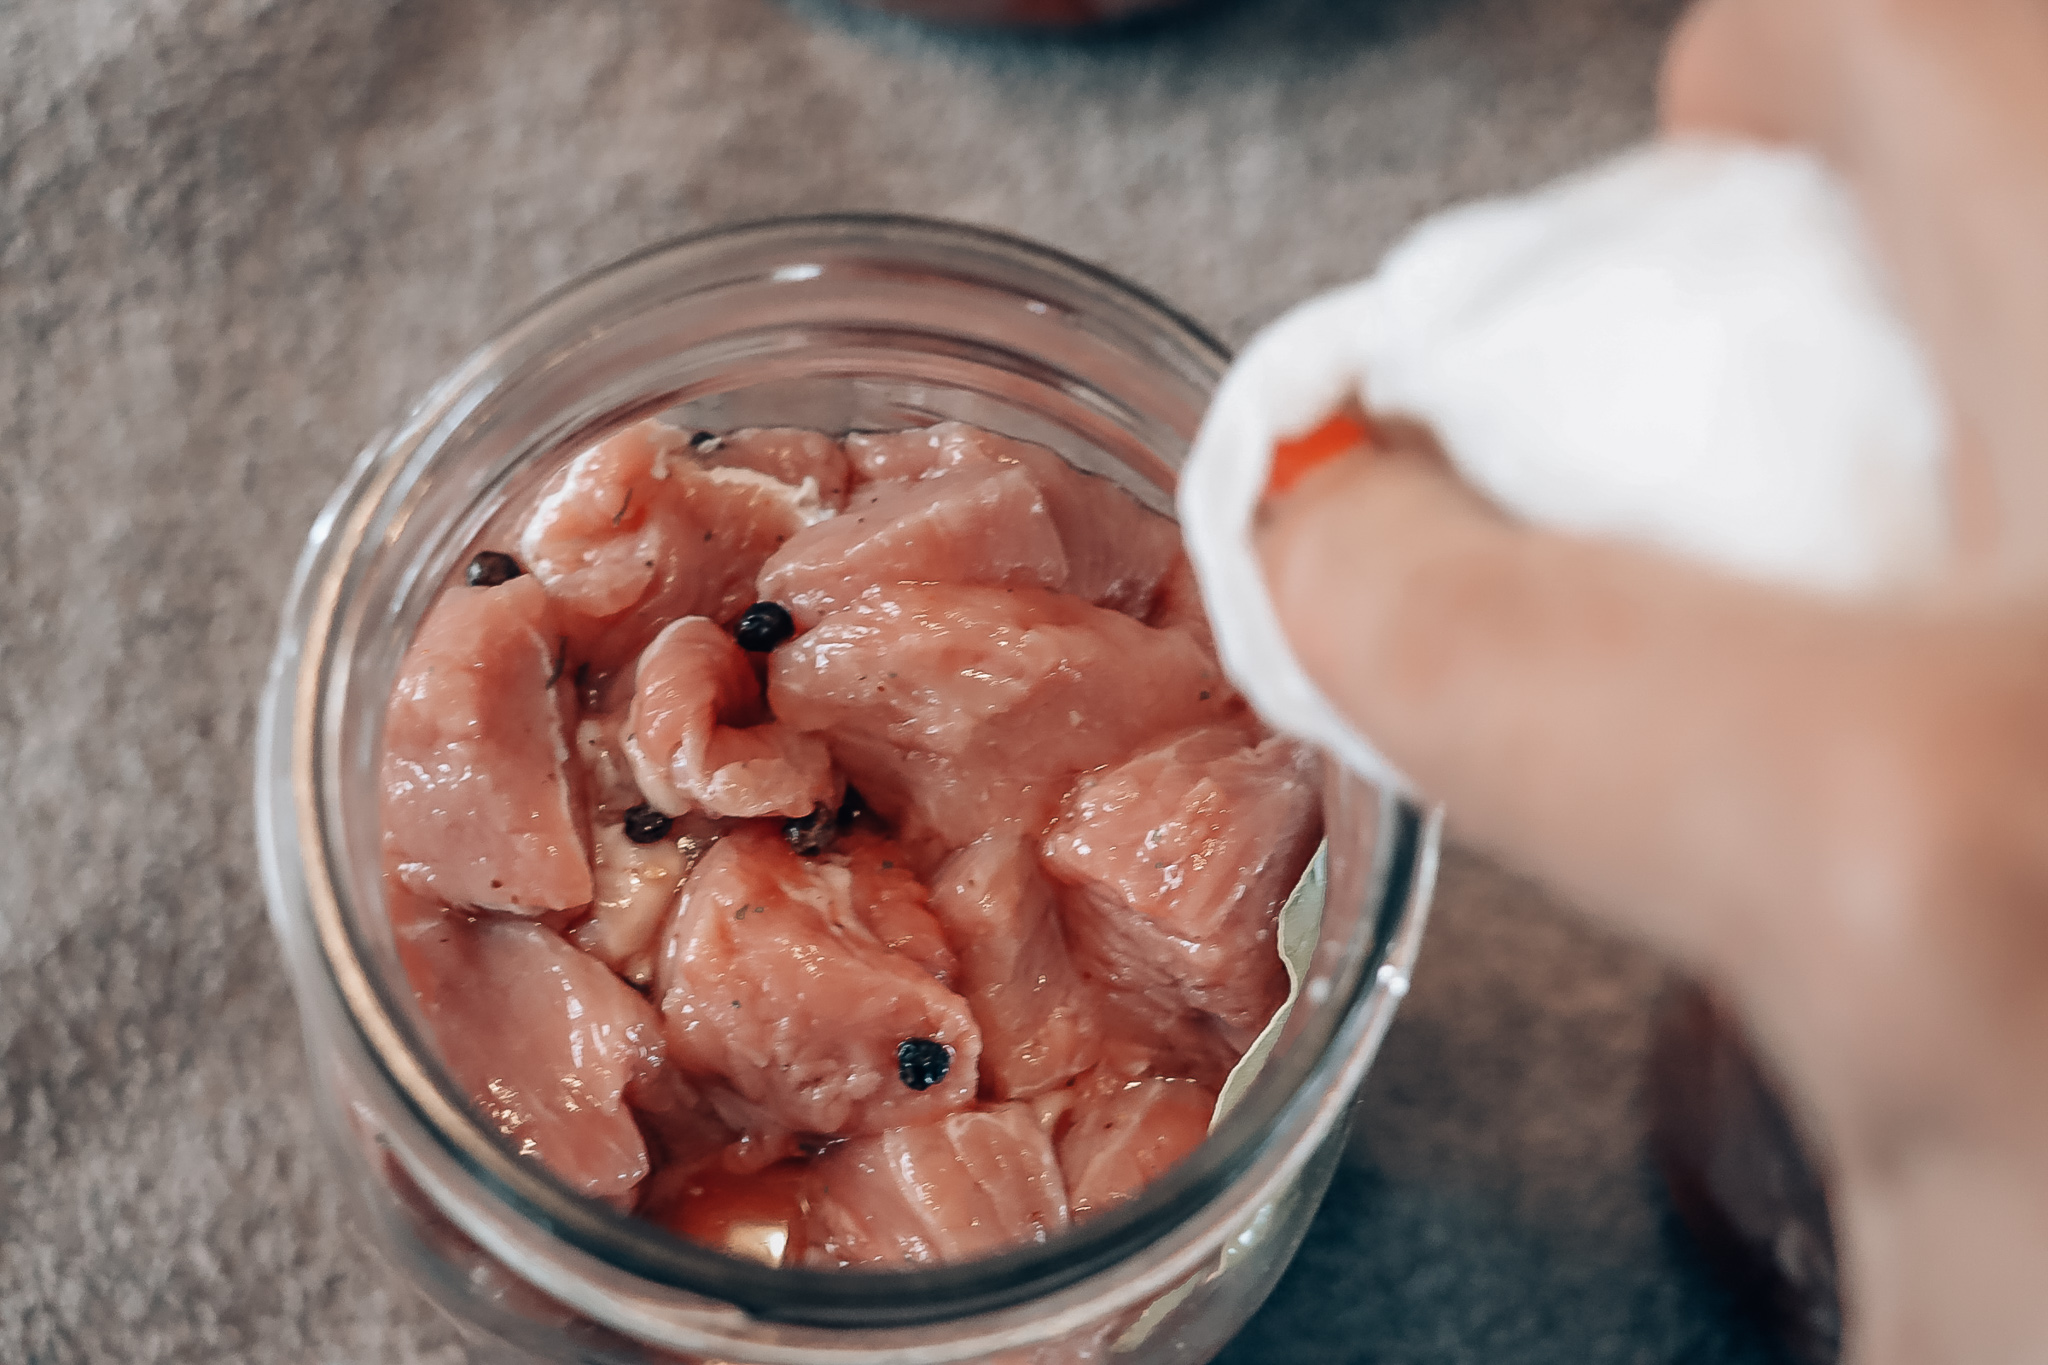
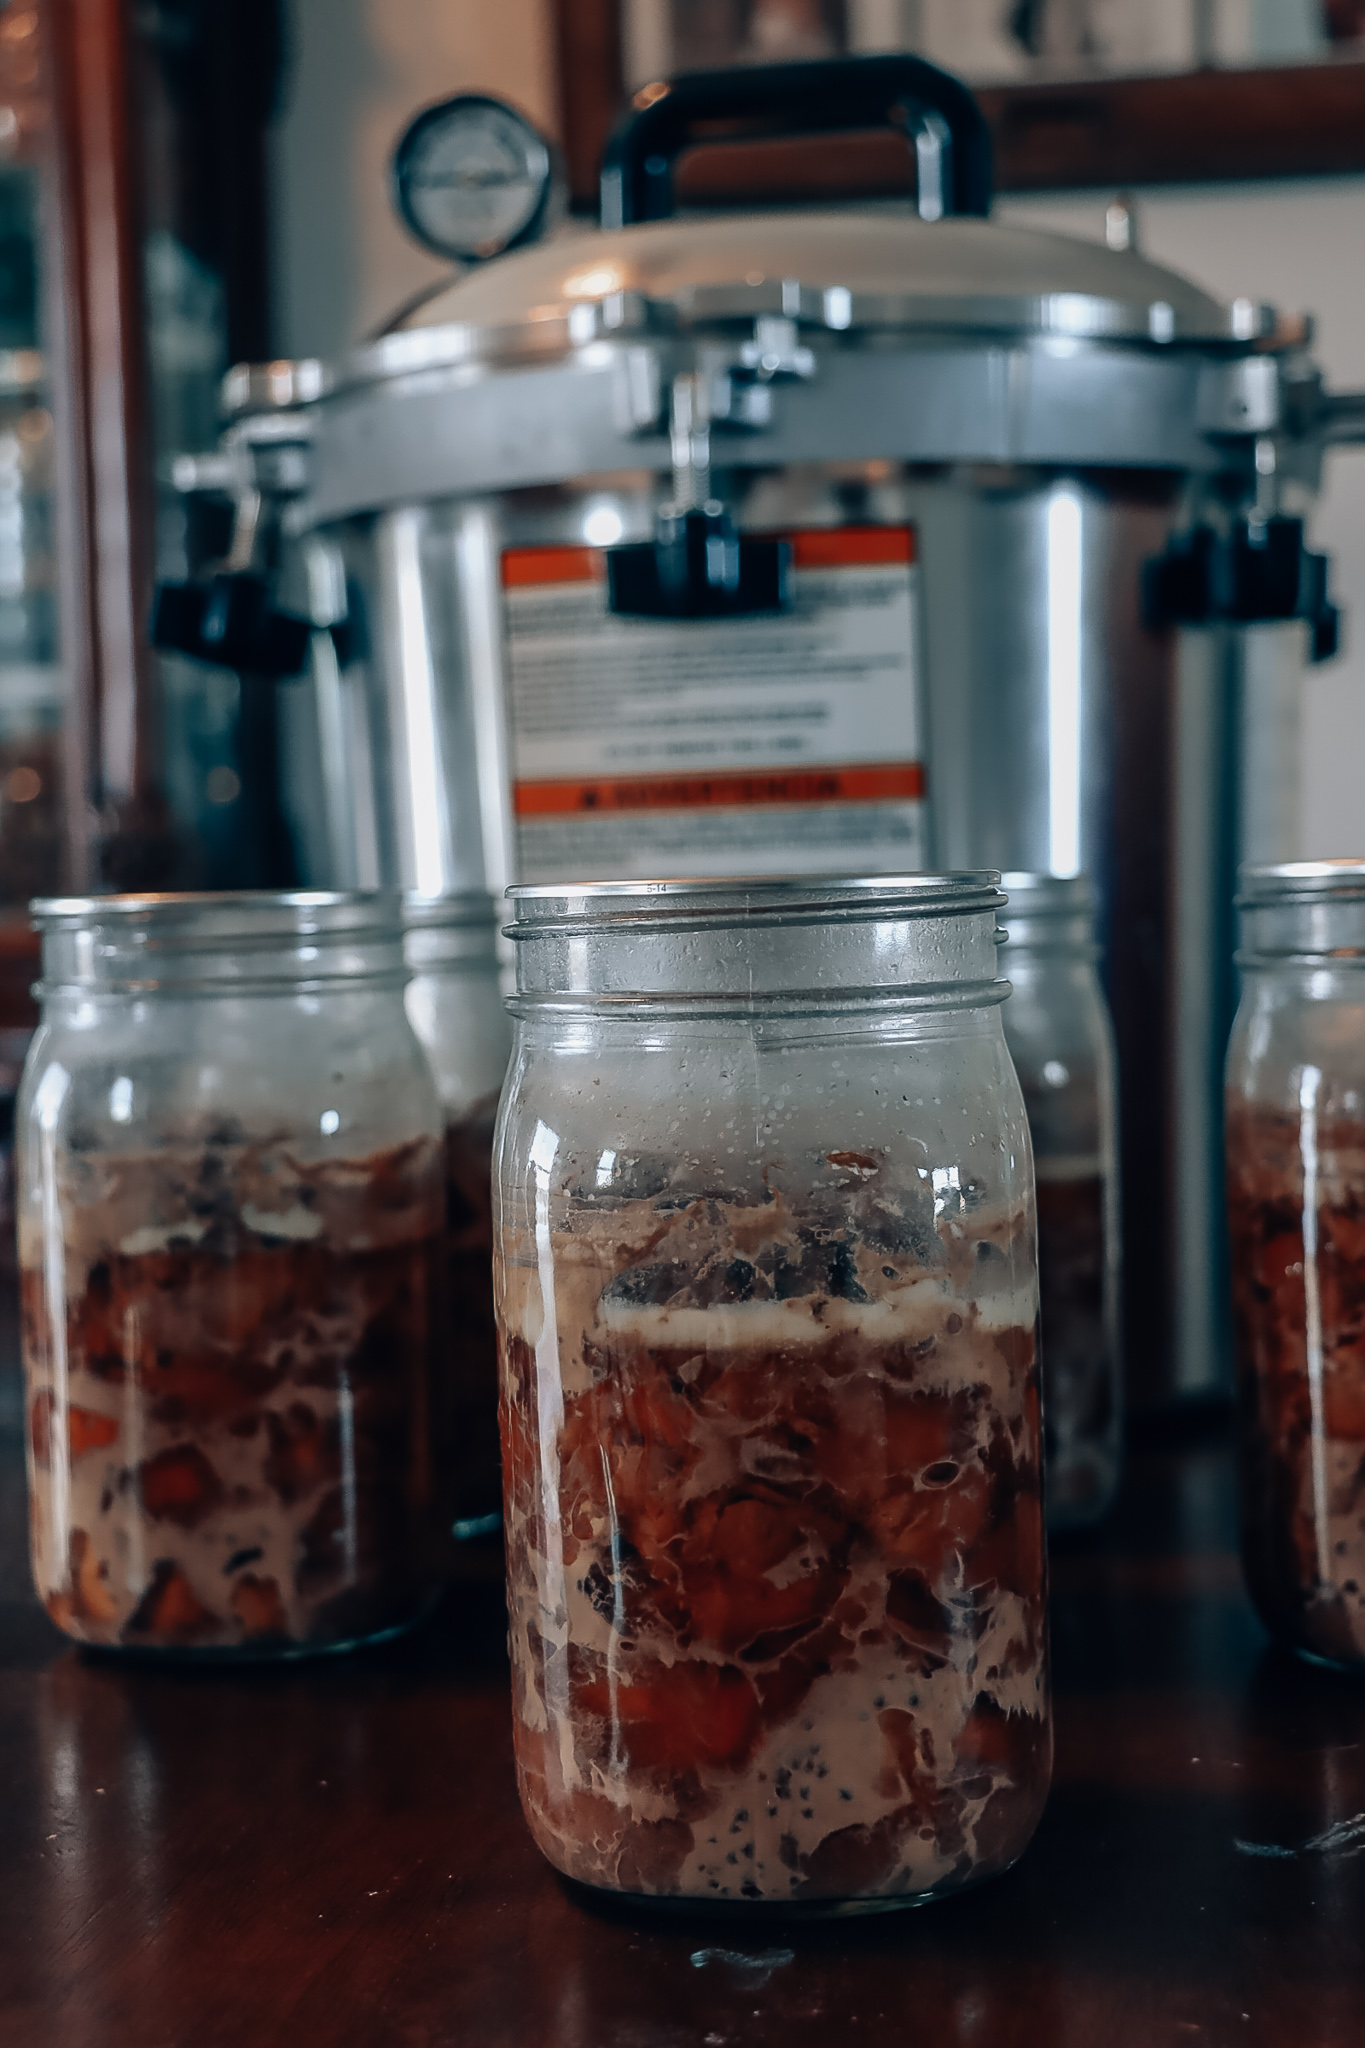
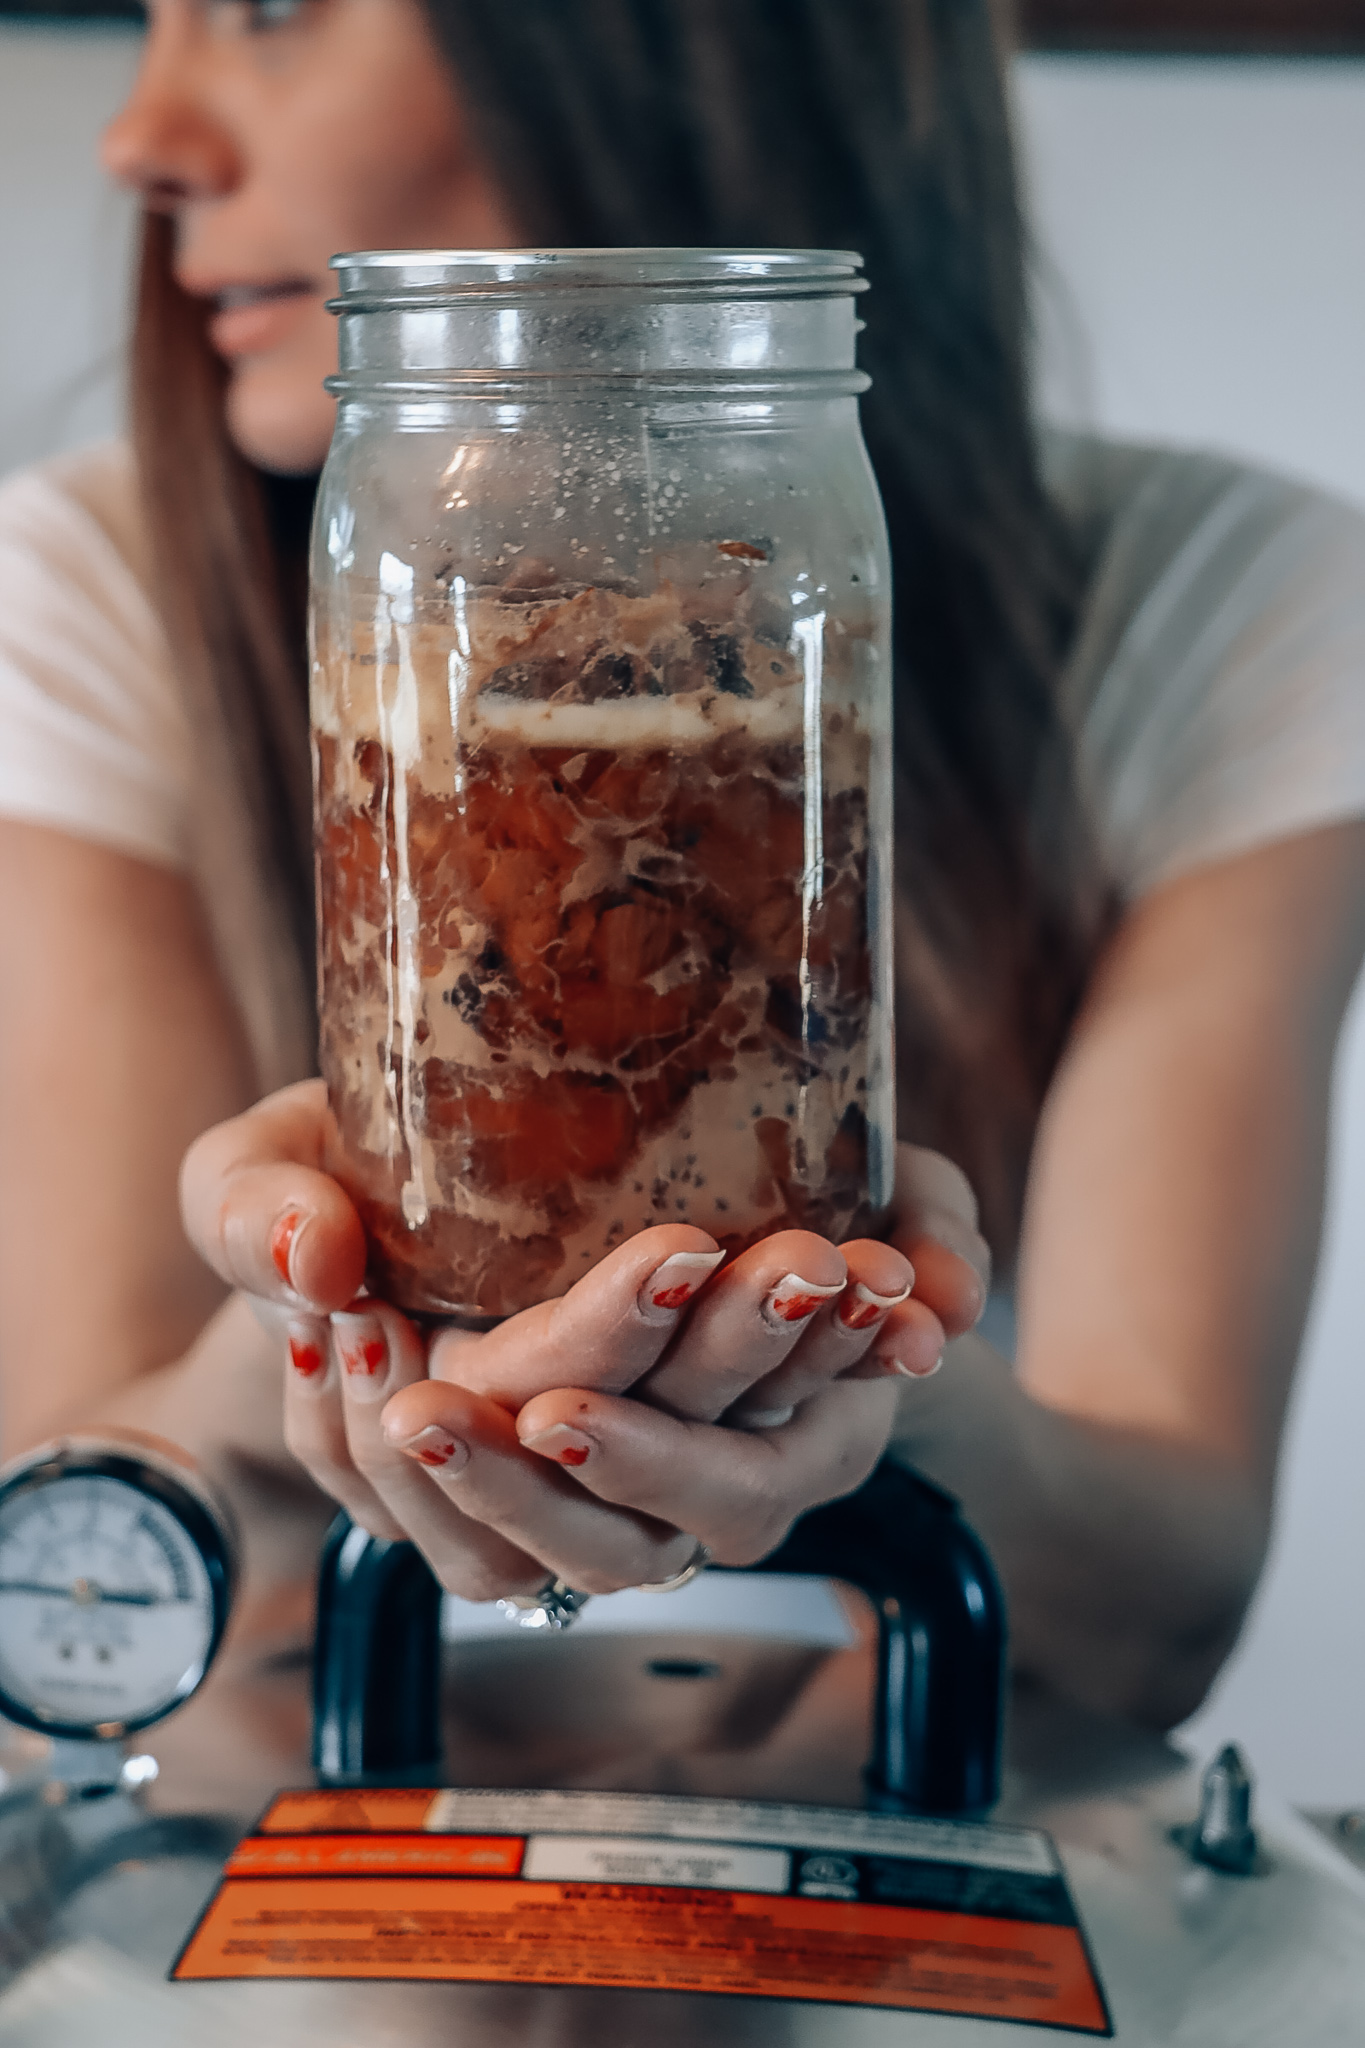
I like canning meat the raw pack method which means that the meat is raw when put in jars. I like to cube the meat.
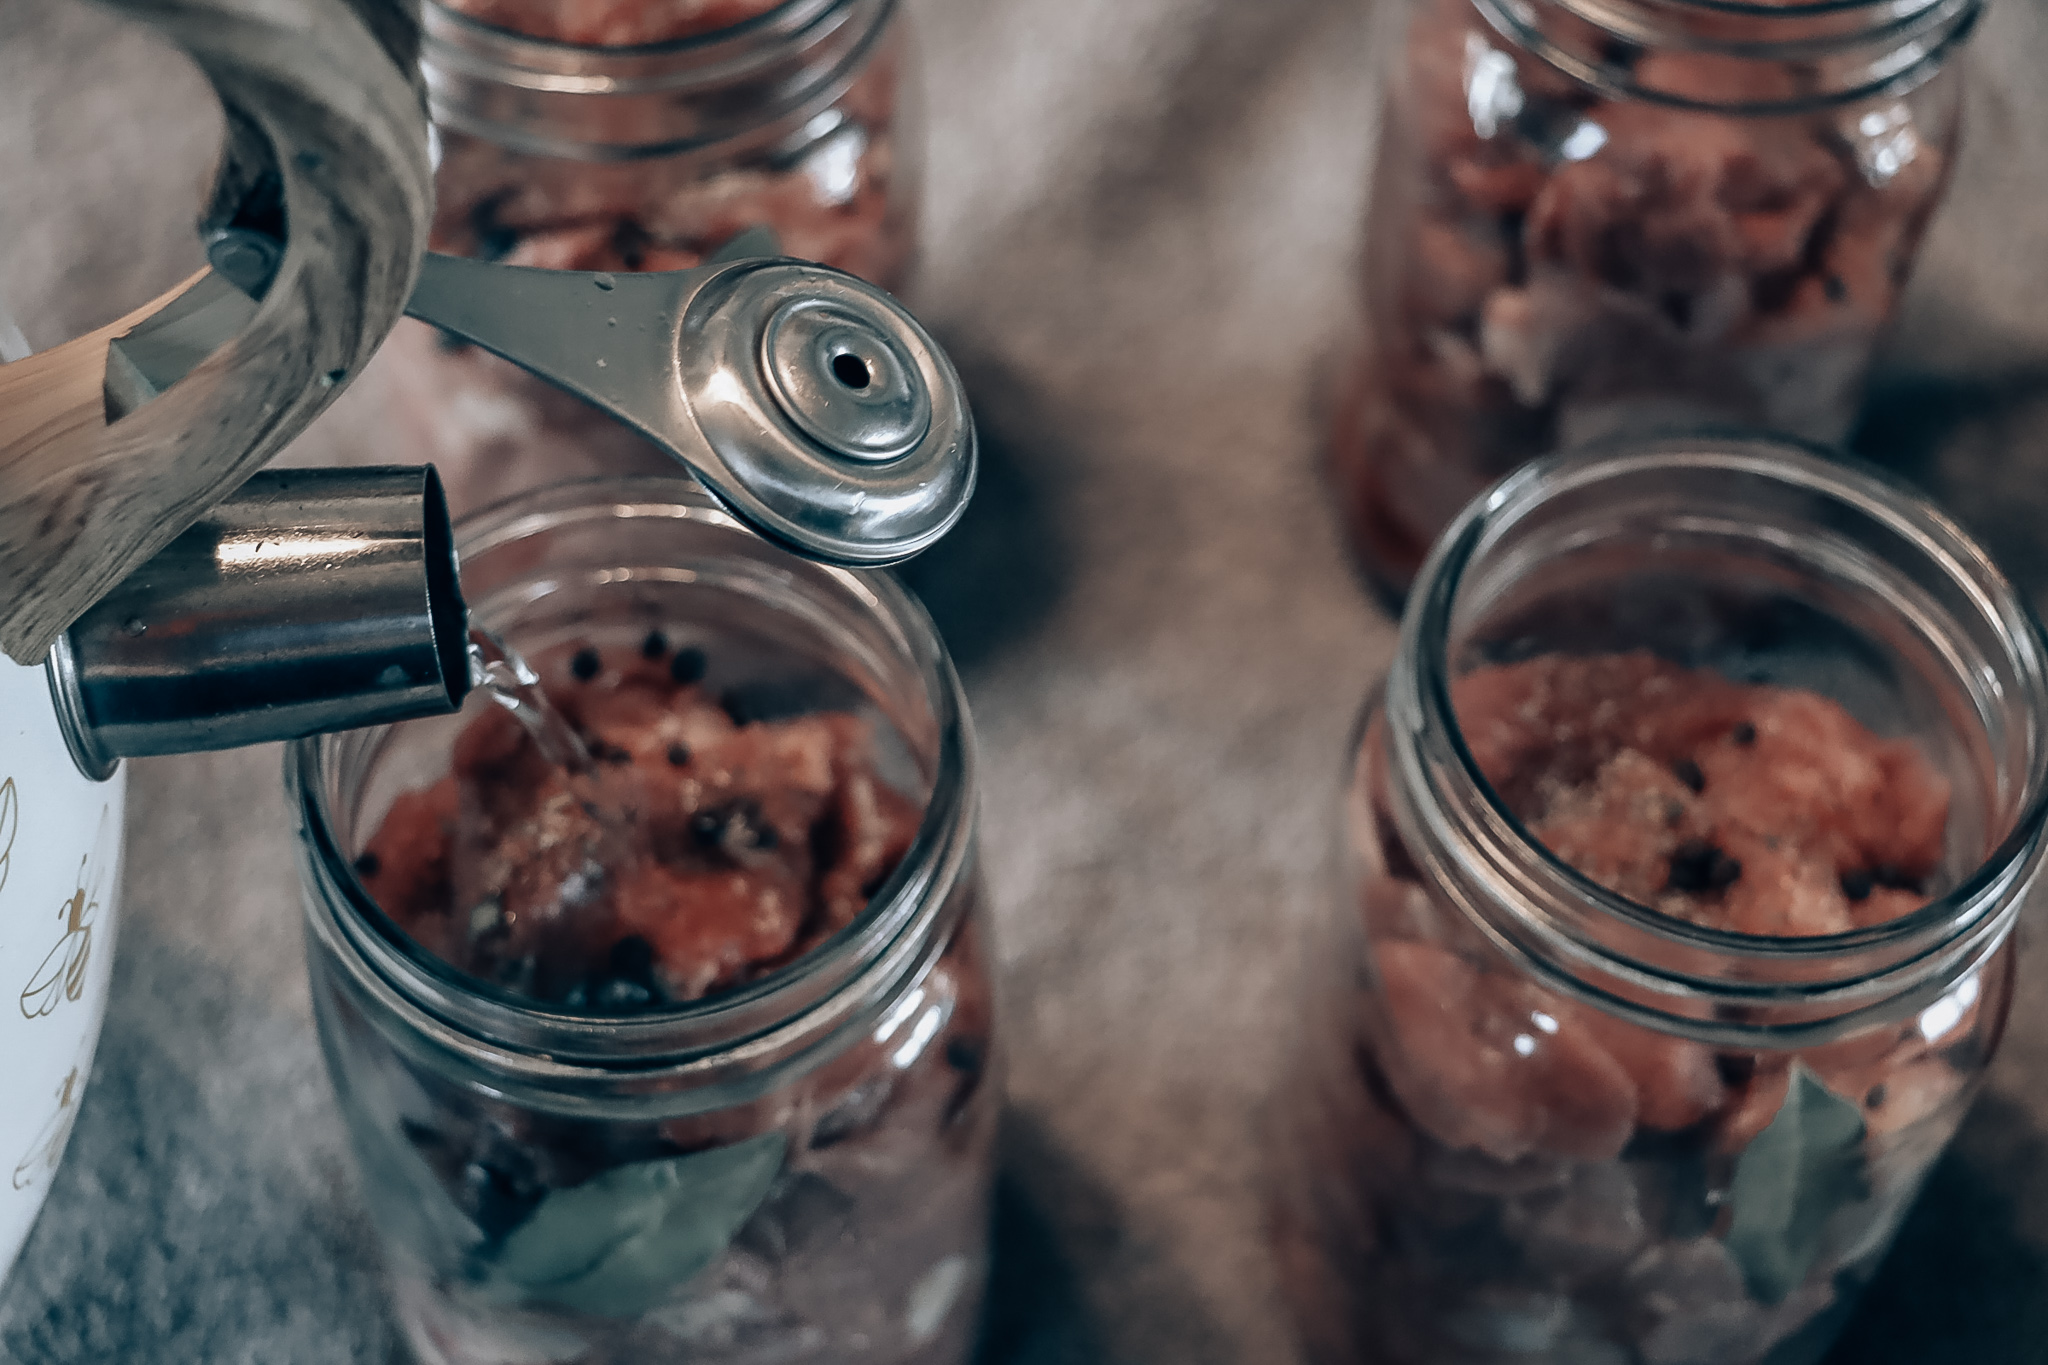
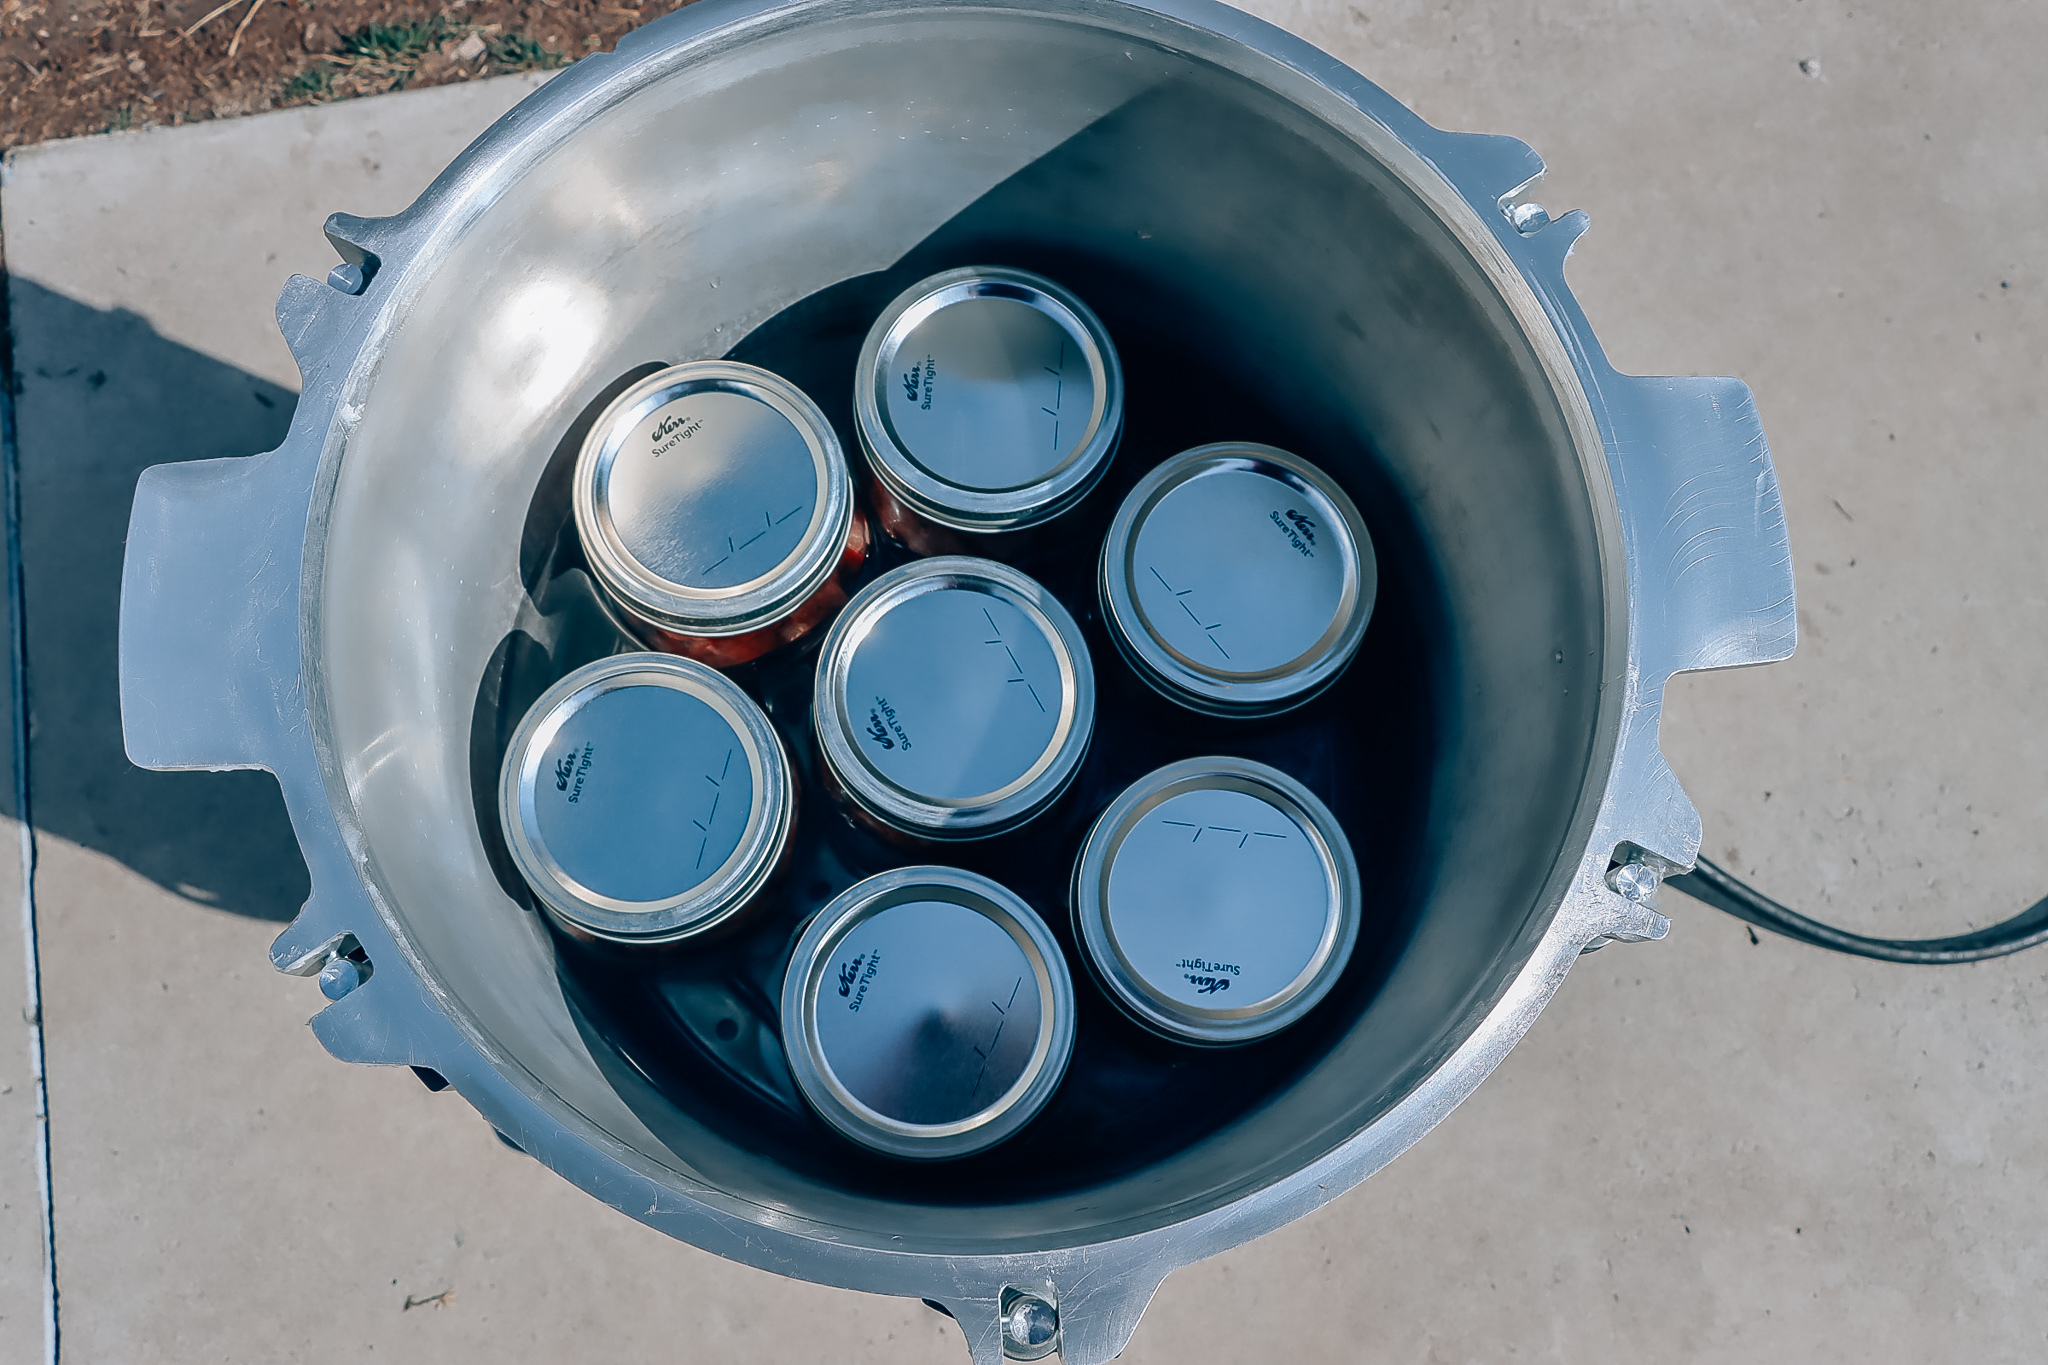
You want to wash all your jars and lids. Your space needs to be clean. Fill your jars with meat. You really want to pack it well. This time I still had empty space but next time I will be adding more meat since meat shrink when you pressure can it. Leave one inch head space. Now you can add salt or seasoning if you’d like. You can simply add the meat and it will be done.
Meat produces its own juices, but I find that it isn’t that much. I think it is important to look at your canned goods and find it looks appealing. This is why I add some water to my jars. You could add broth or stock as well. Simply add a few tablespoons to each jar. Using the bubble remover make sure that the liquid is on the bottom of the packed jar.
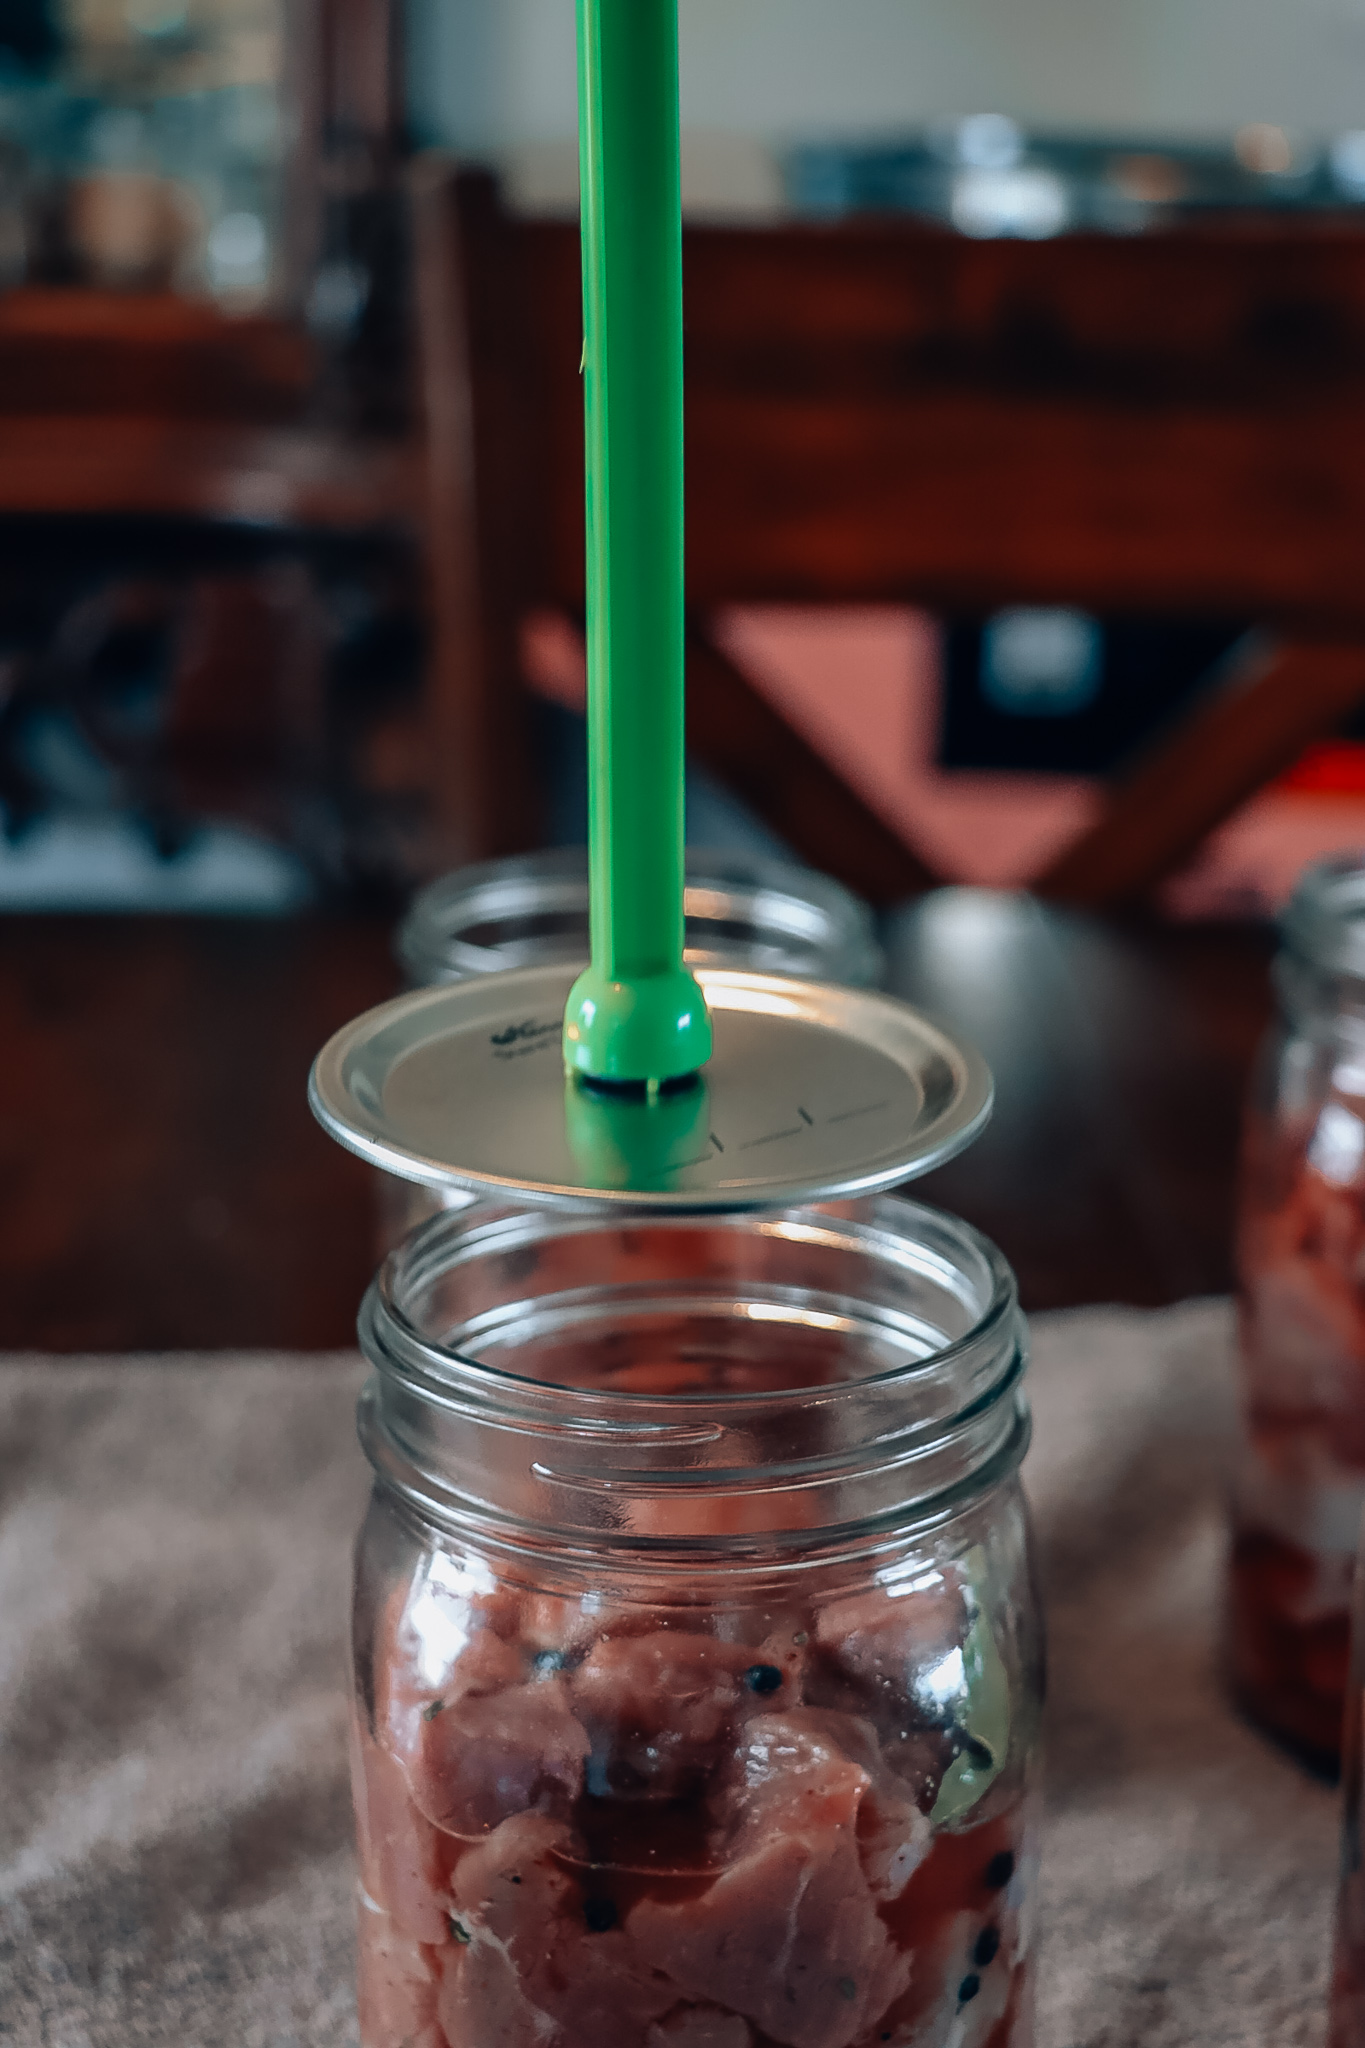
Before you add the lids, you want to use a clean towel that has some vinegar on it and clean the rim of the jars. When placing the ring, make sure it isn’t too tight because you will be removing them once your jars have dried.
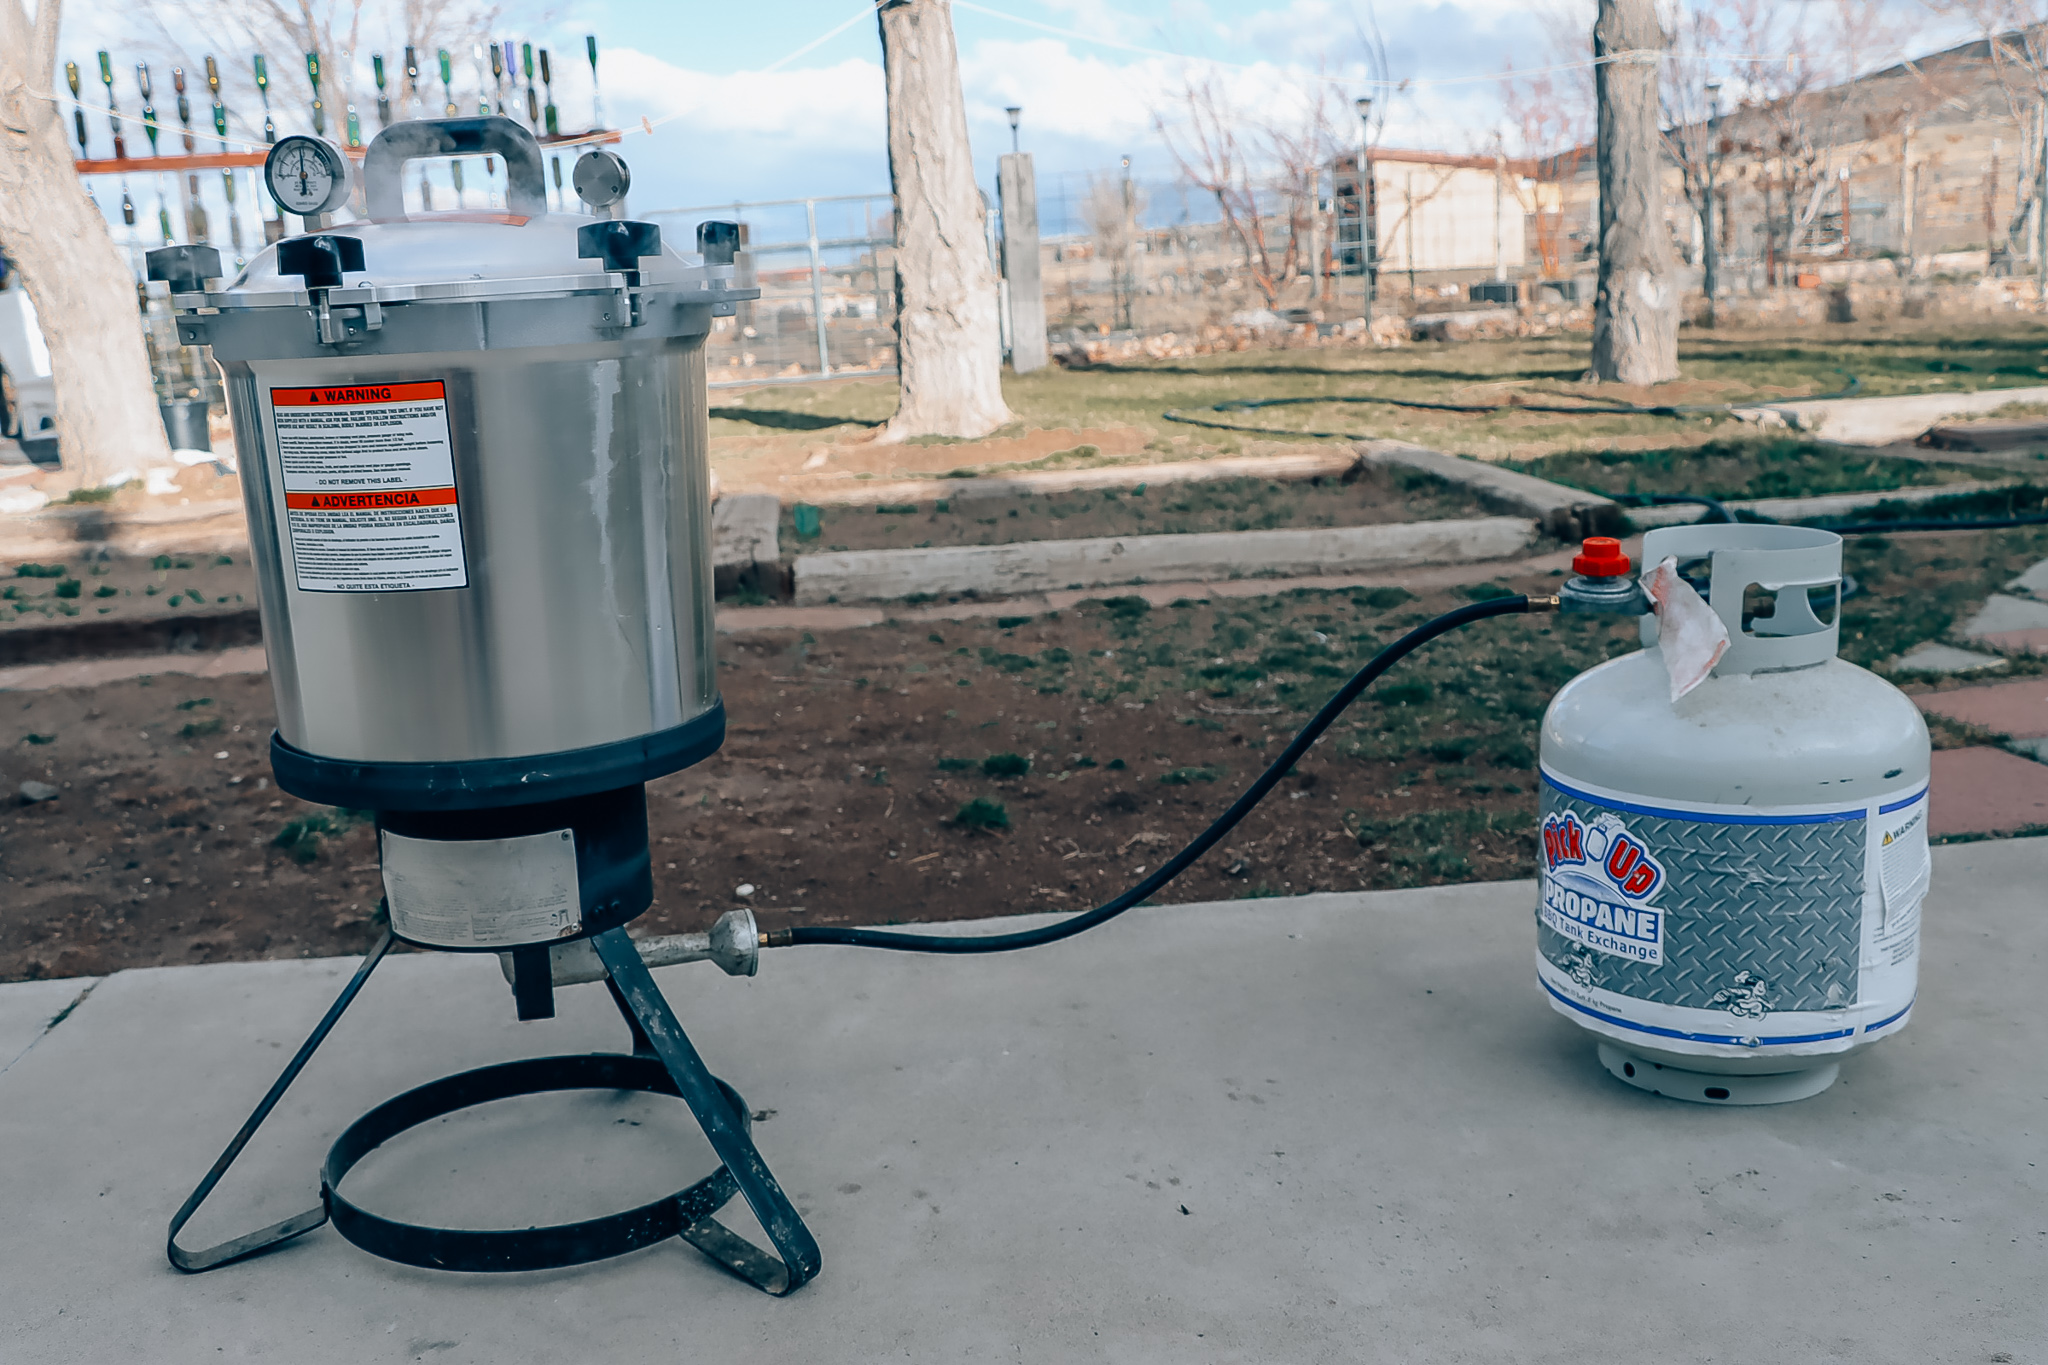
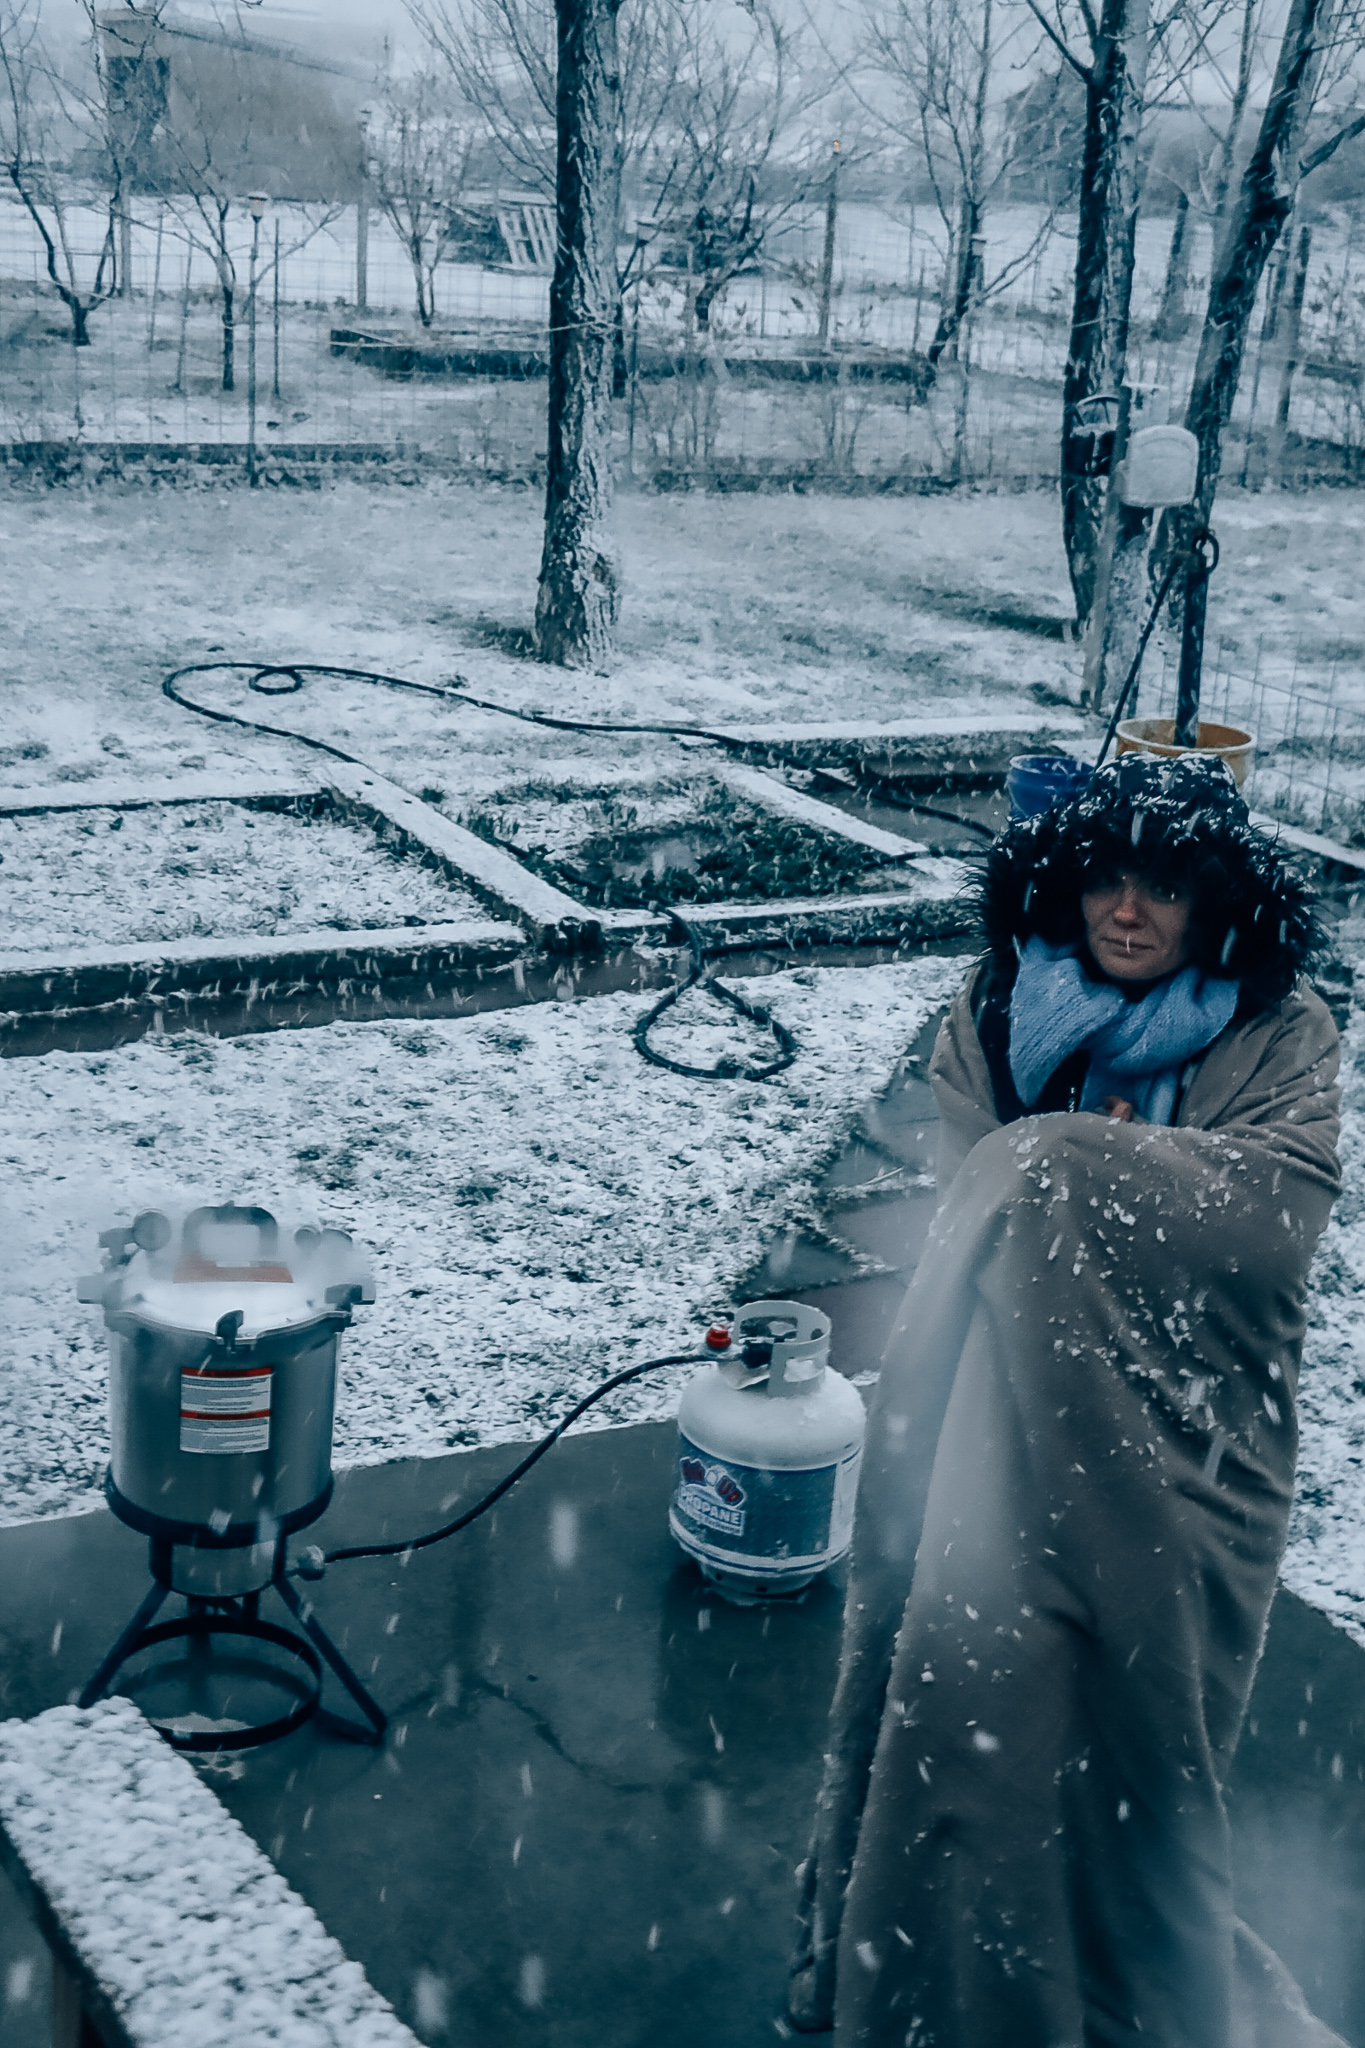
I have an all American 921 canner. Please follow the manual instructions on your canner. My canner is too heavy for my stove top, so I have to do it outside. I have a glass top range which you don’t want to risk cracking by placing a canner on. Because my cans are cold packed, the water I will be adding will be cold. If there is a difference between the temperature of the jars going in and the water inside the canner, your jars can crack from thermal shock. You are spending too much valuable time and meat to ruin it. Once you add the water to your canner you can carefully place your jars. I close my canner and then turn on my heat. Once the steam starts coming out of the vent, set timer to ten minutes. You need to make sure the canner vents. Once the timer is up you need to place the weight on the vent.
If your jars are pints you need to can for 75 minutes. If your jars are quarts you need to can for 90 minutes. Using 10 lbs. if your altitude is under 1,000 ft and 15 lbs. if it’s over 1,000 ft. Once the time is up simply turn off the heat. Do not remove the weight. Let the pressure completely drop on its own.
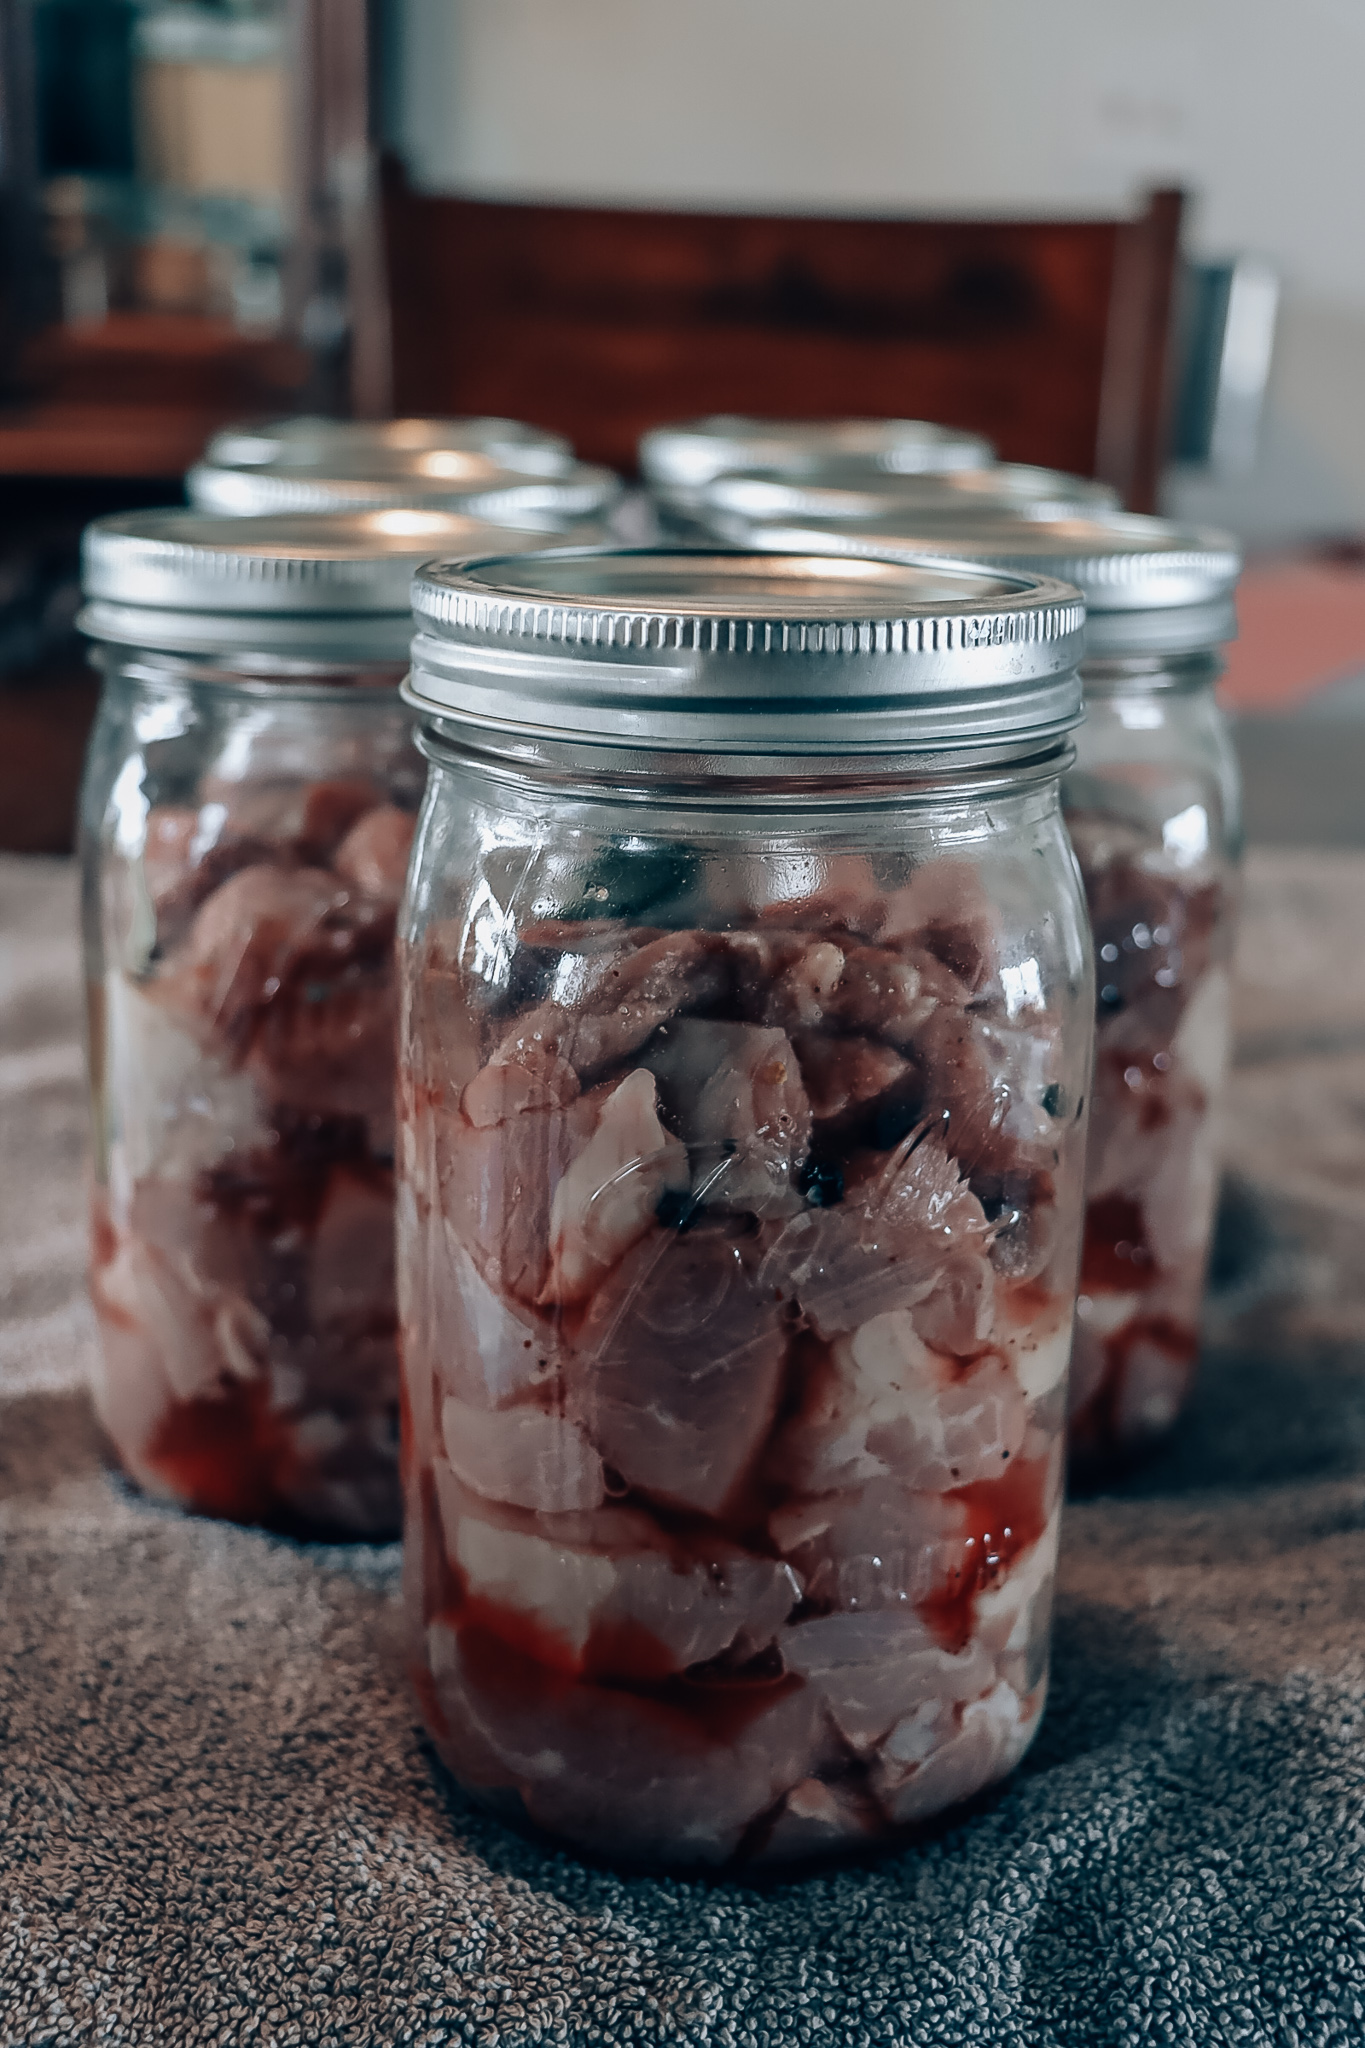
I leave it for an hour and then remove the vent and lid. You want to use a lifter to remove all your jars. Let your jars cool for 12 hours. Remove outer rings. Make sure each jar is sealed.
It was a nice day when I started canning but before I was done canning, it was snowing. I do not leave my canner when I can. I have to make sure that the pressure of my canner doesn’t drop or rise once I have started the timer.
If you liked this post, you might enjoy Water Glassing Eggs.
Here is a great USDA guide.

Thank you for reading our blog post.