Tanning hides is something that I have always wanted to master. Tanning is an art. In the past I have tanned a few rabbit hides and many ground squirrel hides but never something so large as a cow hide. If your new to tanning hides then I do not recommend that you start with a cow hide. It is labor intense. When a cow hide is wet it becomes extremely heavy and is hard to work with. I probably spent at least twenty hours to complete this cow hide and it took days upon days to actually finish it.
I started to even dream about the cow hide at night. I had nightmares that I started fleshing the hair side of the hide and had ruined it.
There are many different ways to tan a cow hide. My advice is to look at the different ways and then find one that you want to do and stick with it.
Since we live in the country, many of our neighbors raise cows for meat. We were gifted this cow hide.
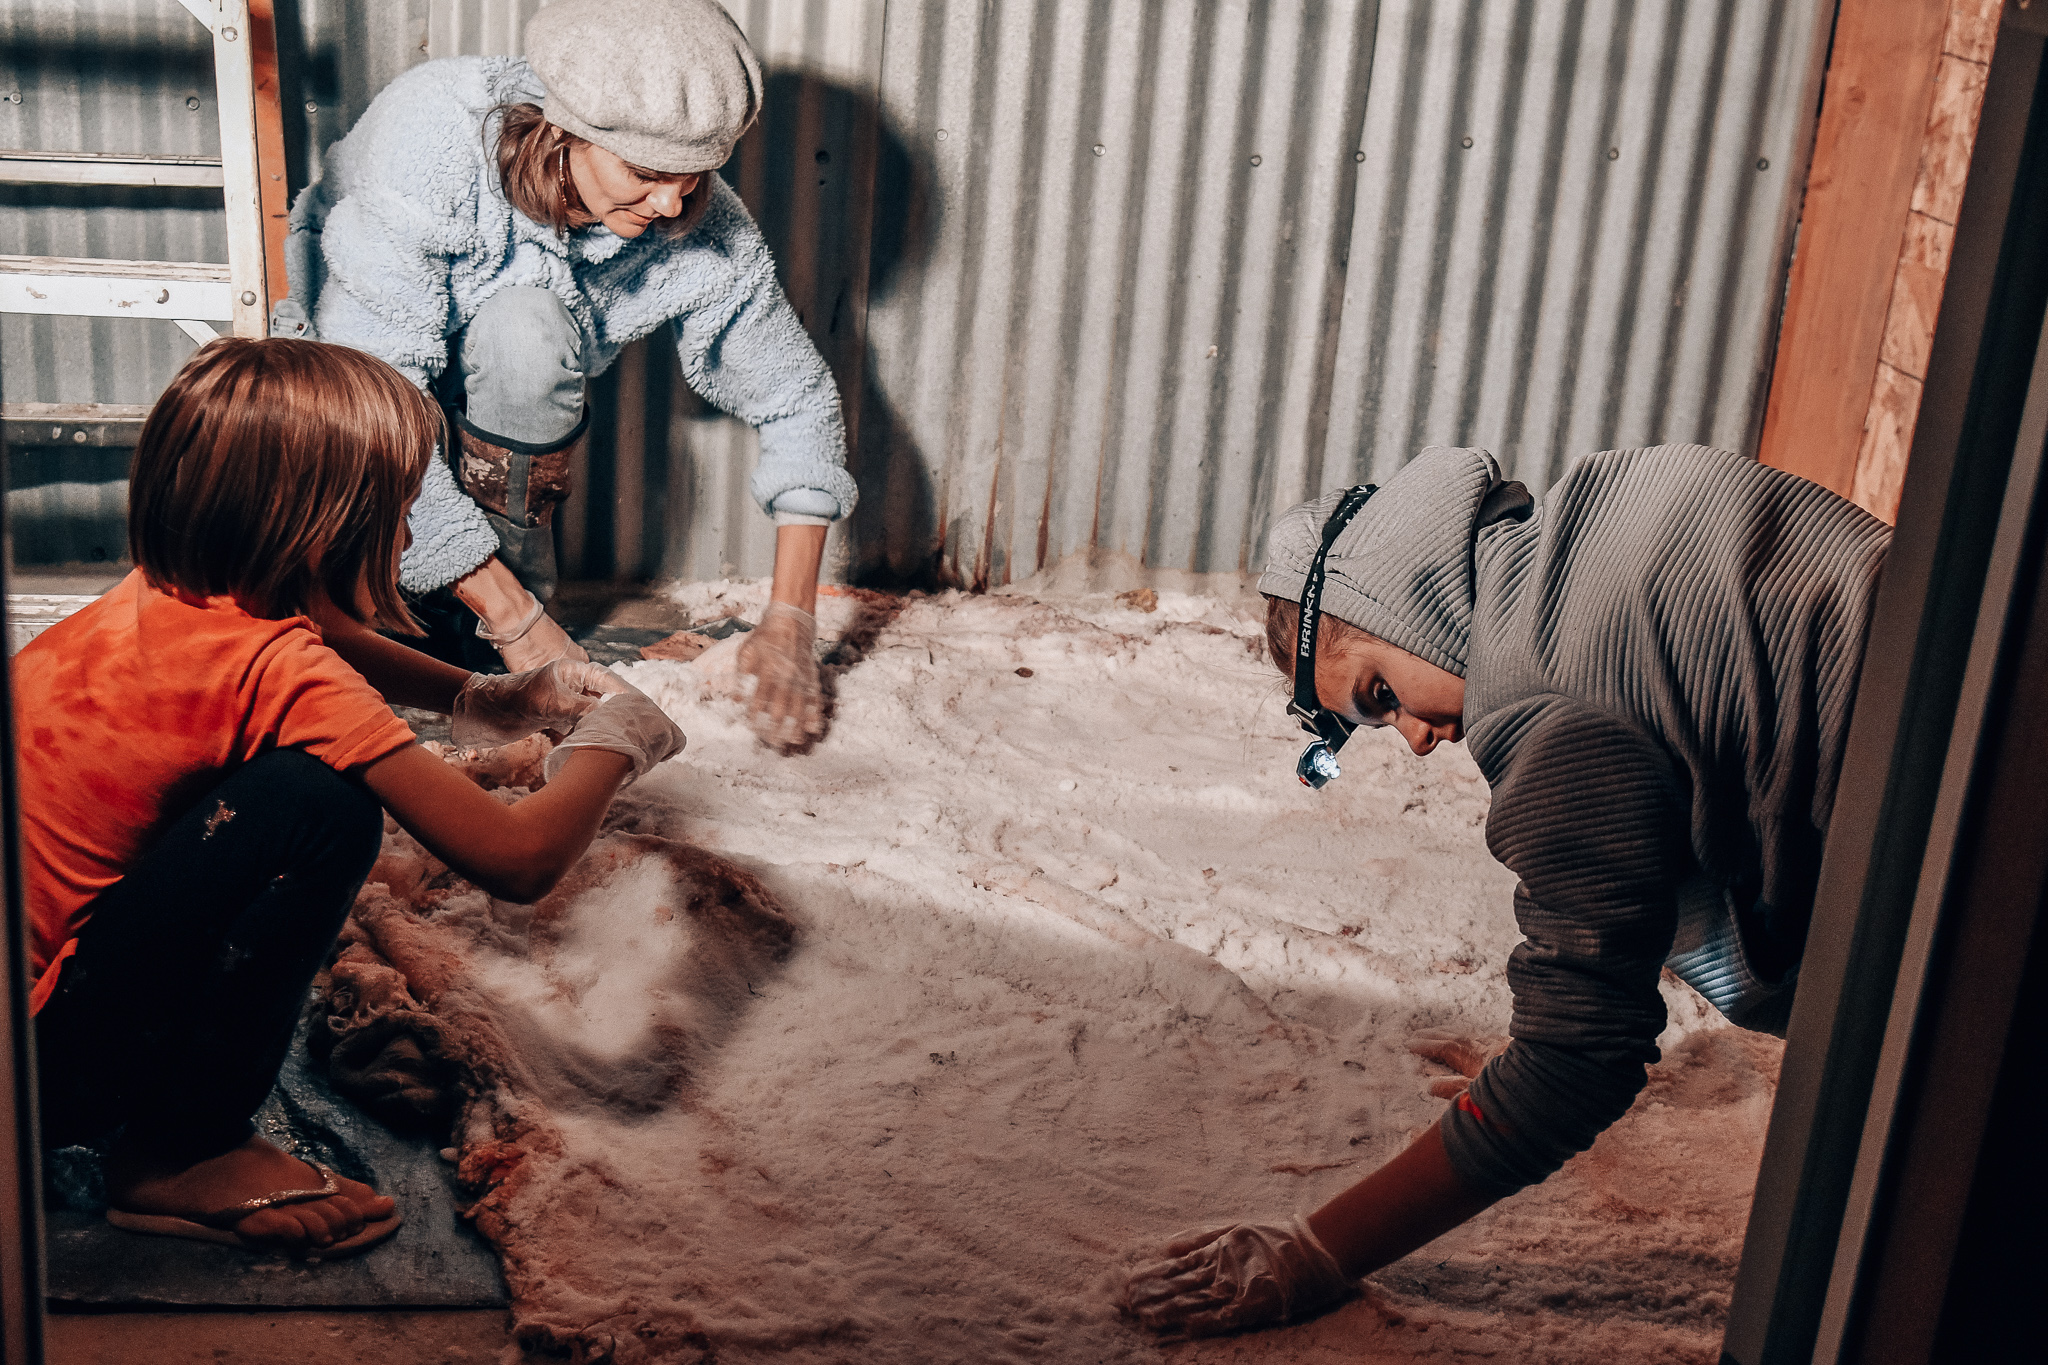
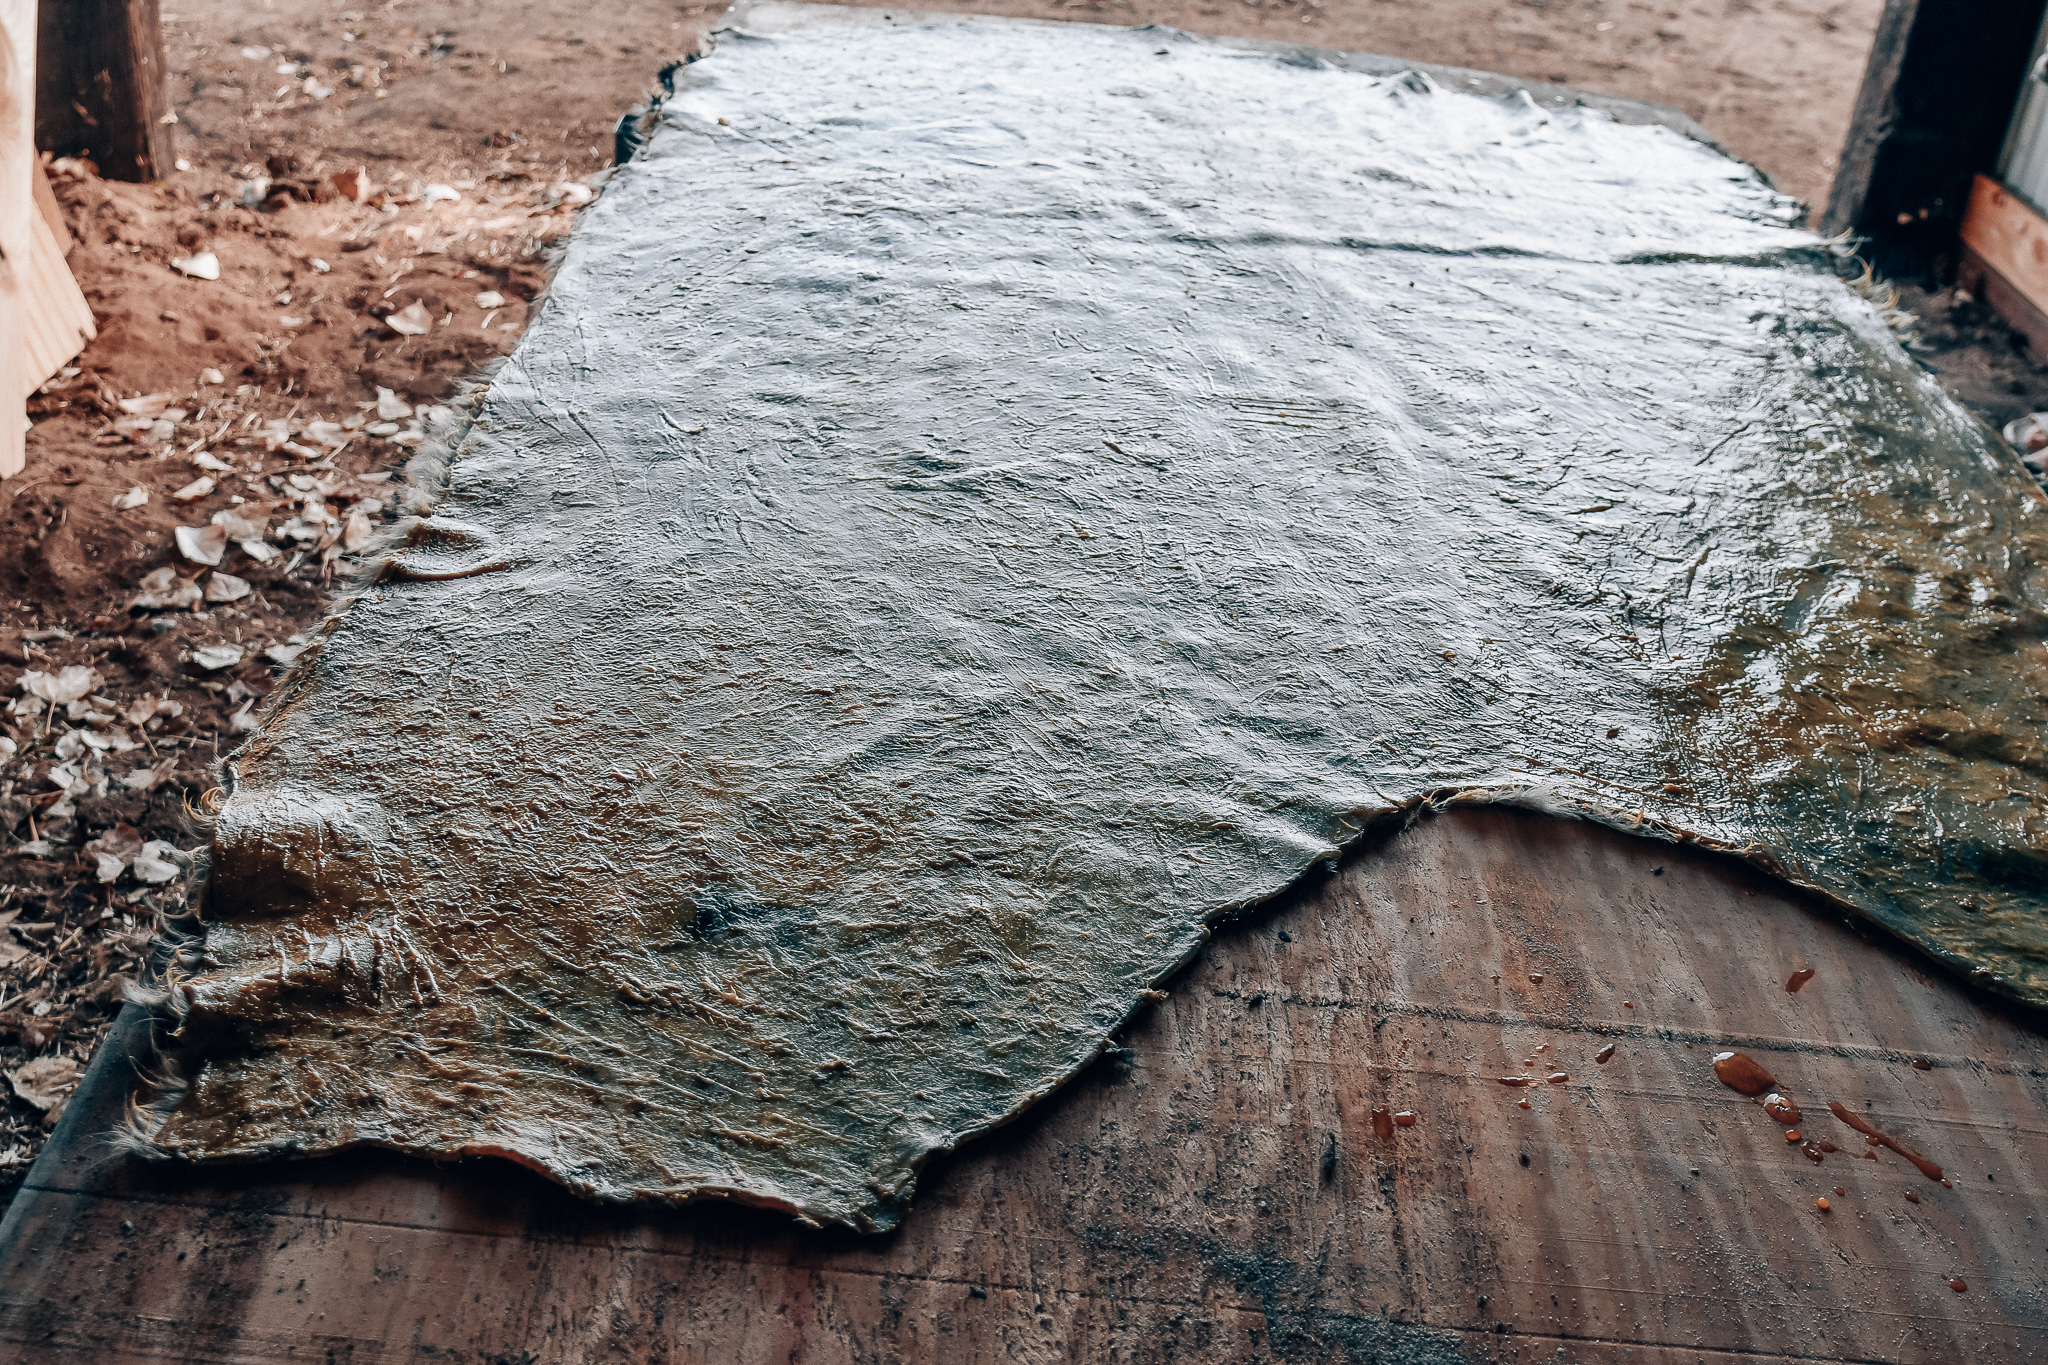
The first step is to flesh the cow hide. Every hide will have some extra fat or flesh on it. You’ll want to flesh as much as possible here.
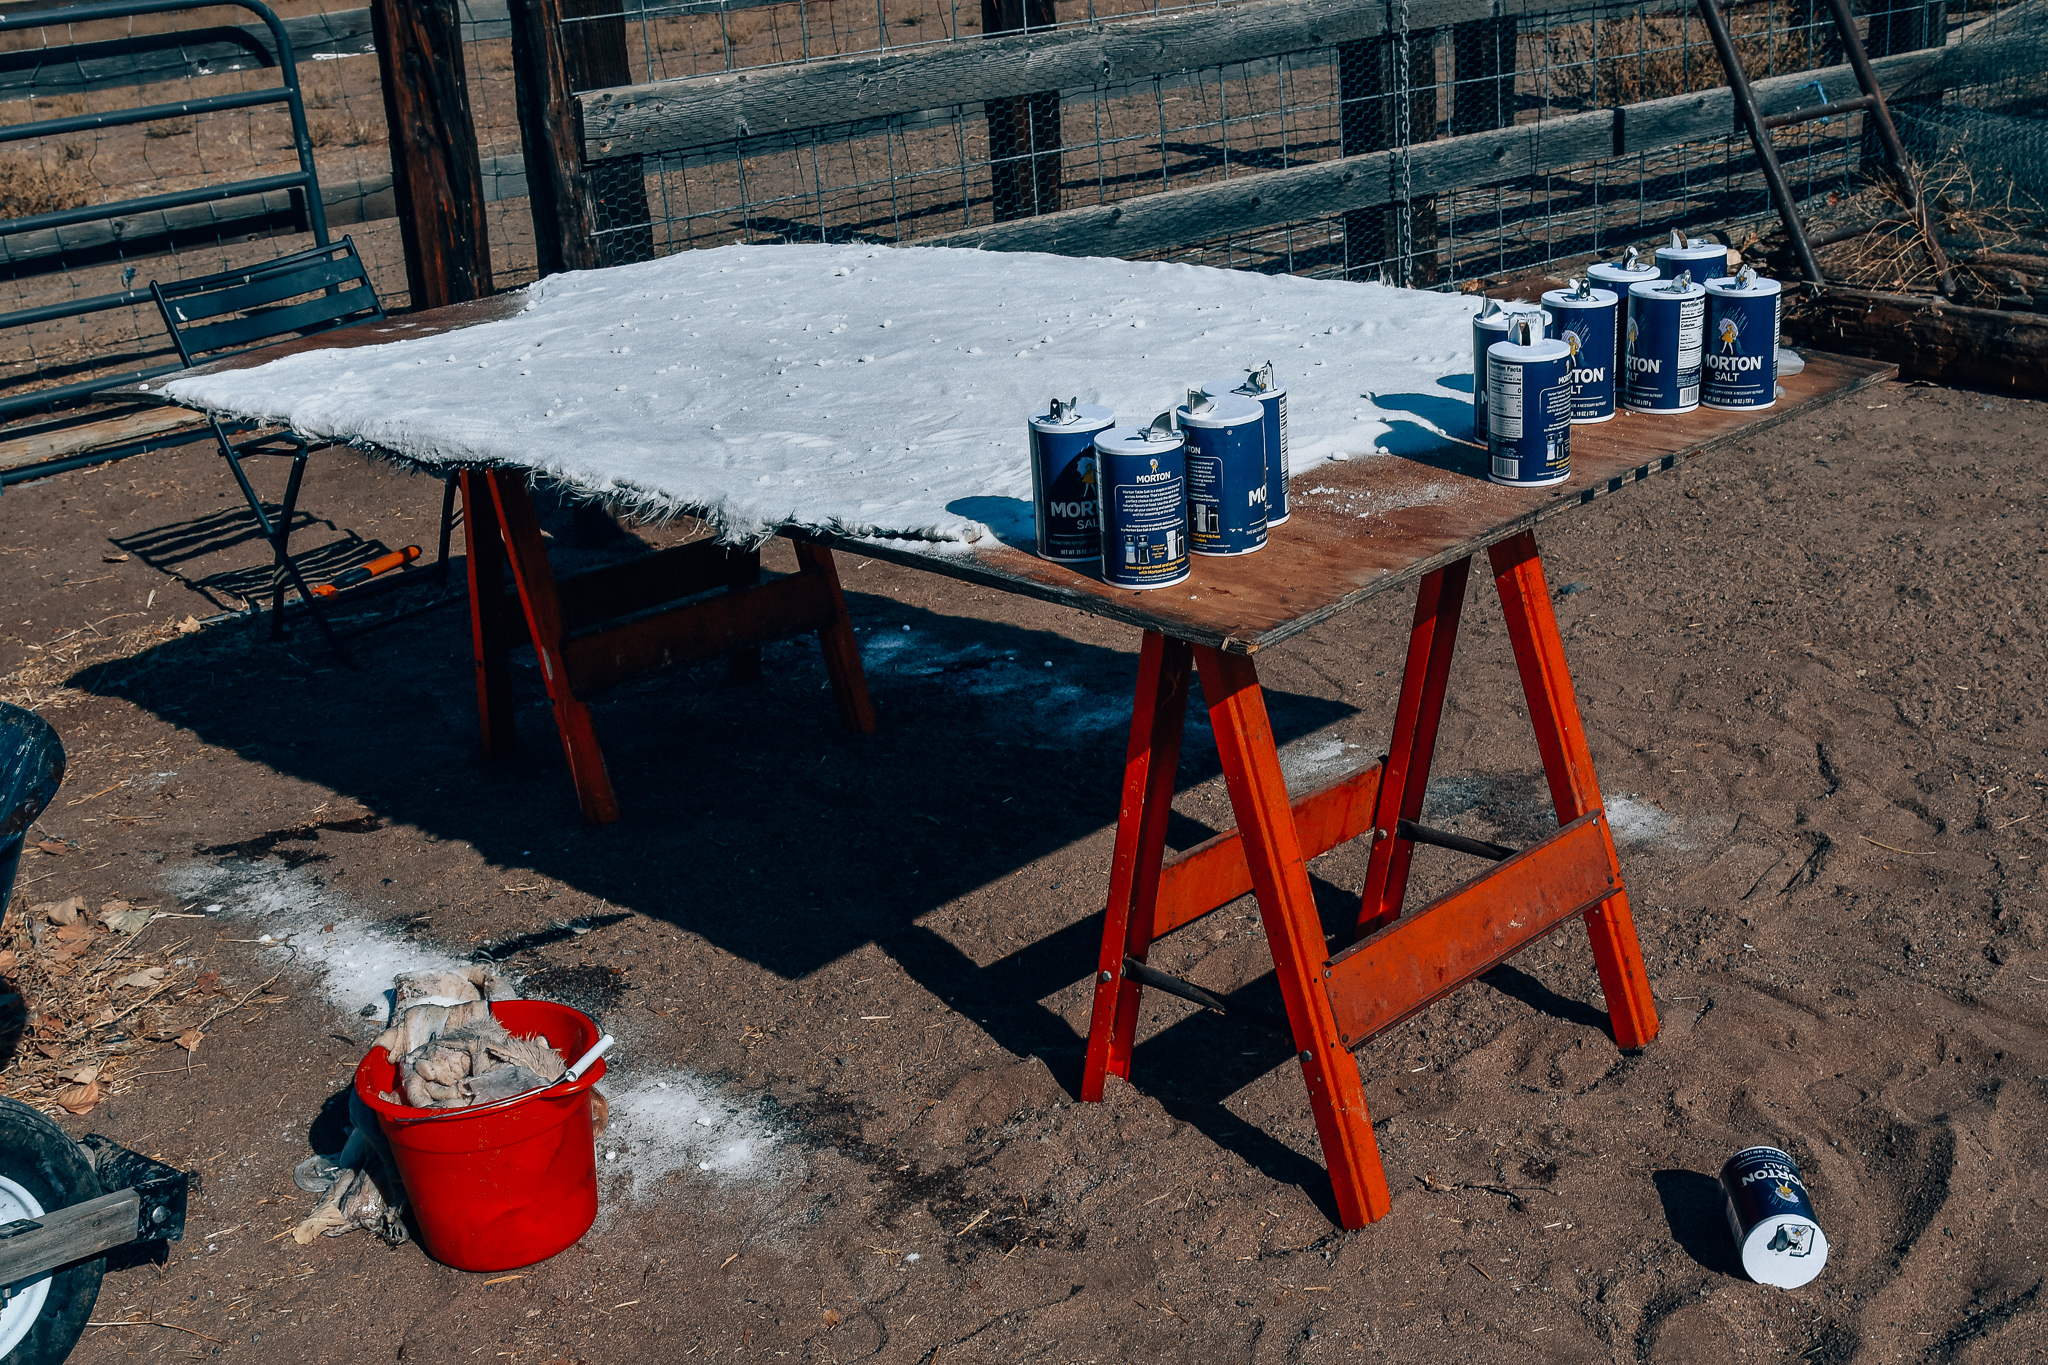
After you have fleshed the cow hide you want to salt the hide. I used plywood and laid the hide fur side down. You want to cover it entirely with Morton salt. You will need a lot of salt.
Now you have to leave the cow hide alone for up to two weeks while it cures.
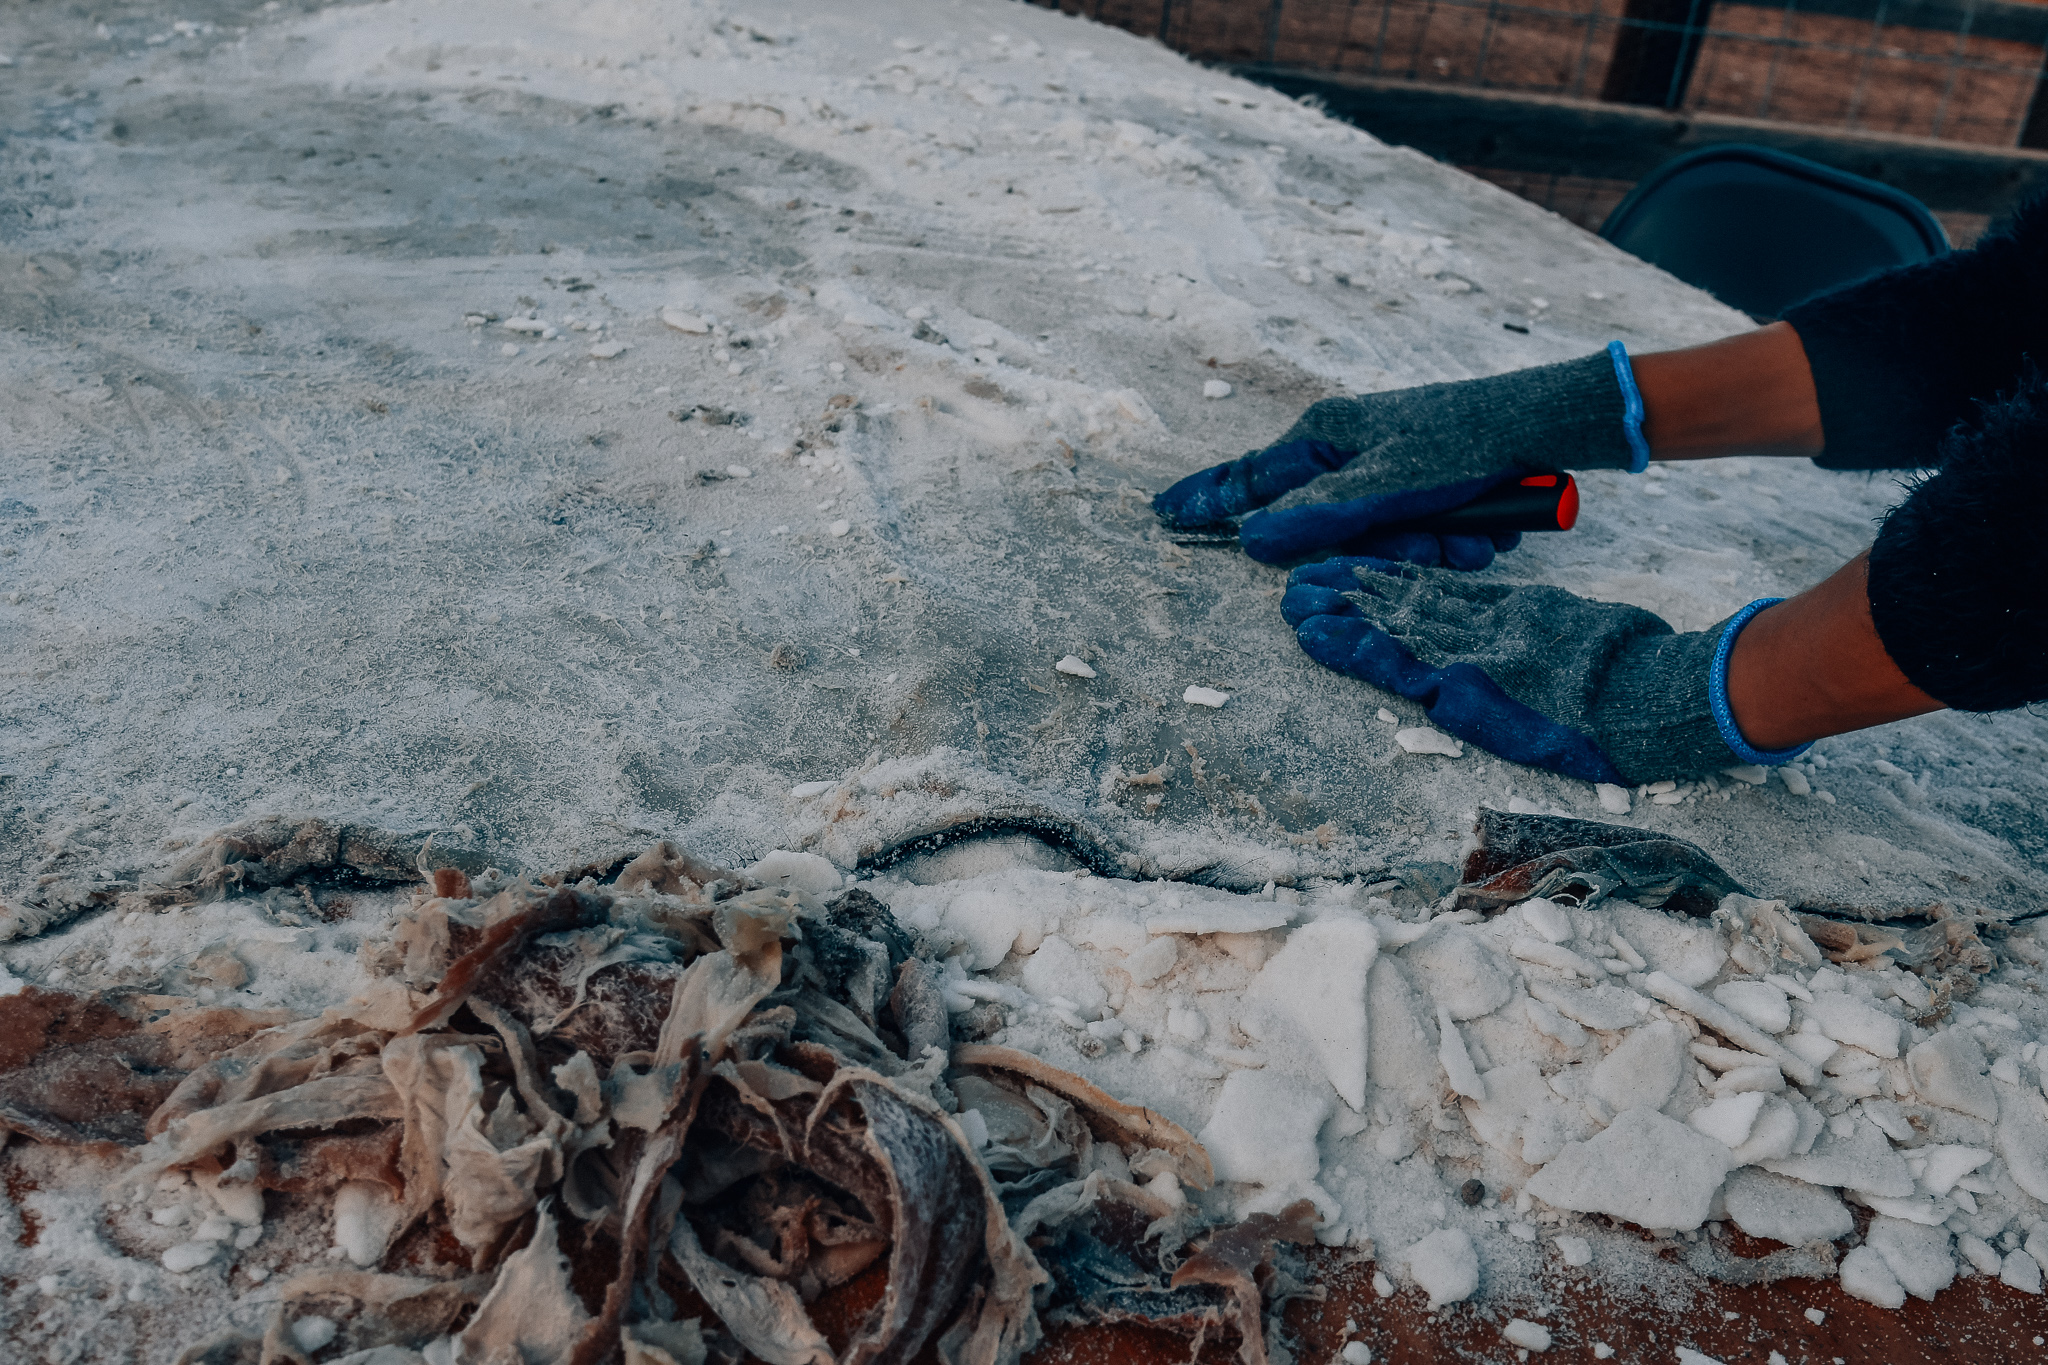
After two weeks you will want to scrape off all of the salt. Then start scraping all of the left over fat and meat. I used my thumb and index finger to pull the fat and meat. My fingers were so sore.
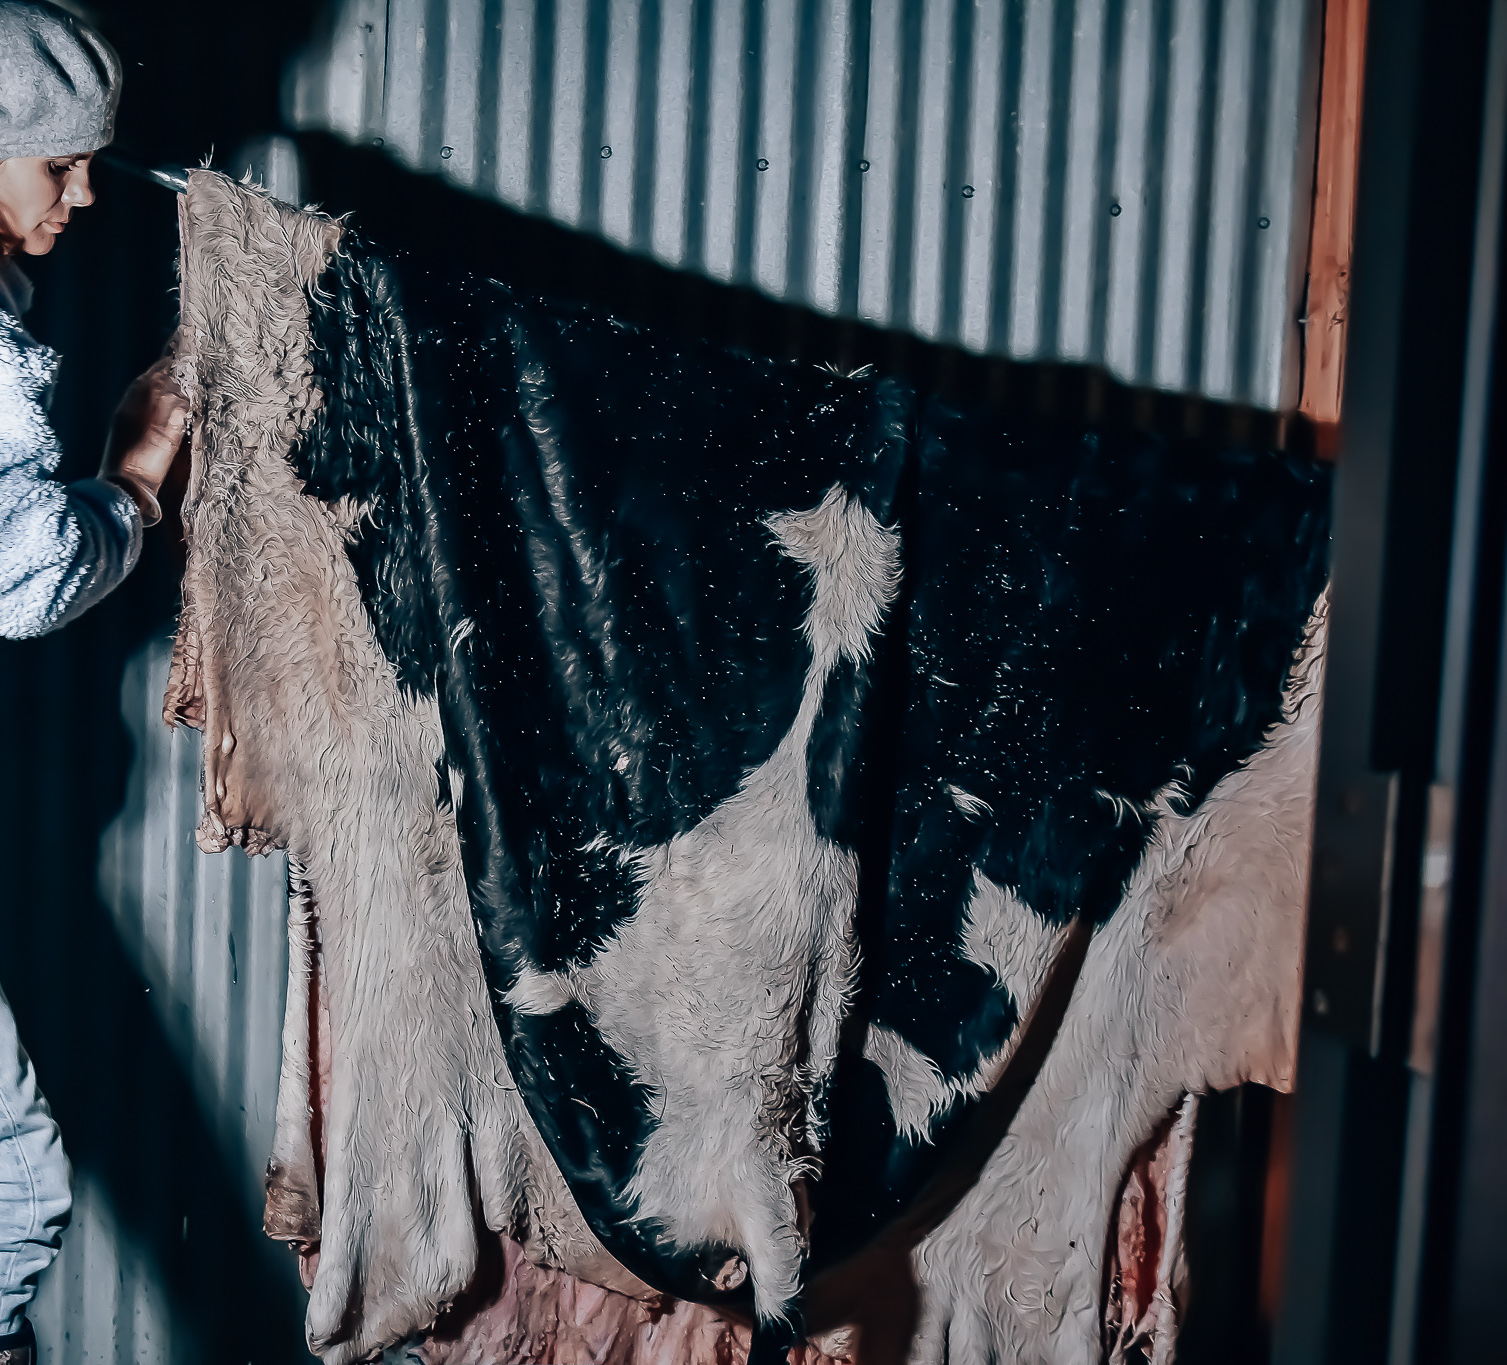
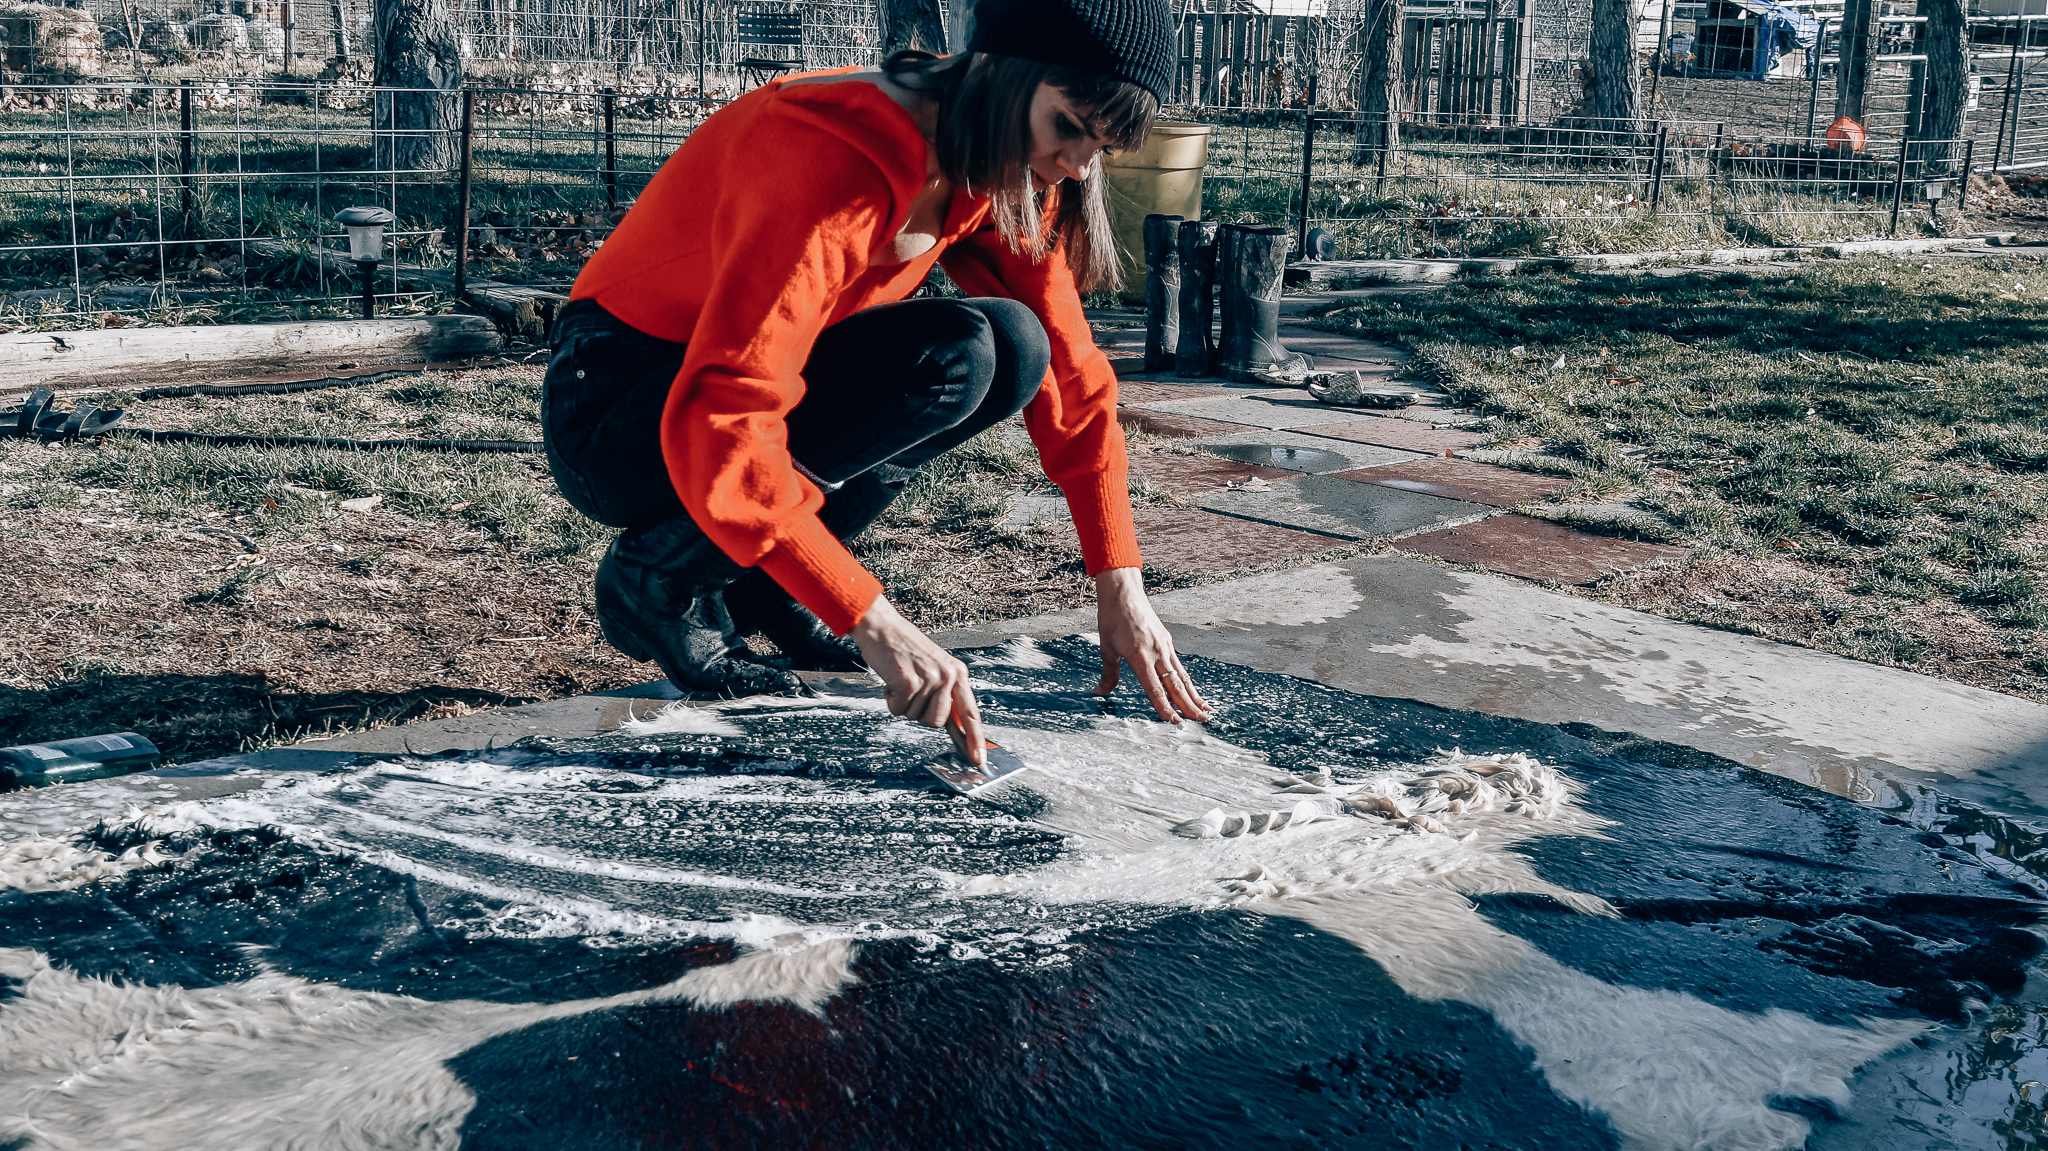
Once you are completely done you’ll want to cover the cow hide with egg yoke. You will need a lot of egg yoke. Massage the egg yoke into the cow hide. Cover the cow hide with wet but not drenched towels. Leave the wet towels on the cow hide for two days. After two days wash the cow hide with shampoo. Any shampoo will do. You will want to use the entire bottle. Hang the cow hide on fence or clothes line to allow it to drain.
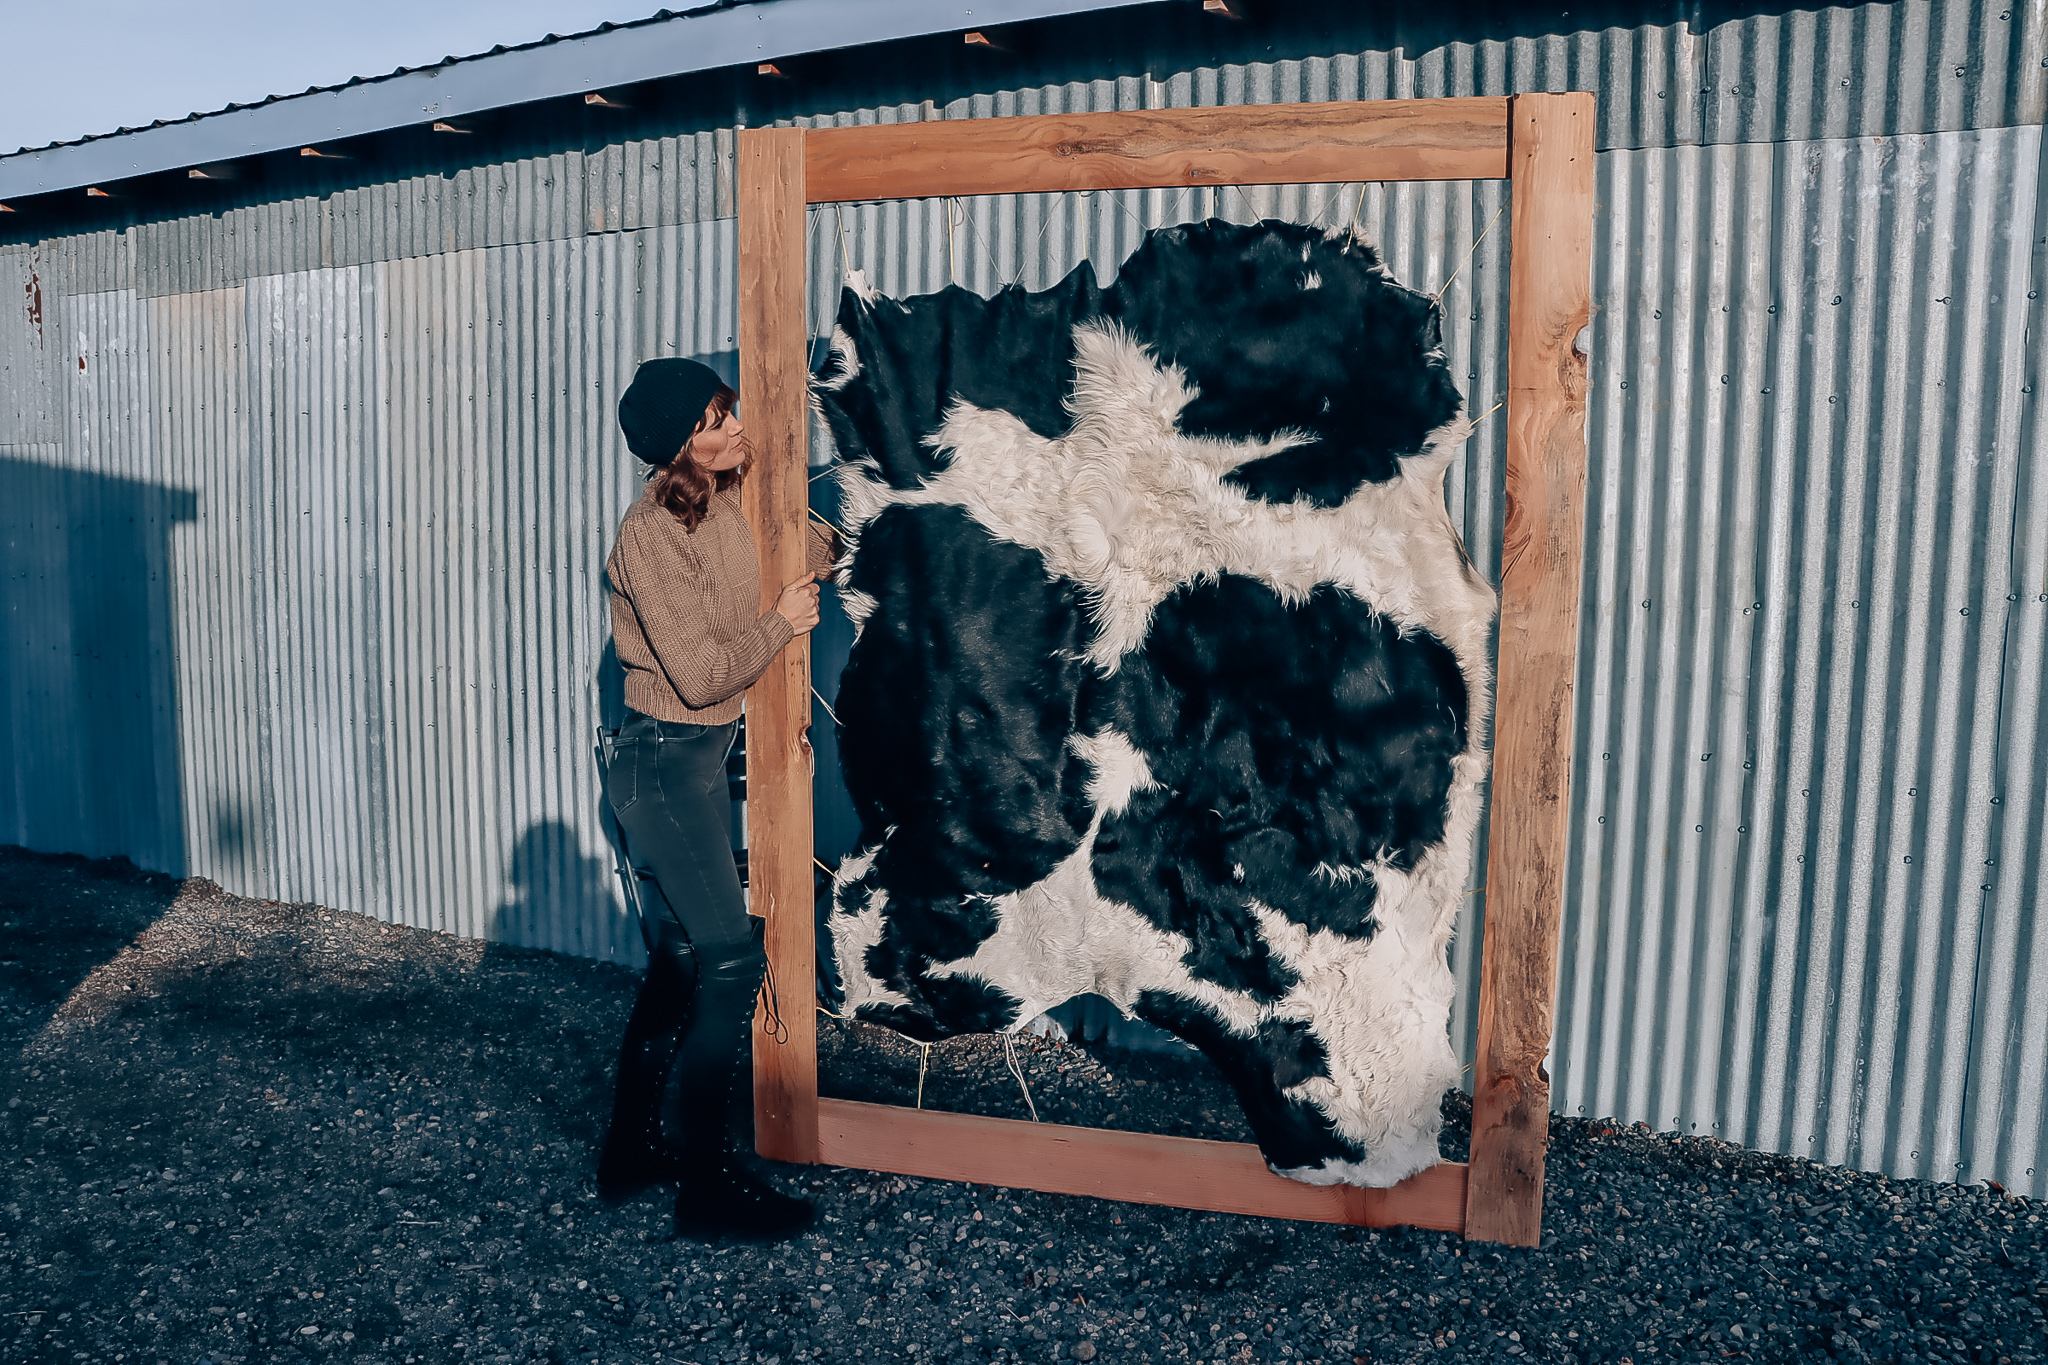
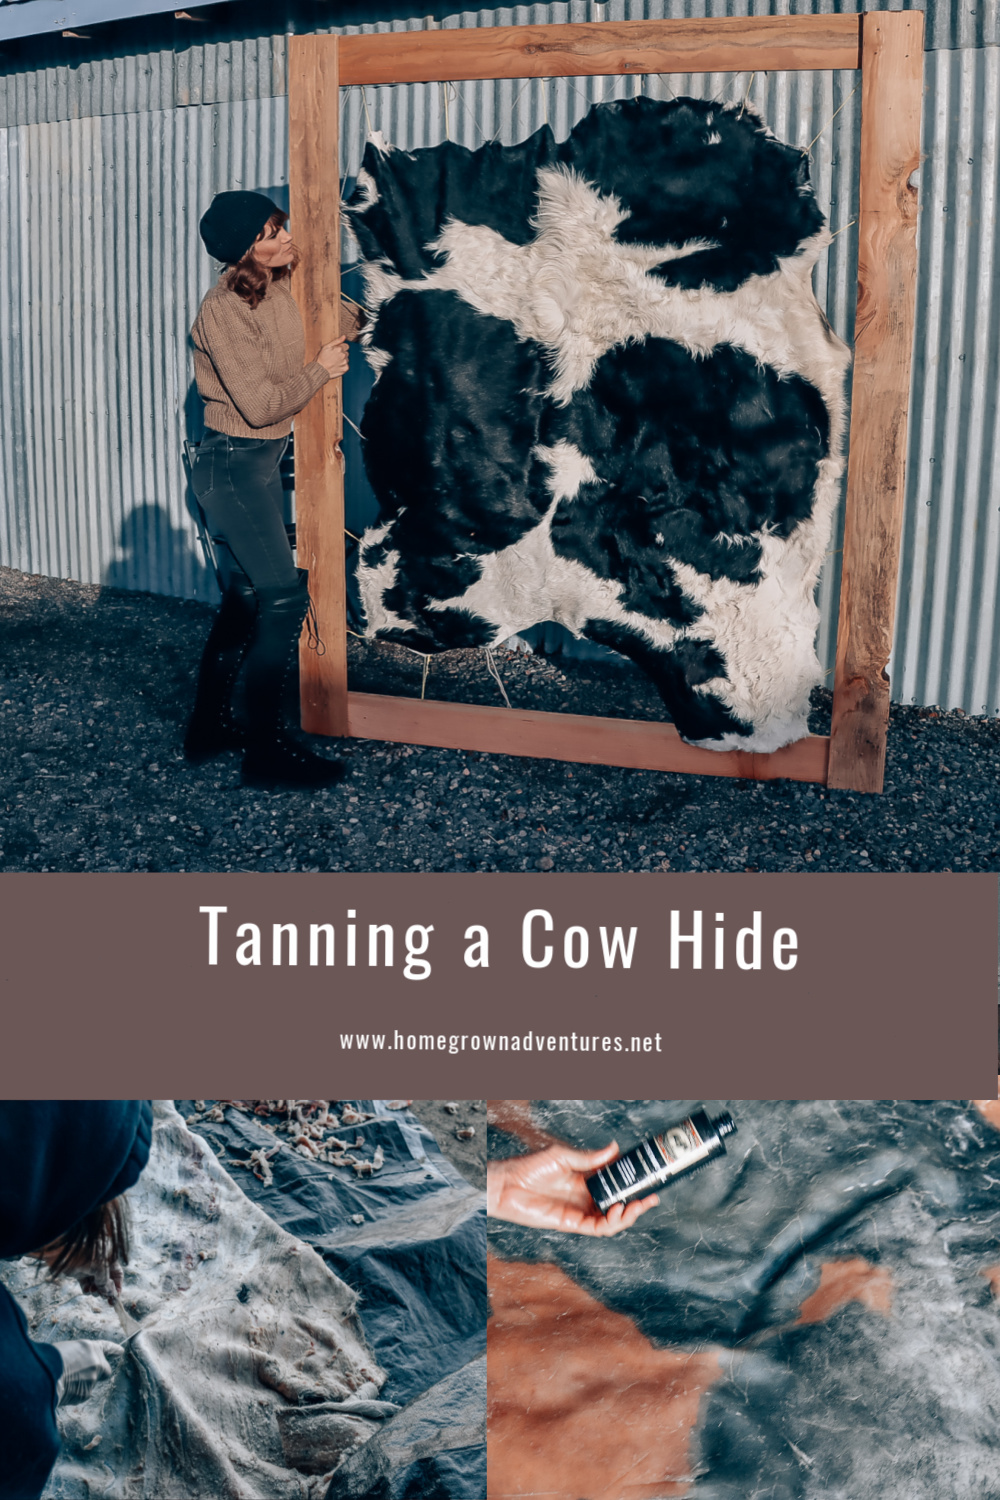
My husband created at wooden stretcher for me. I pulled the hide gently and made some holes in the hide so that I could put yarn through it.
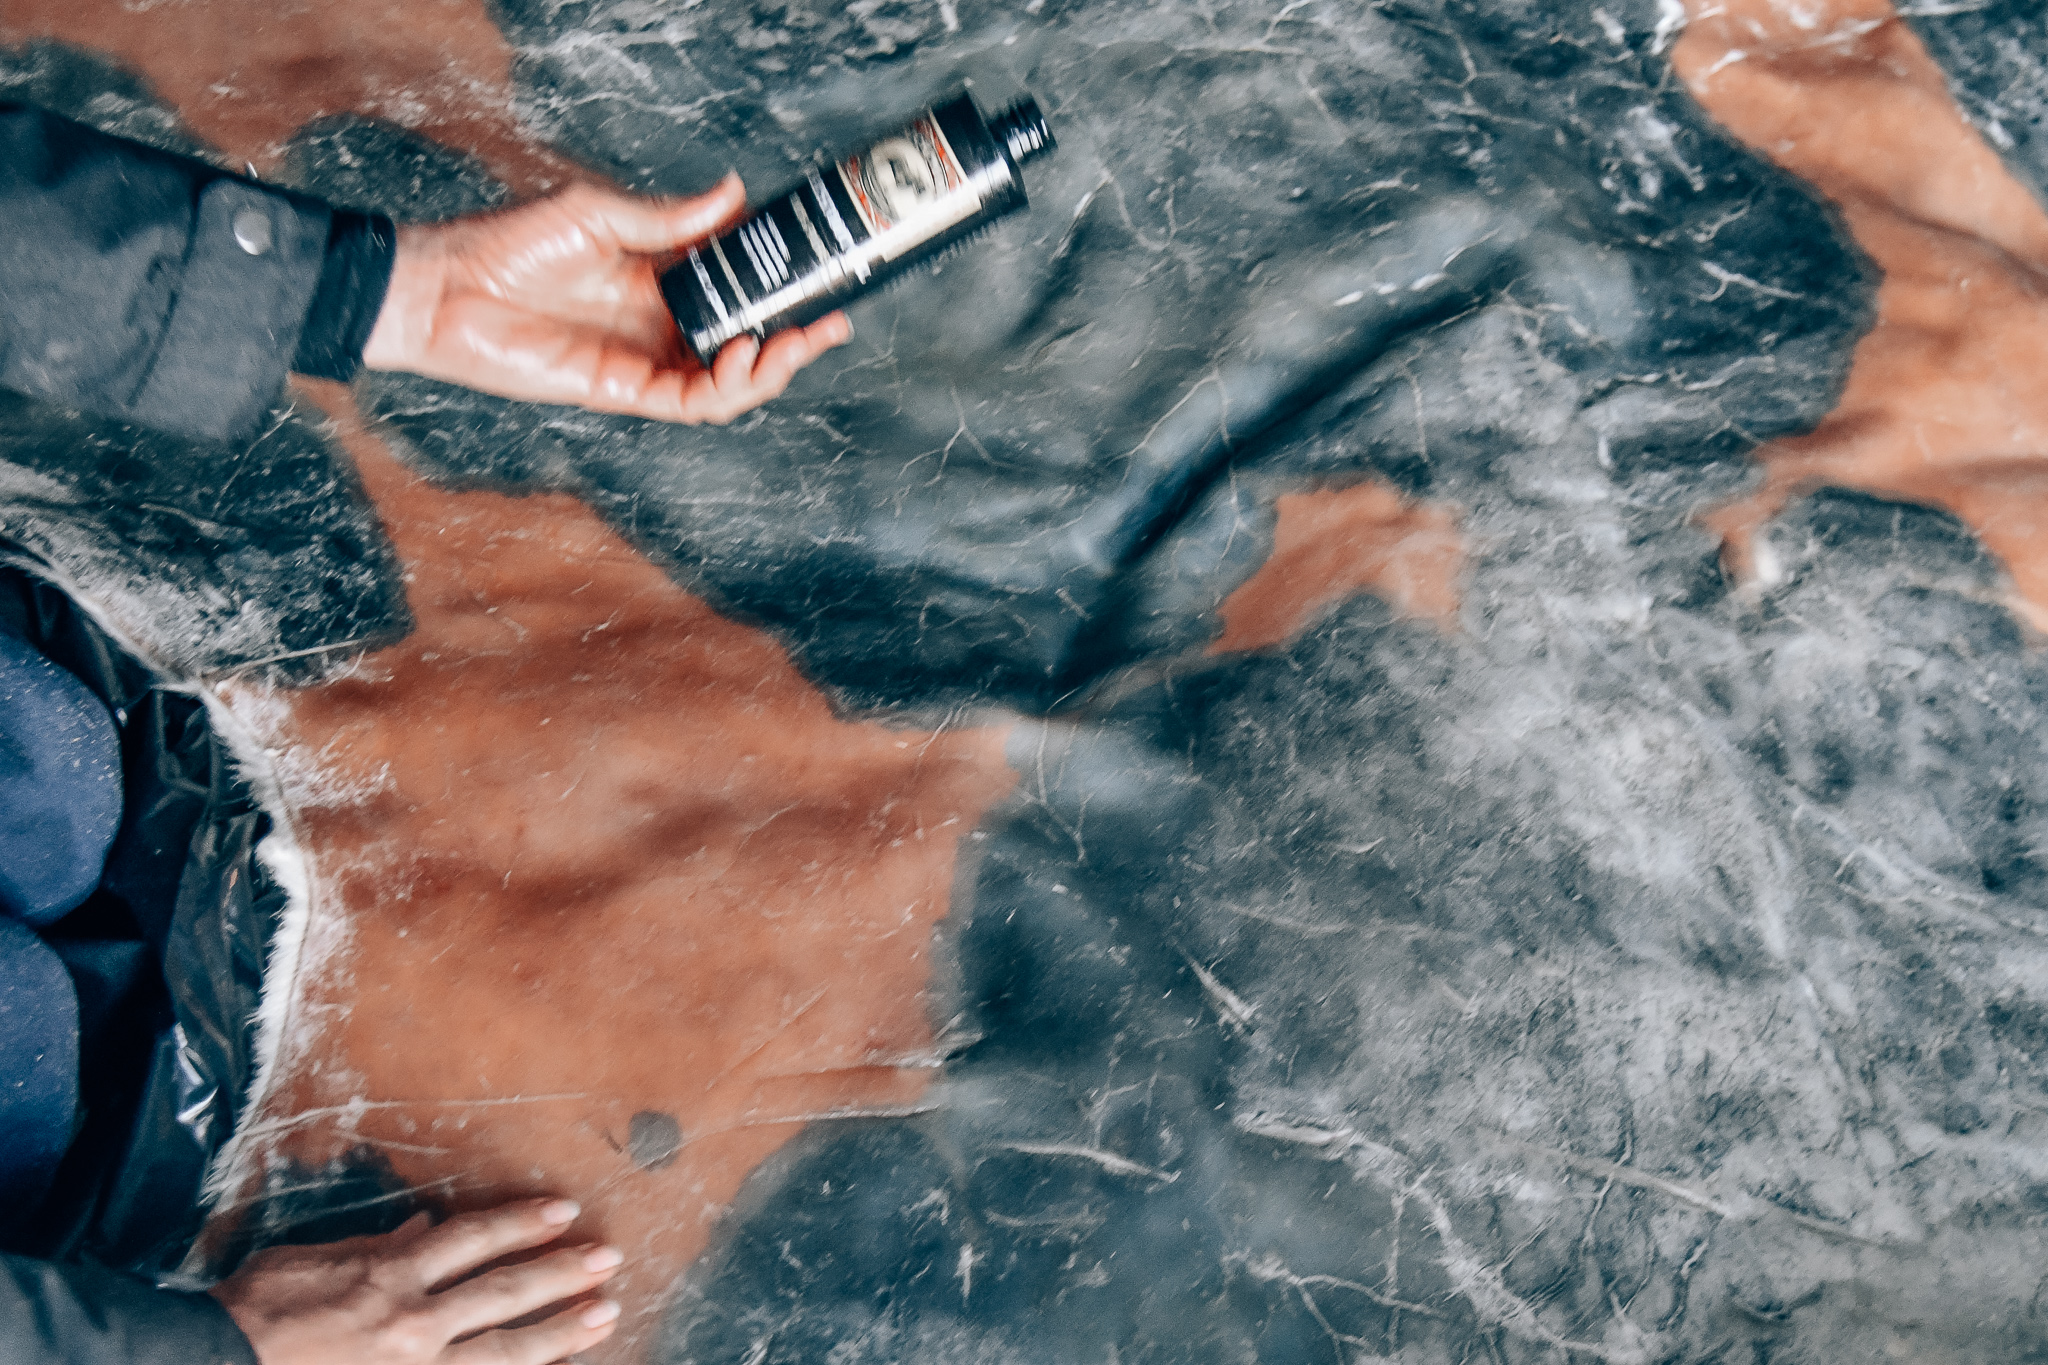
Apply some neat’s-foot oil to the skin side of the hide.
While it was still drying I used wooden stick, sandpaper, wire brush, and my hands to stretch the cow hide. When the leather is dry it will be white. You’ll want to work it with you hands because this breaks up the membranes.
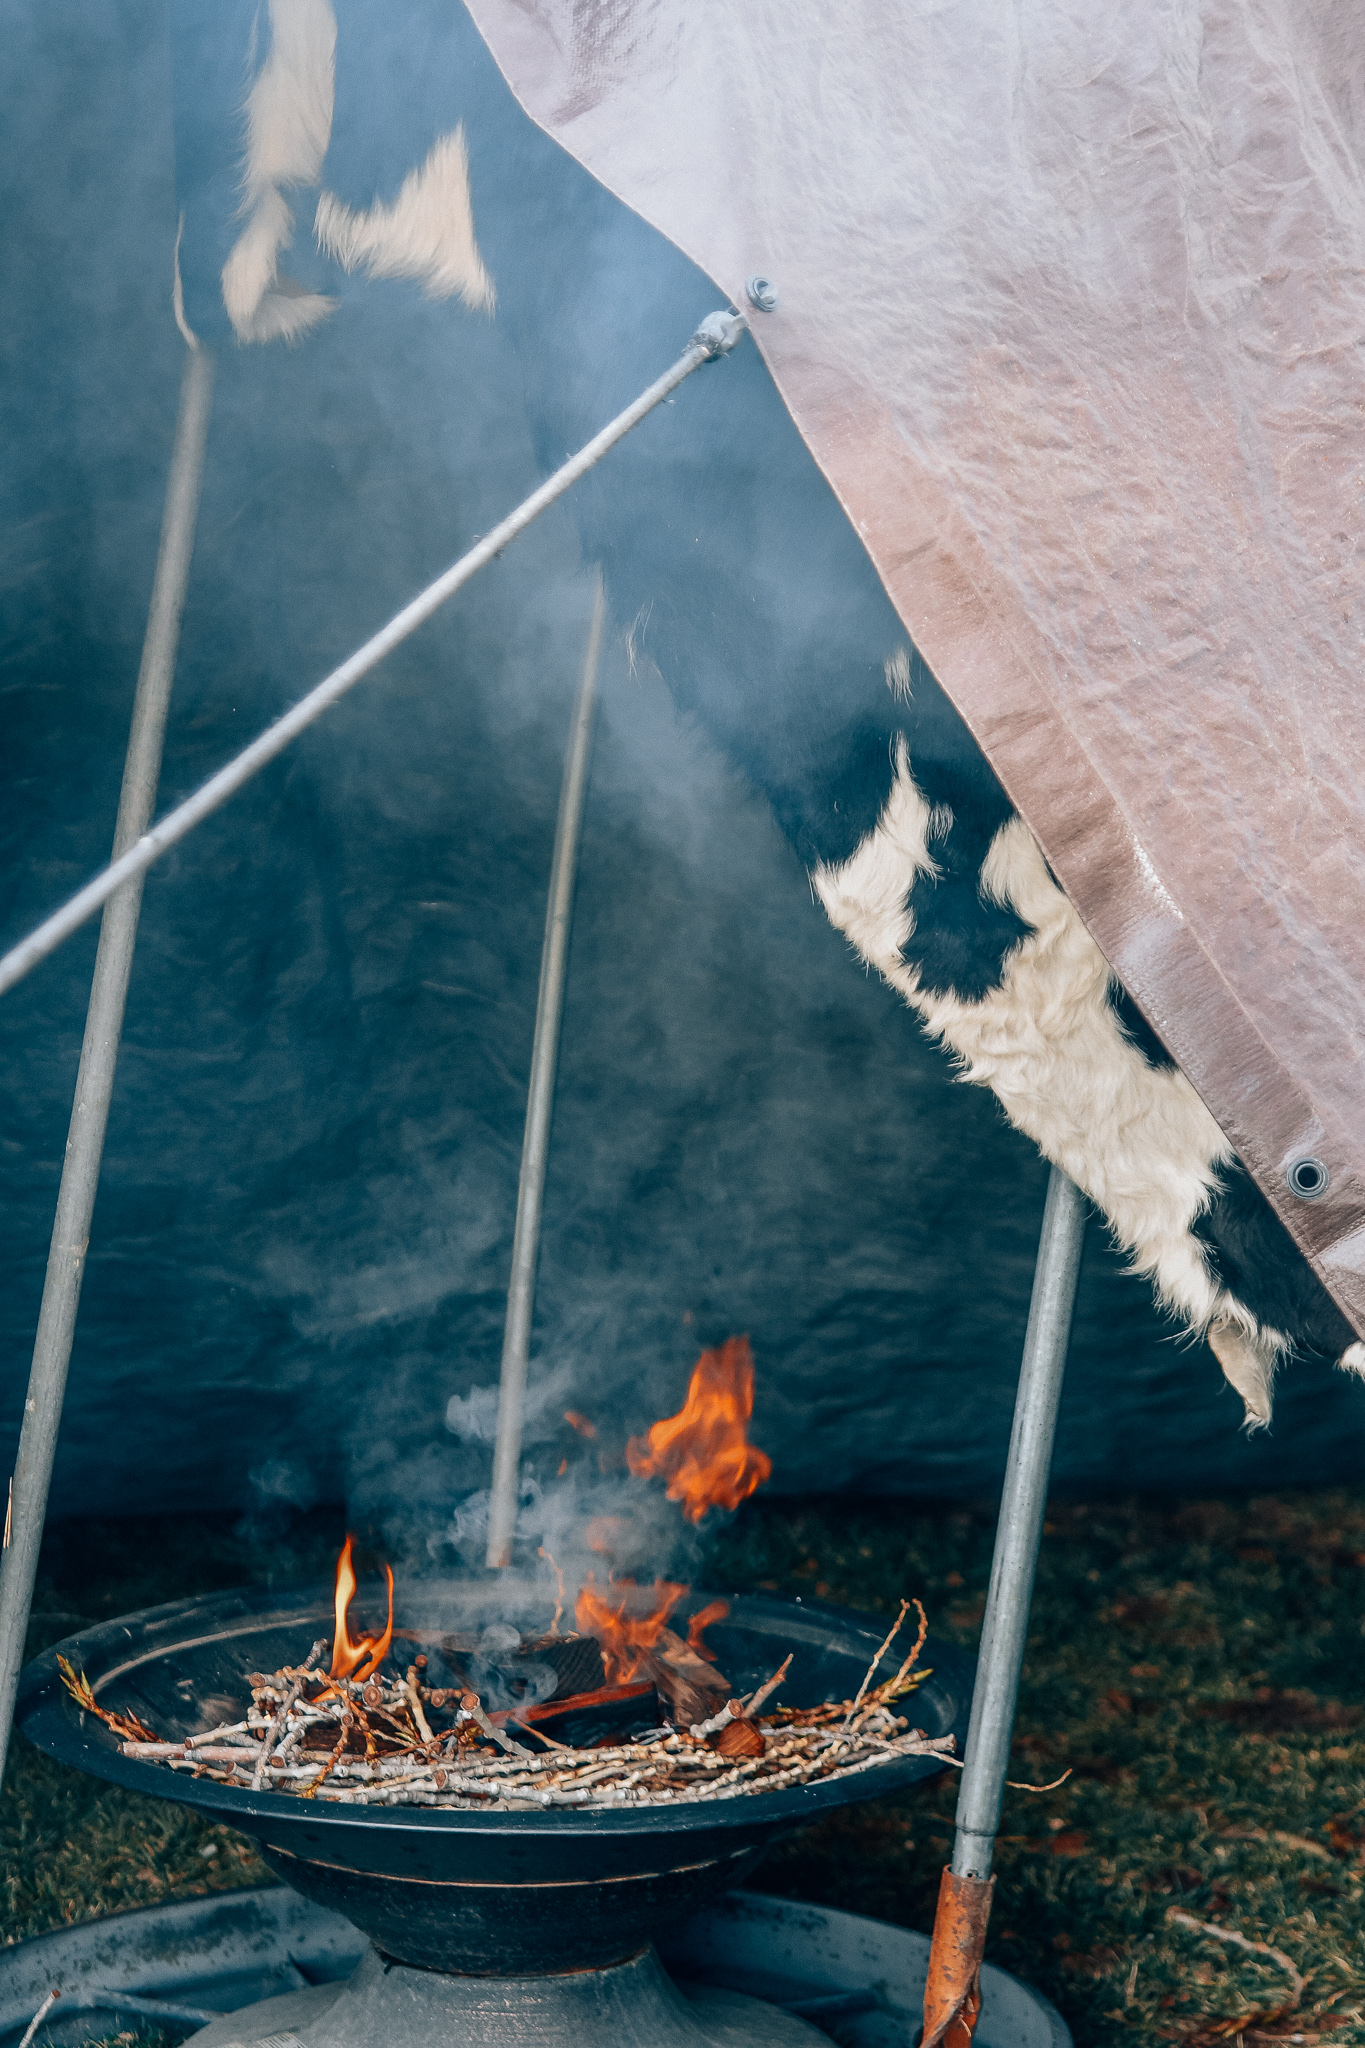
Then you’ll want to smoke the hide. This process makes the hide waterproof.
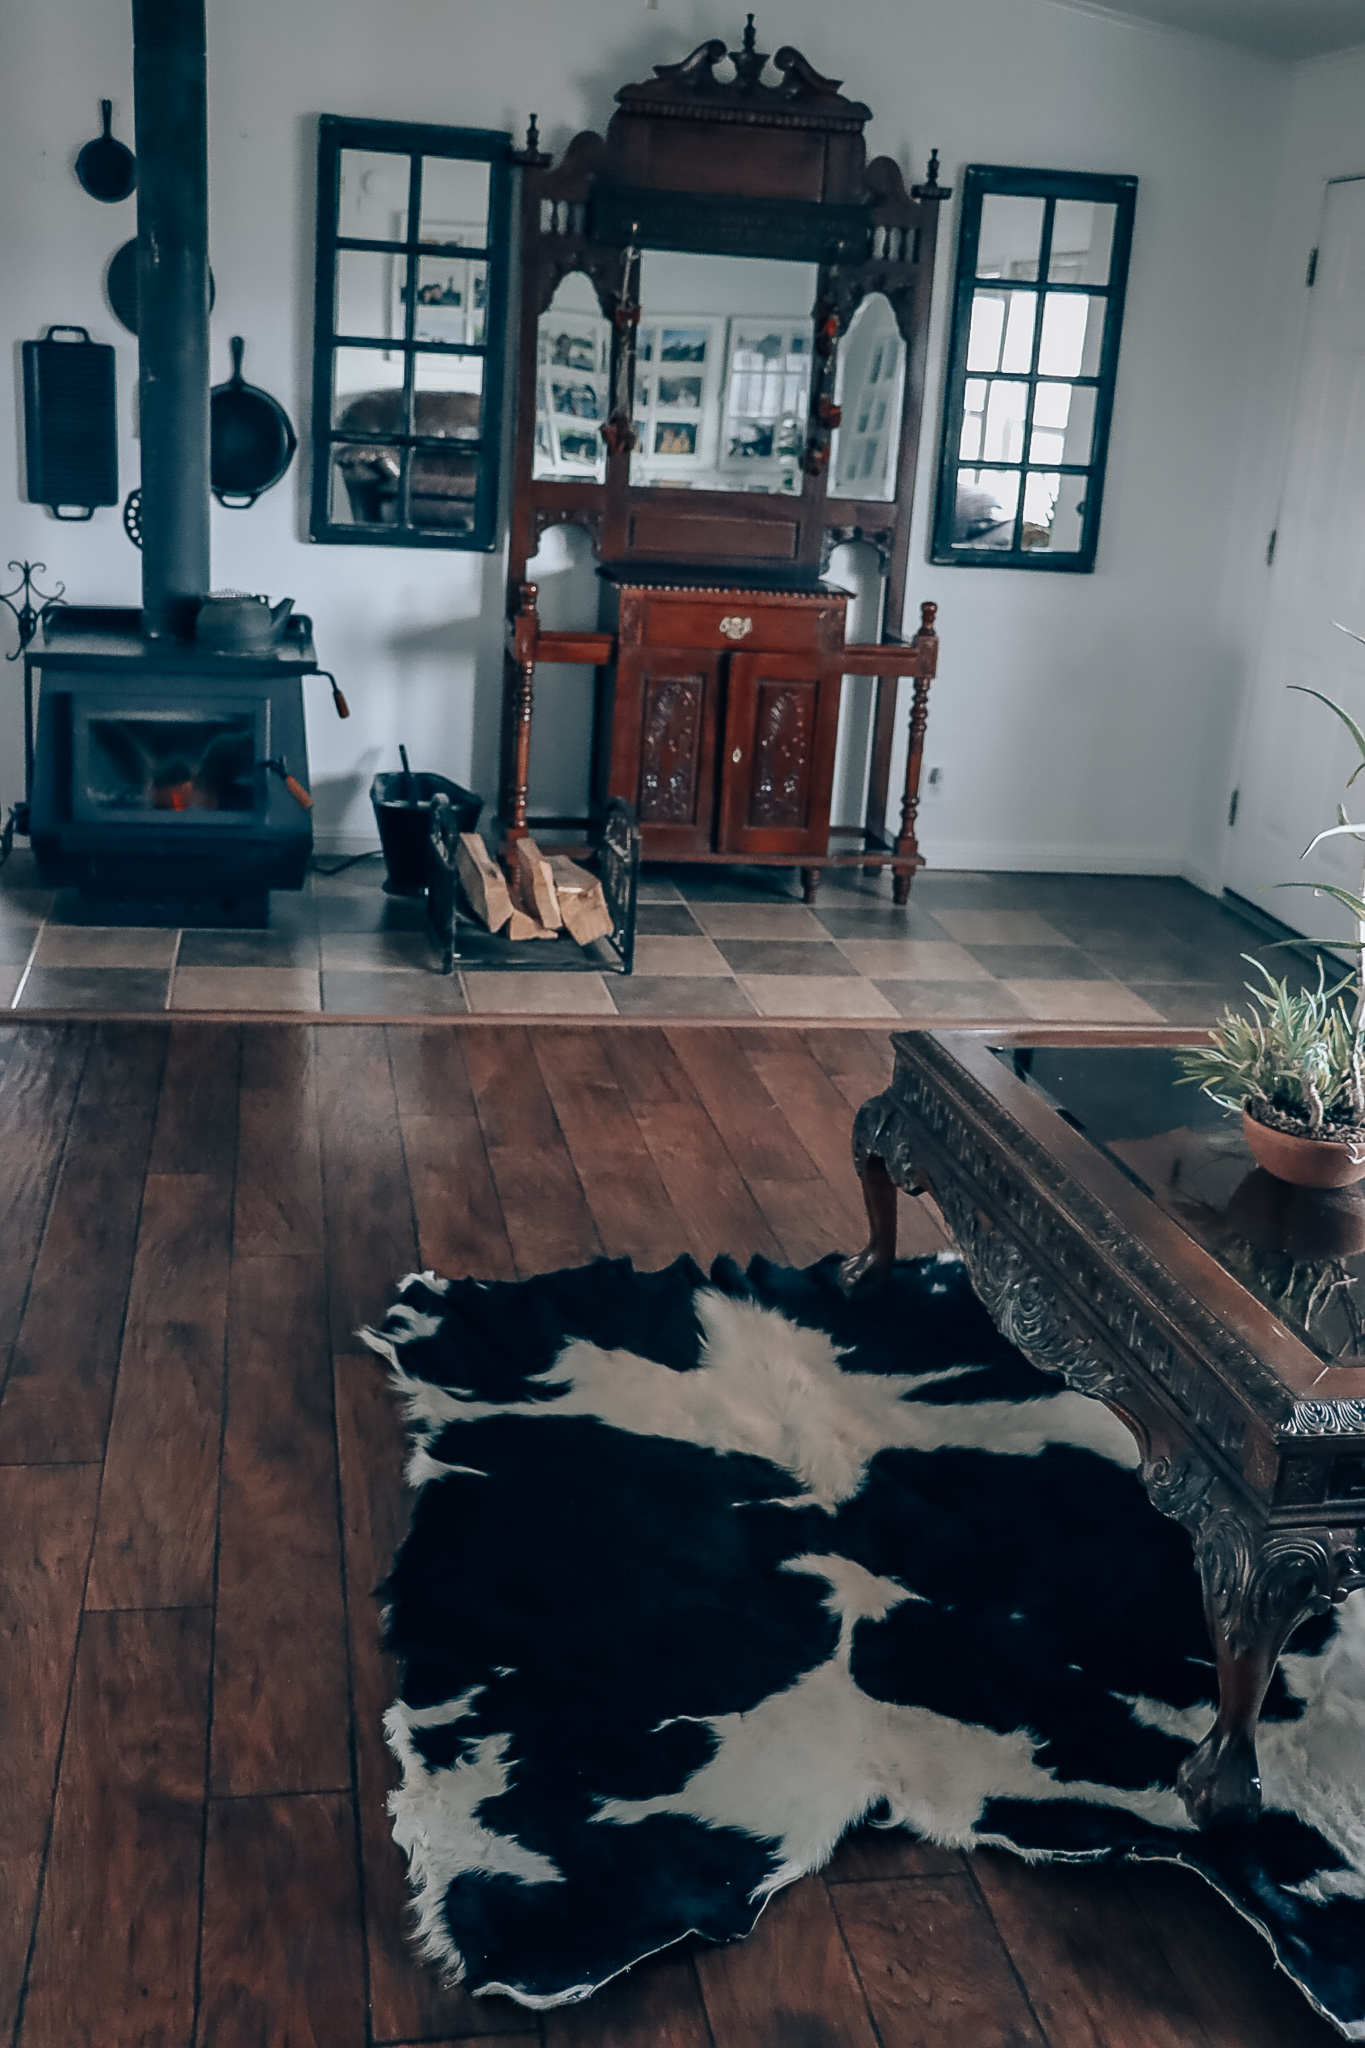
I’m very proud of what I’ve done with this cow hide. It was so much work. It didn’t turn out as soft as I had hoped it would but for my first cowhide I’m pleased with how it turned out. It was a huge learning experience for me. We will be hanging it on the wall in our pump house.

Thank you for reading our blog post. We share a new blog post every Wednesday and Friday.