You either love chickens or you don’t. Most people keep chickens for their eggs and some for their meat. Chickens are something that most start with on a homestead. In college, in my speech class, my first speech was about my chicken. You see my first experience with farm life and chickens was in Washington when I was eight years old. We lived in a rental so we couldn’t have a lot of animals but we had a dog named Snoopy and a few chickens. I had a favorite chicken. I think this chicken was my favorite because it would get picked on by other chickens. When I’d catch a chicken picking on my favorite chicken I’d pick up the mean chicken and swing her around by her feet. One day our dog attacked my beloved chicken. She couldn’t walk. So I bandaged her up and every day I held on to her body and would move her left and right. Eventually she was off and running. I was so proud of myself. Some time went by and my parents felt it was time for my favorite chicken to become dinner. My parents killed her but when they defeathered her she didn’t look healthy or safe for us to eat. I was traumatized.
On our homestead we currently have over twenty chickens. Here you can read about our chicken coop.
Incubating Chicken Eggs
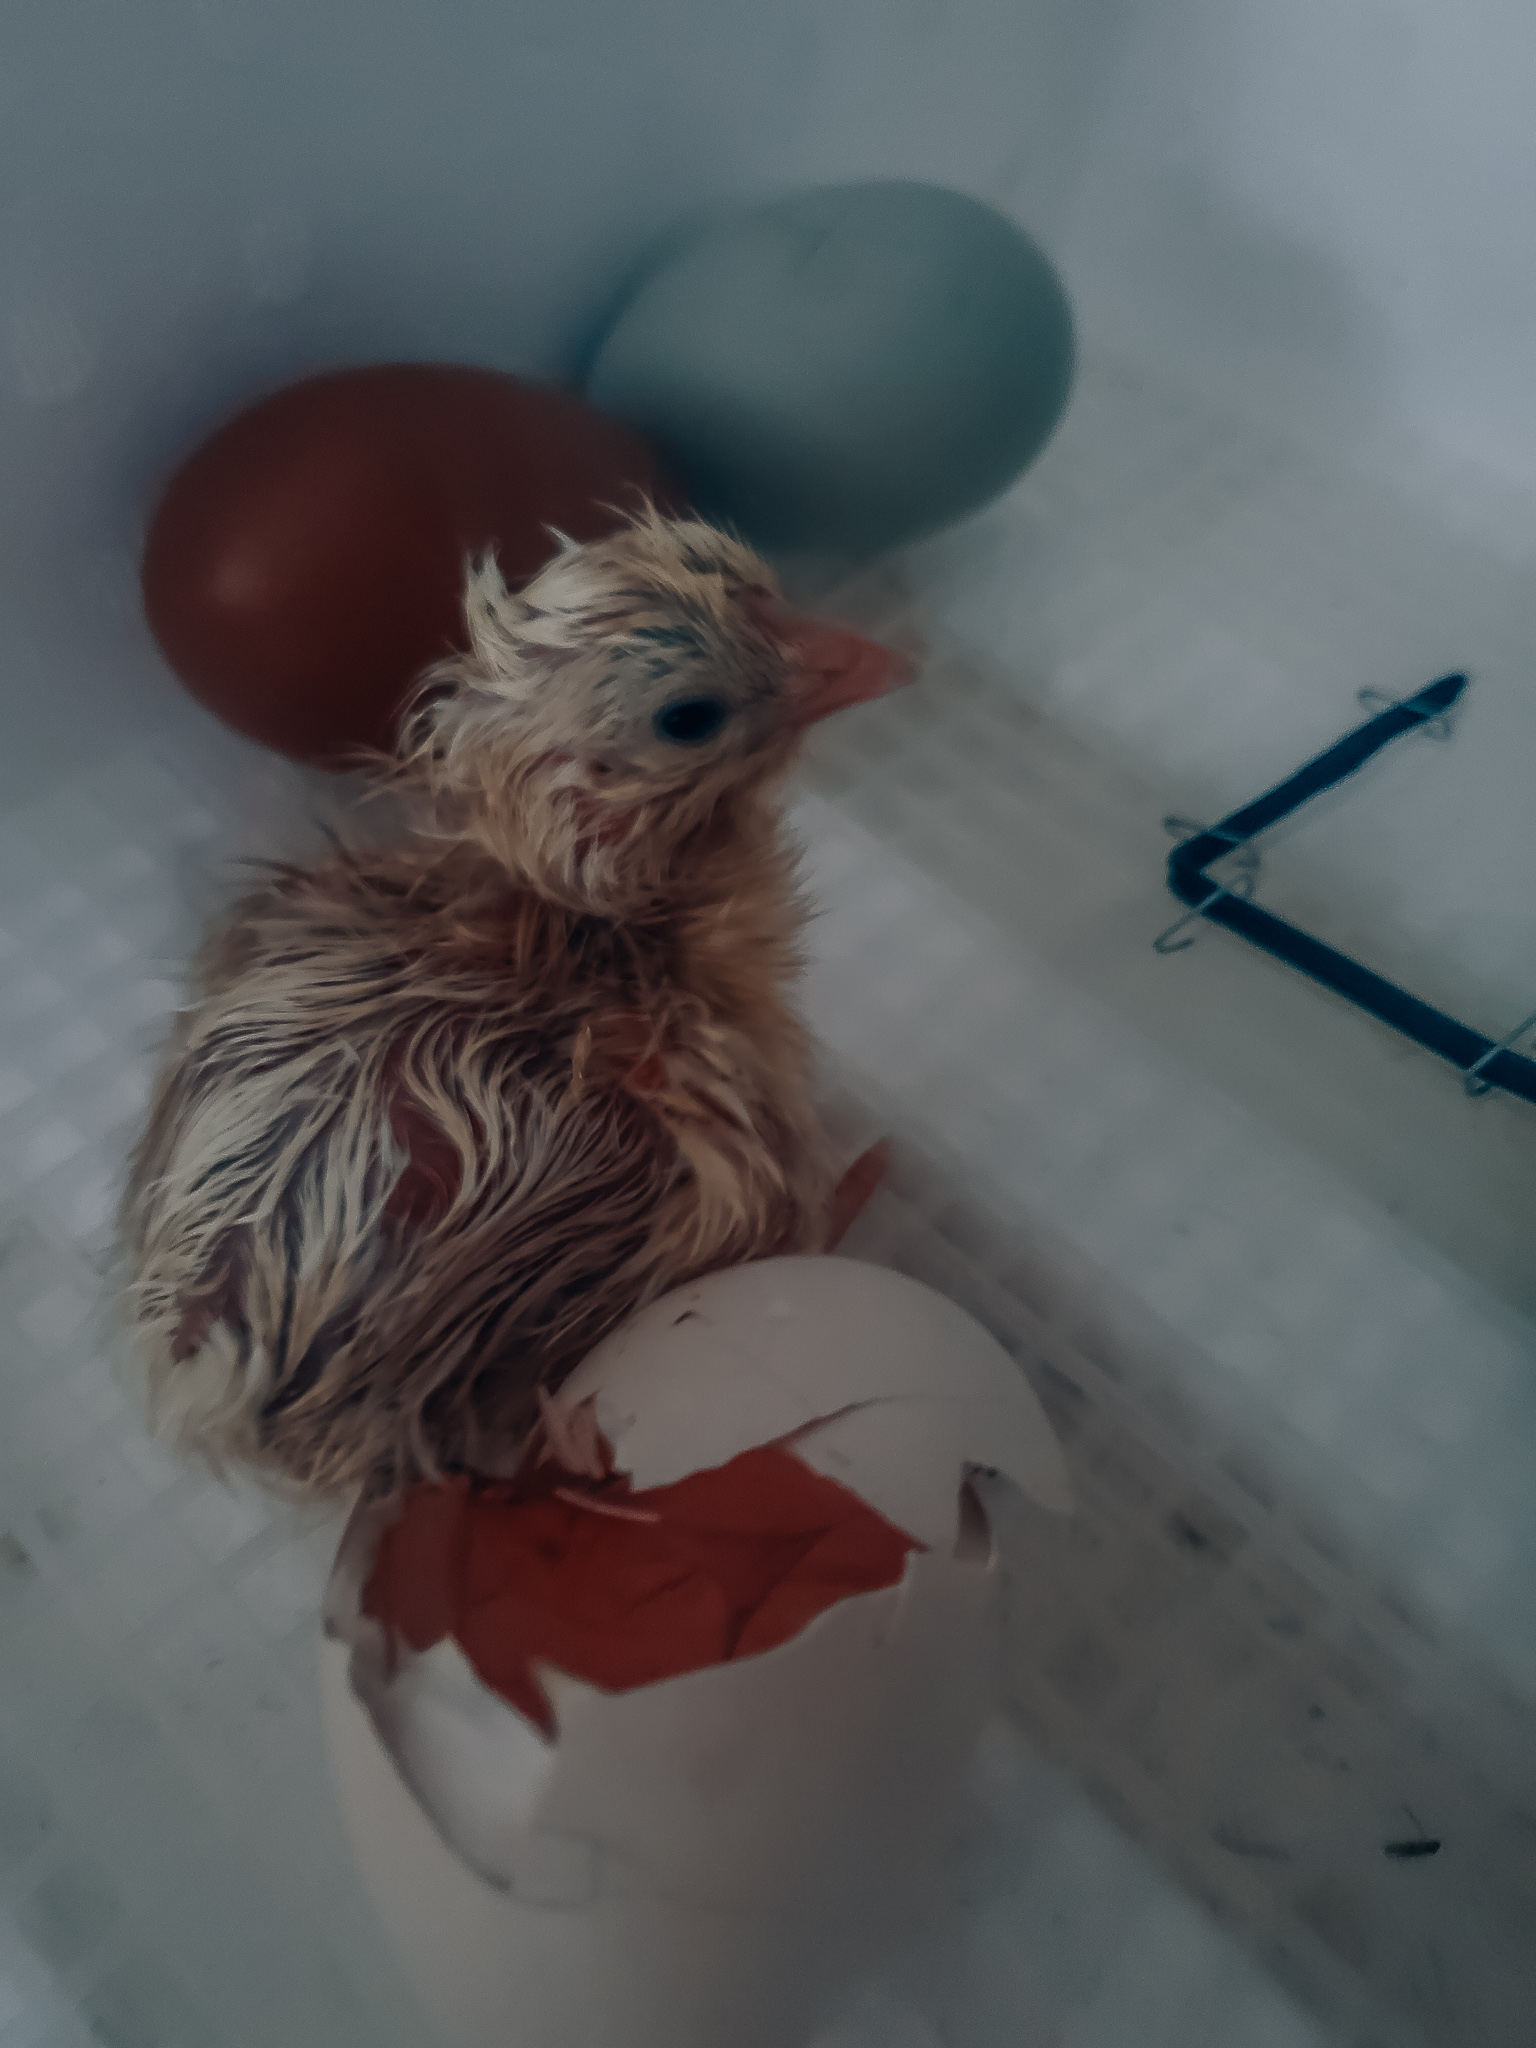
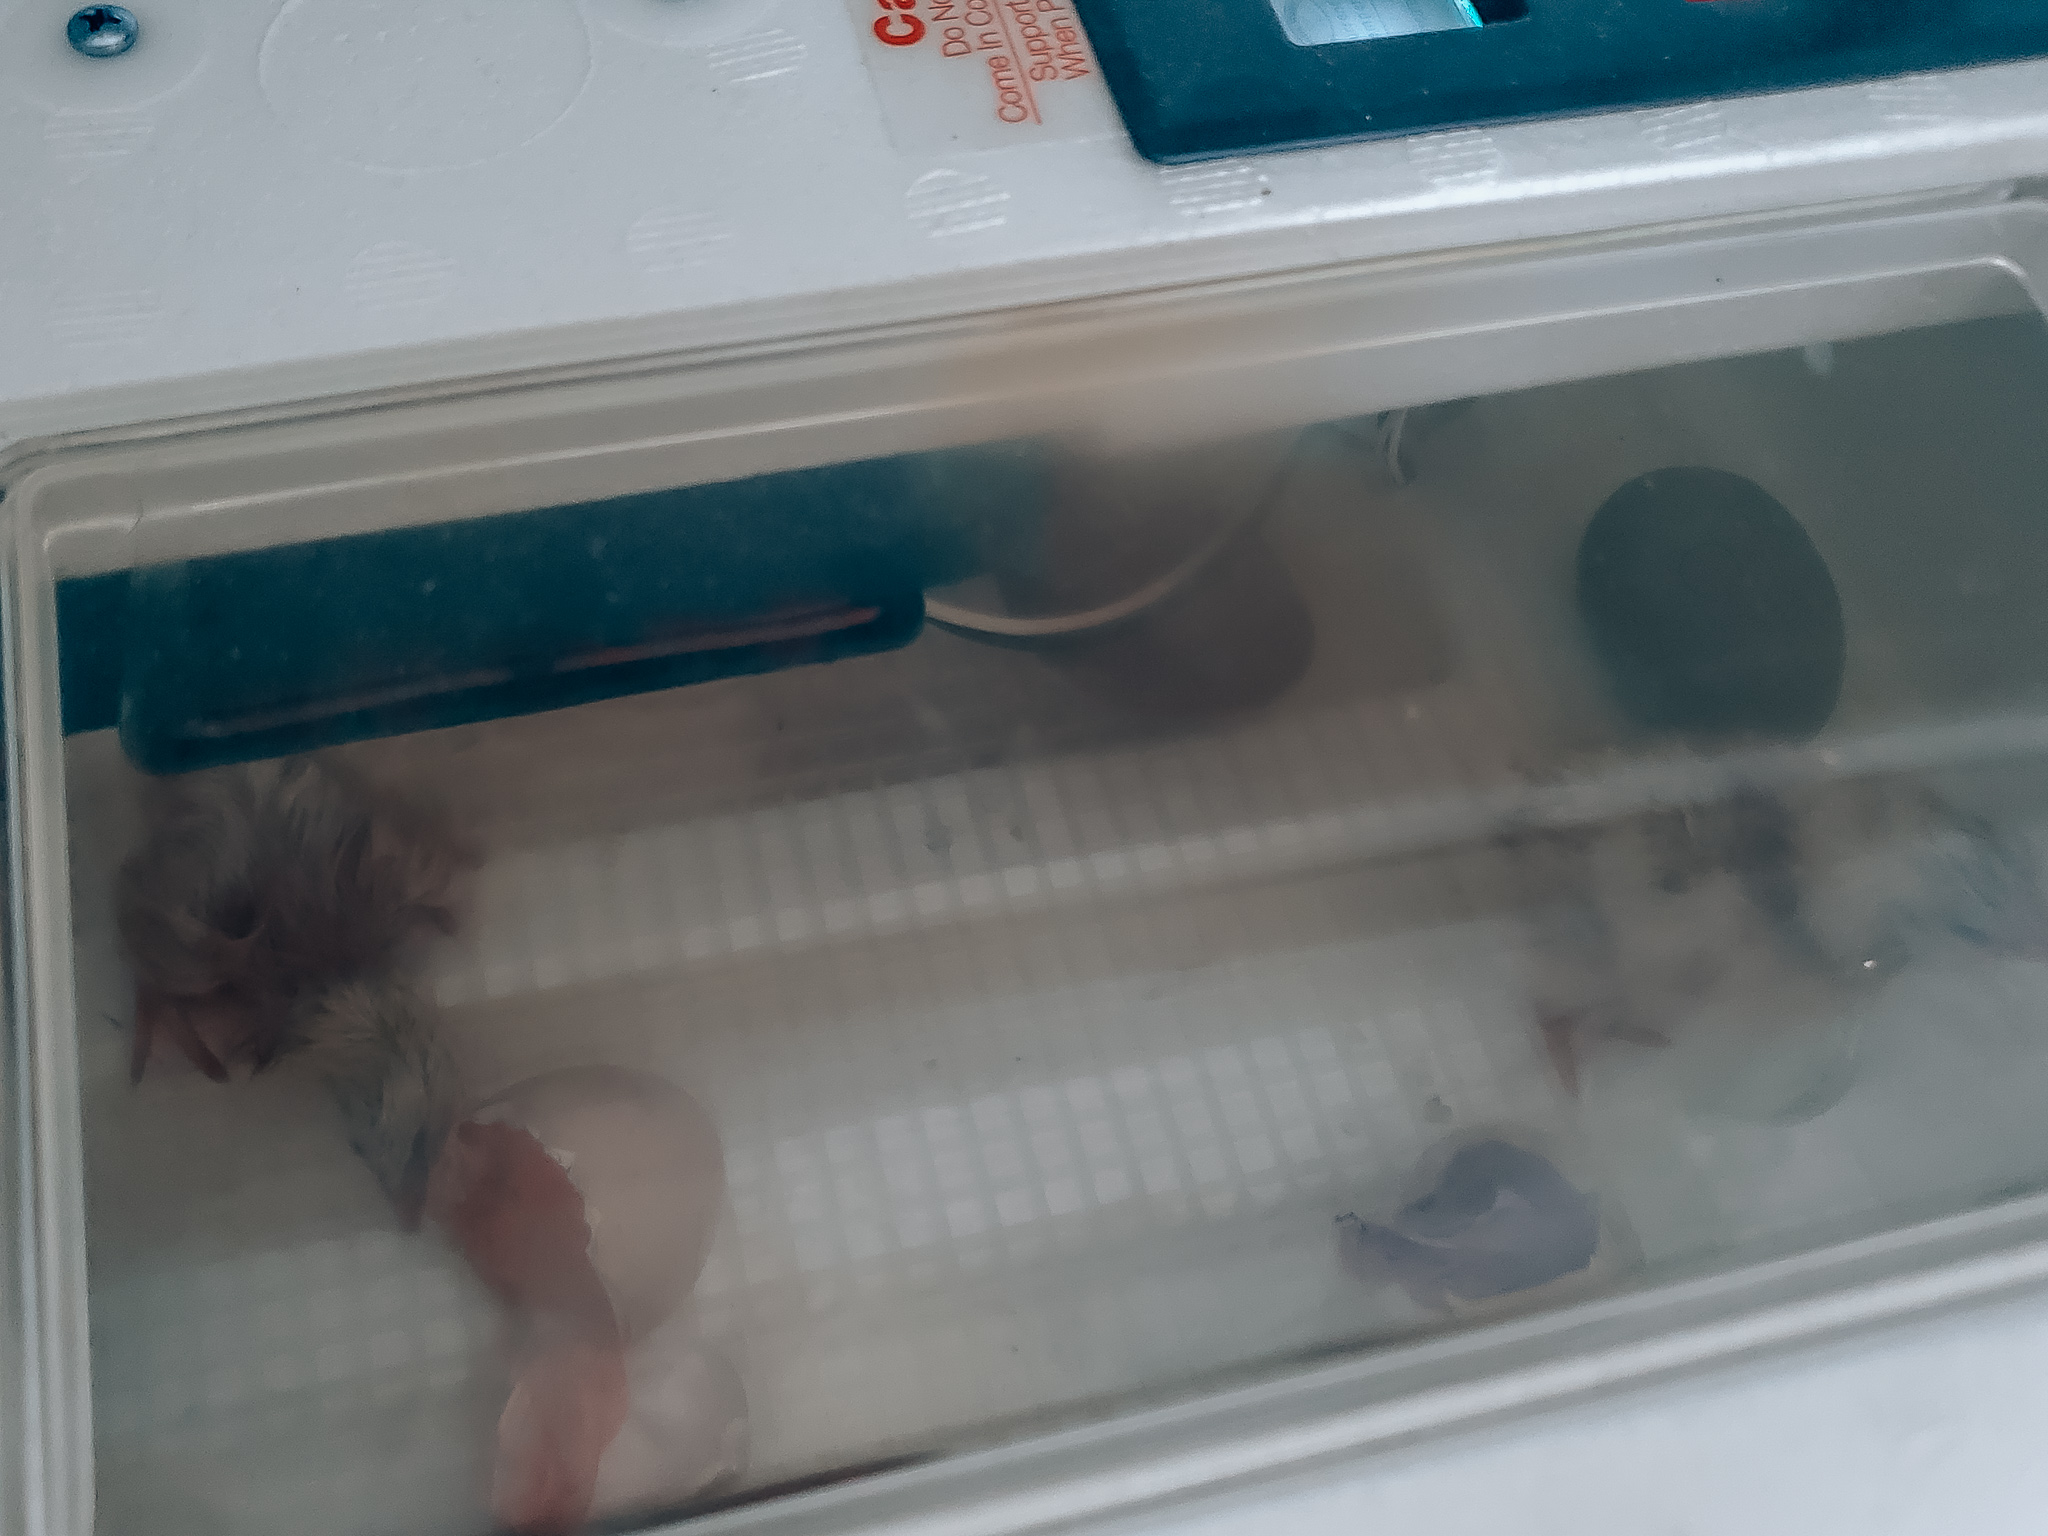
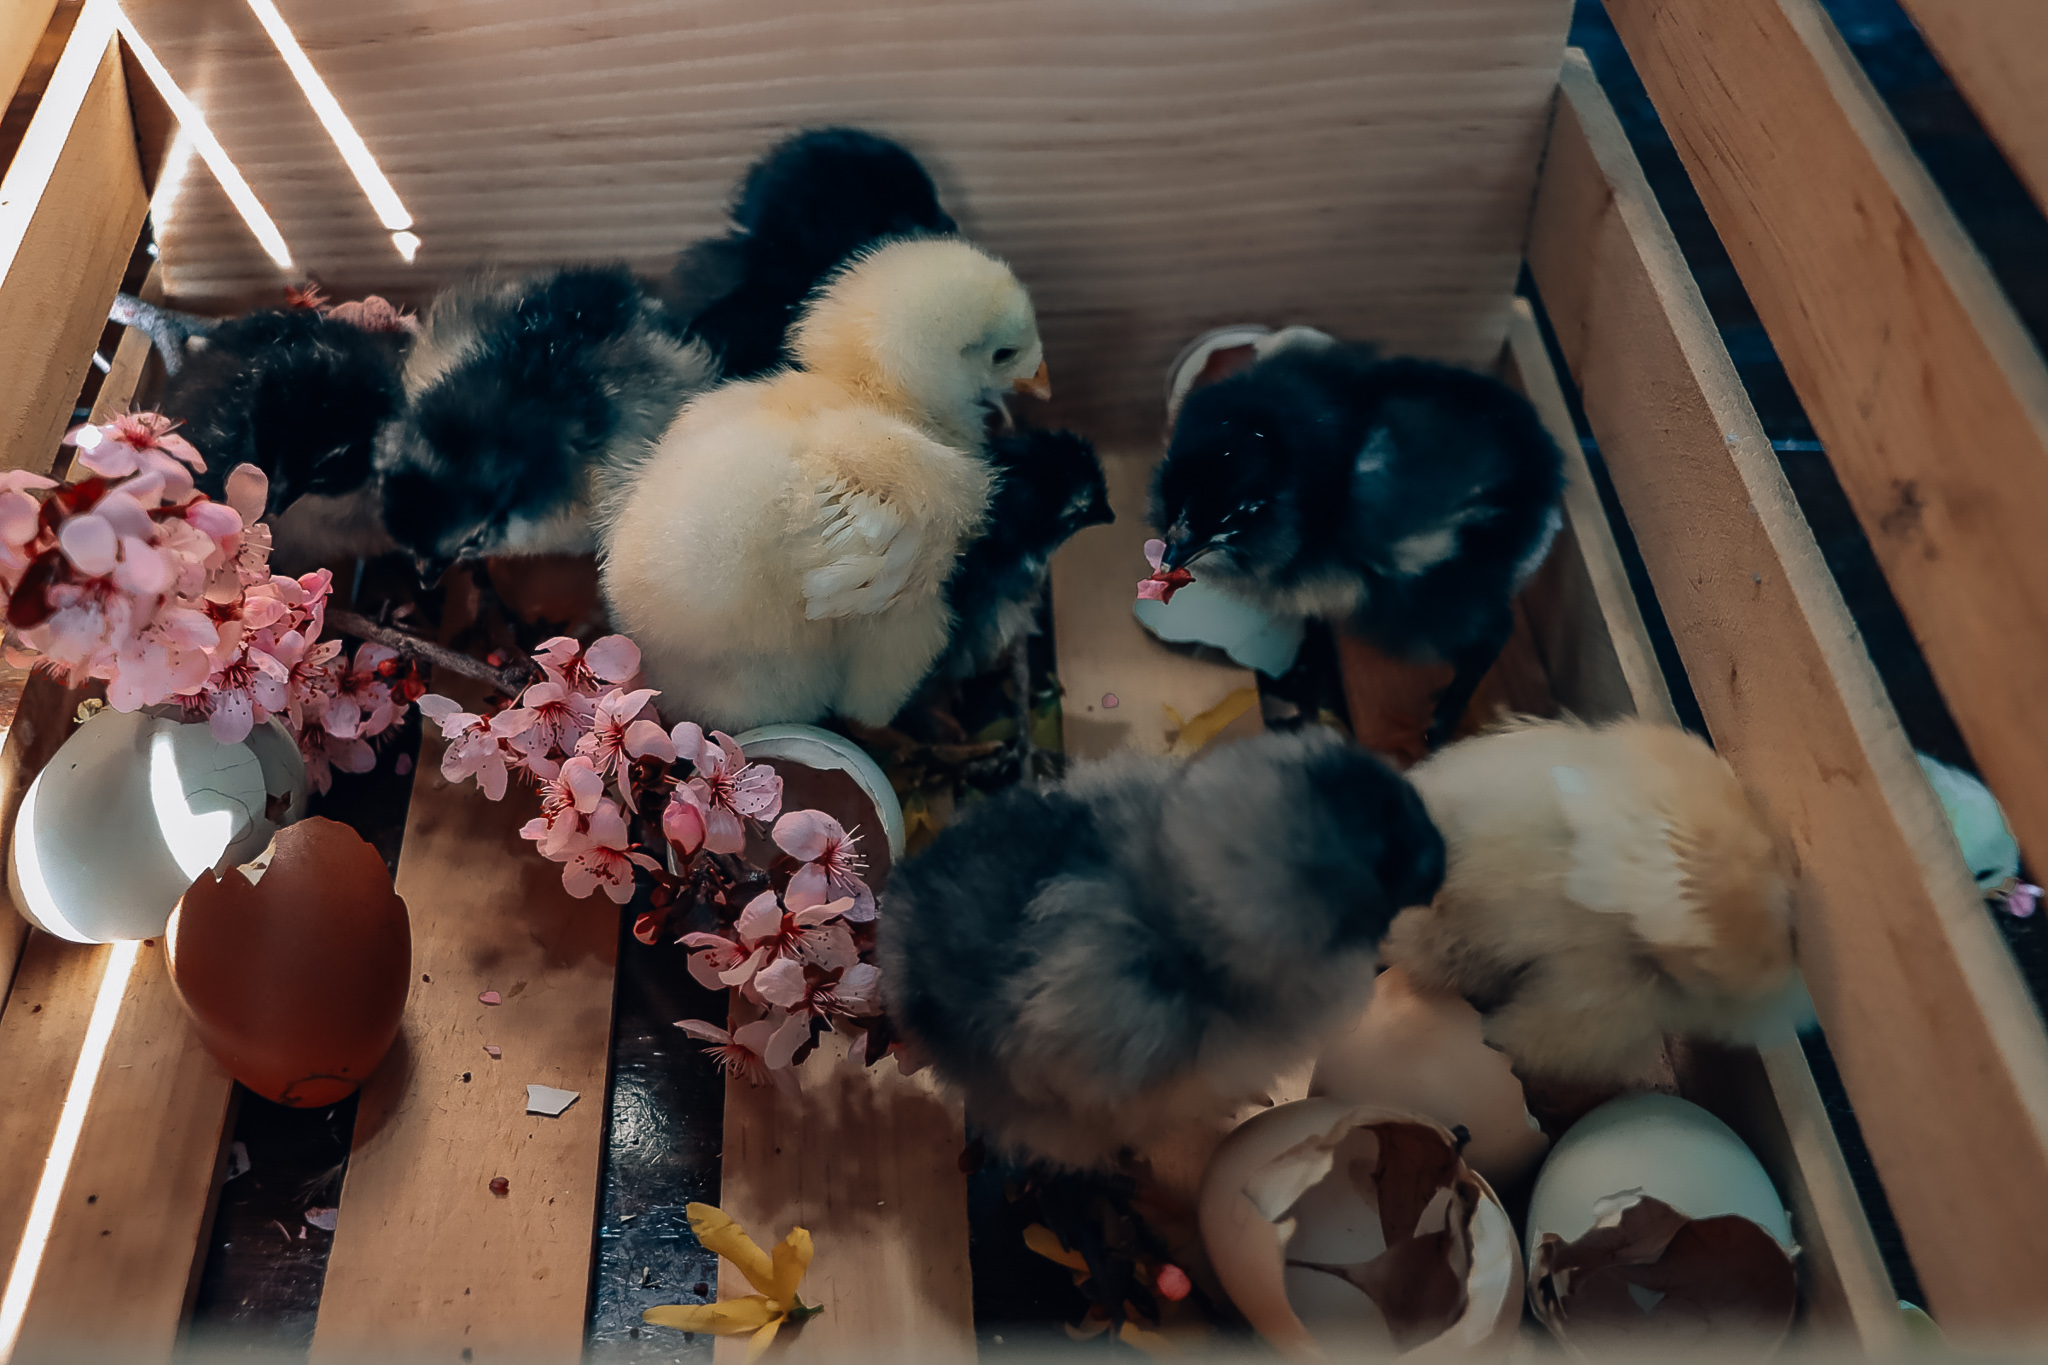
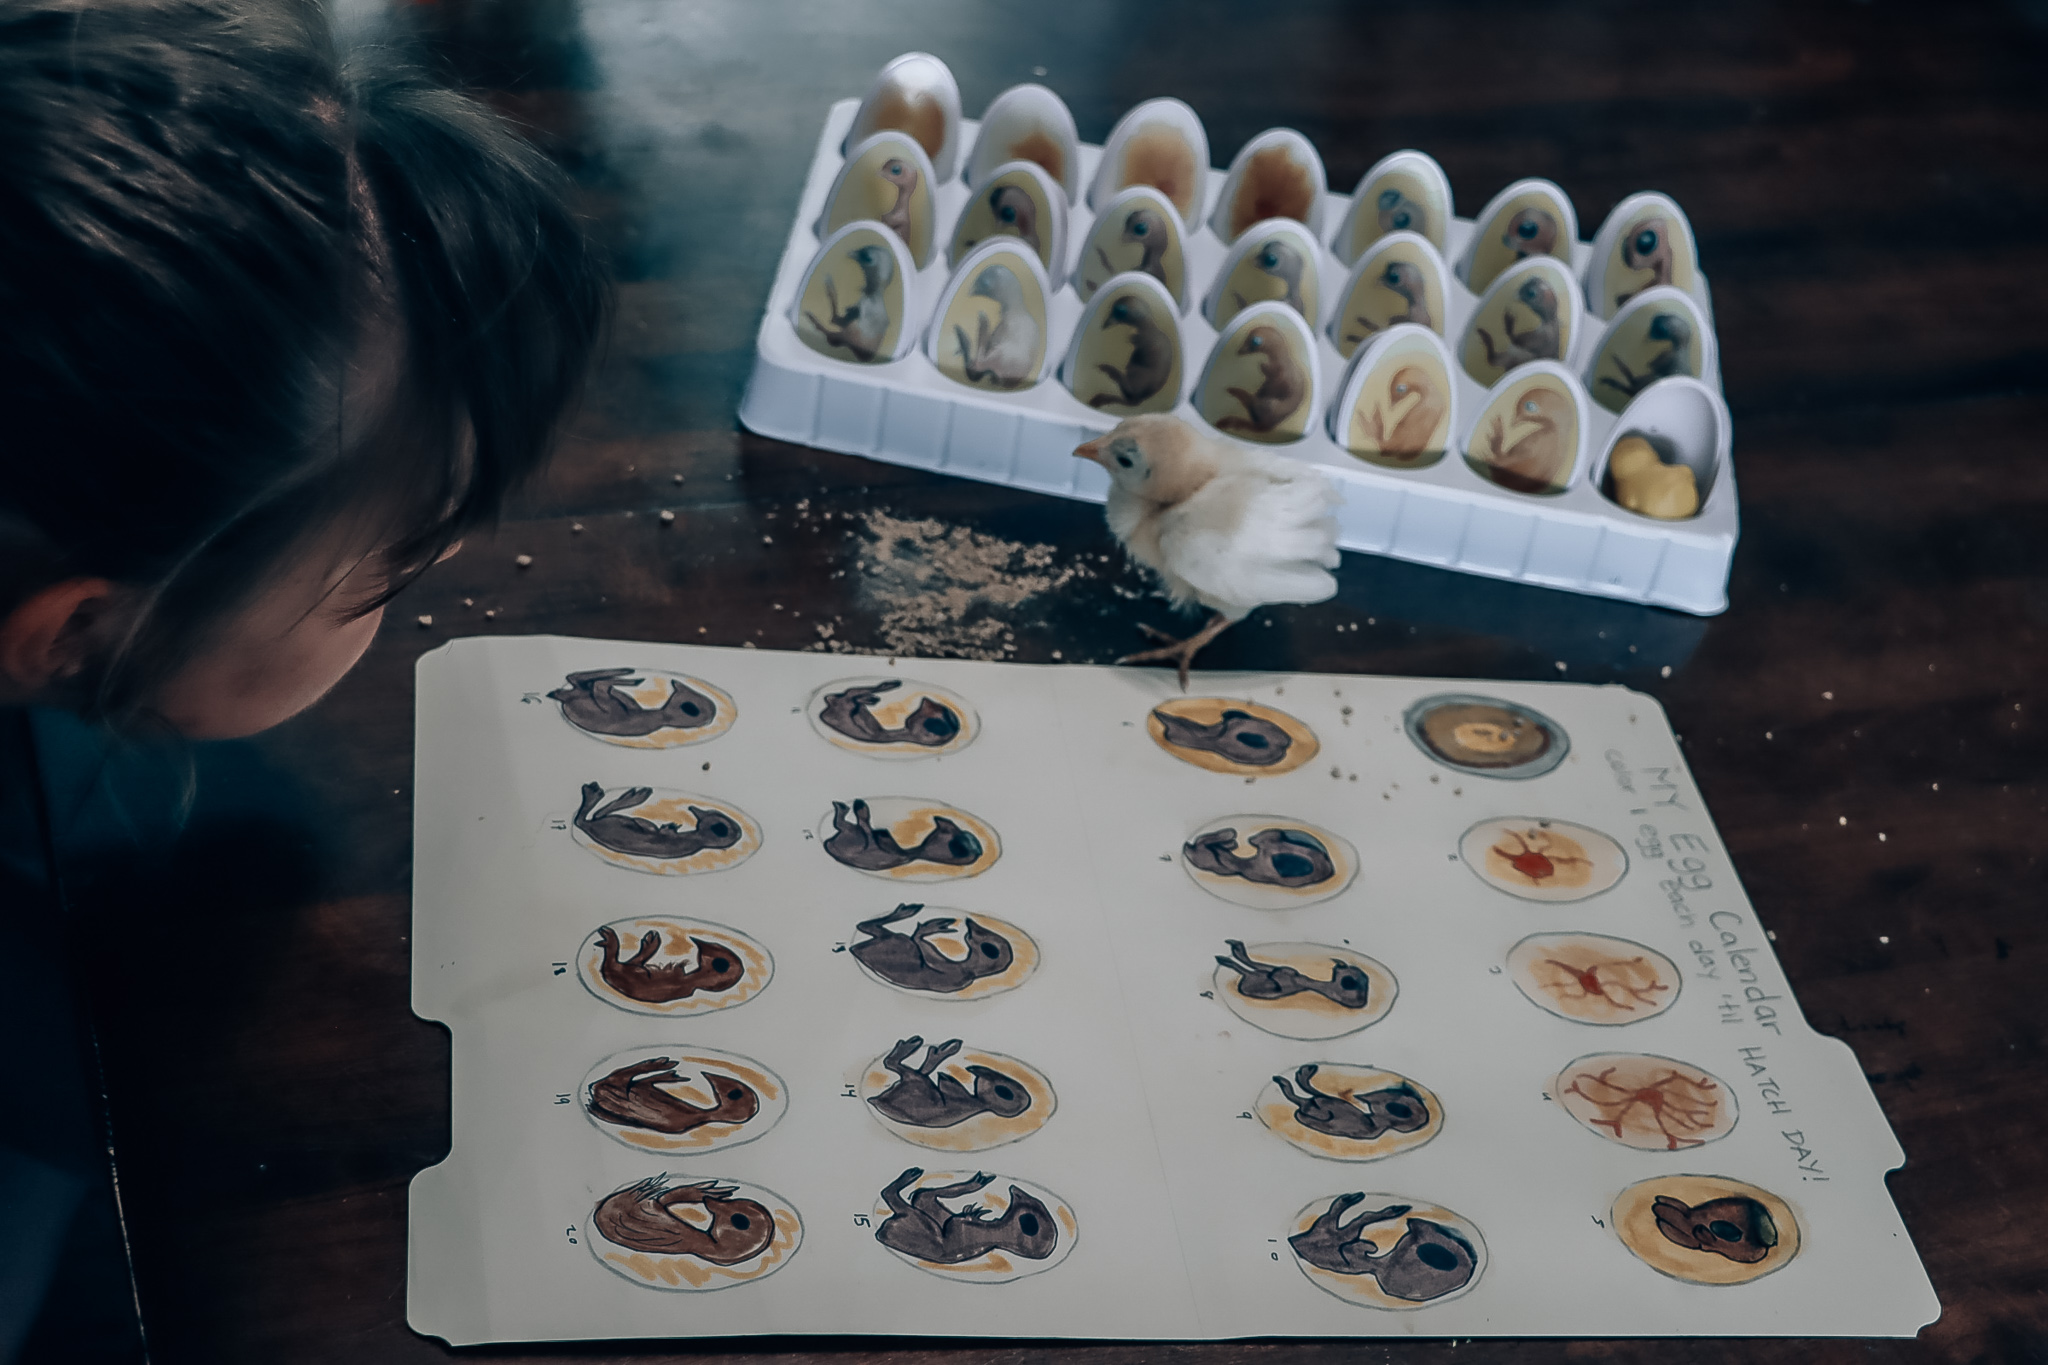
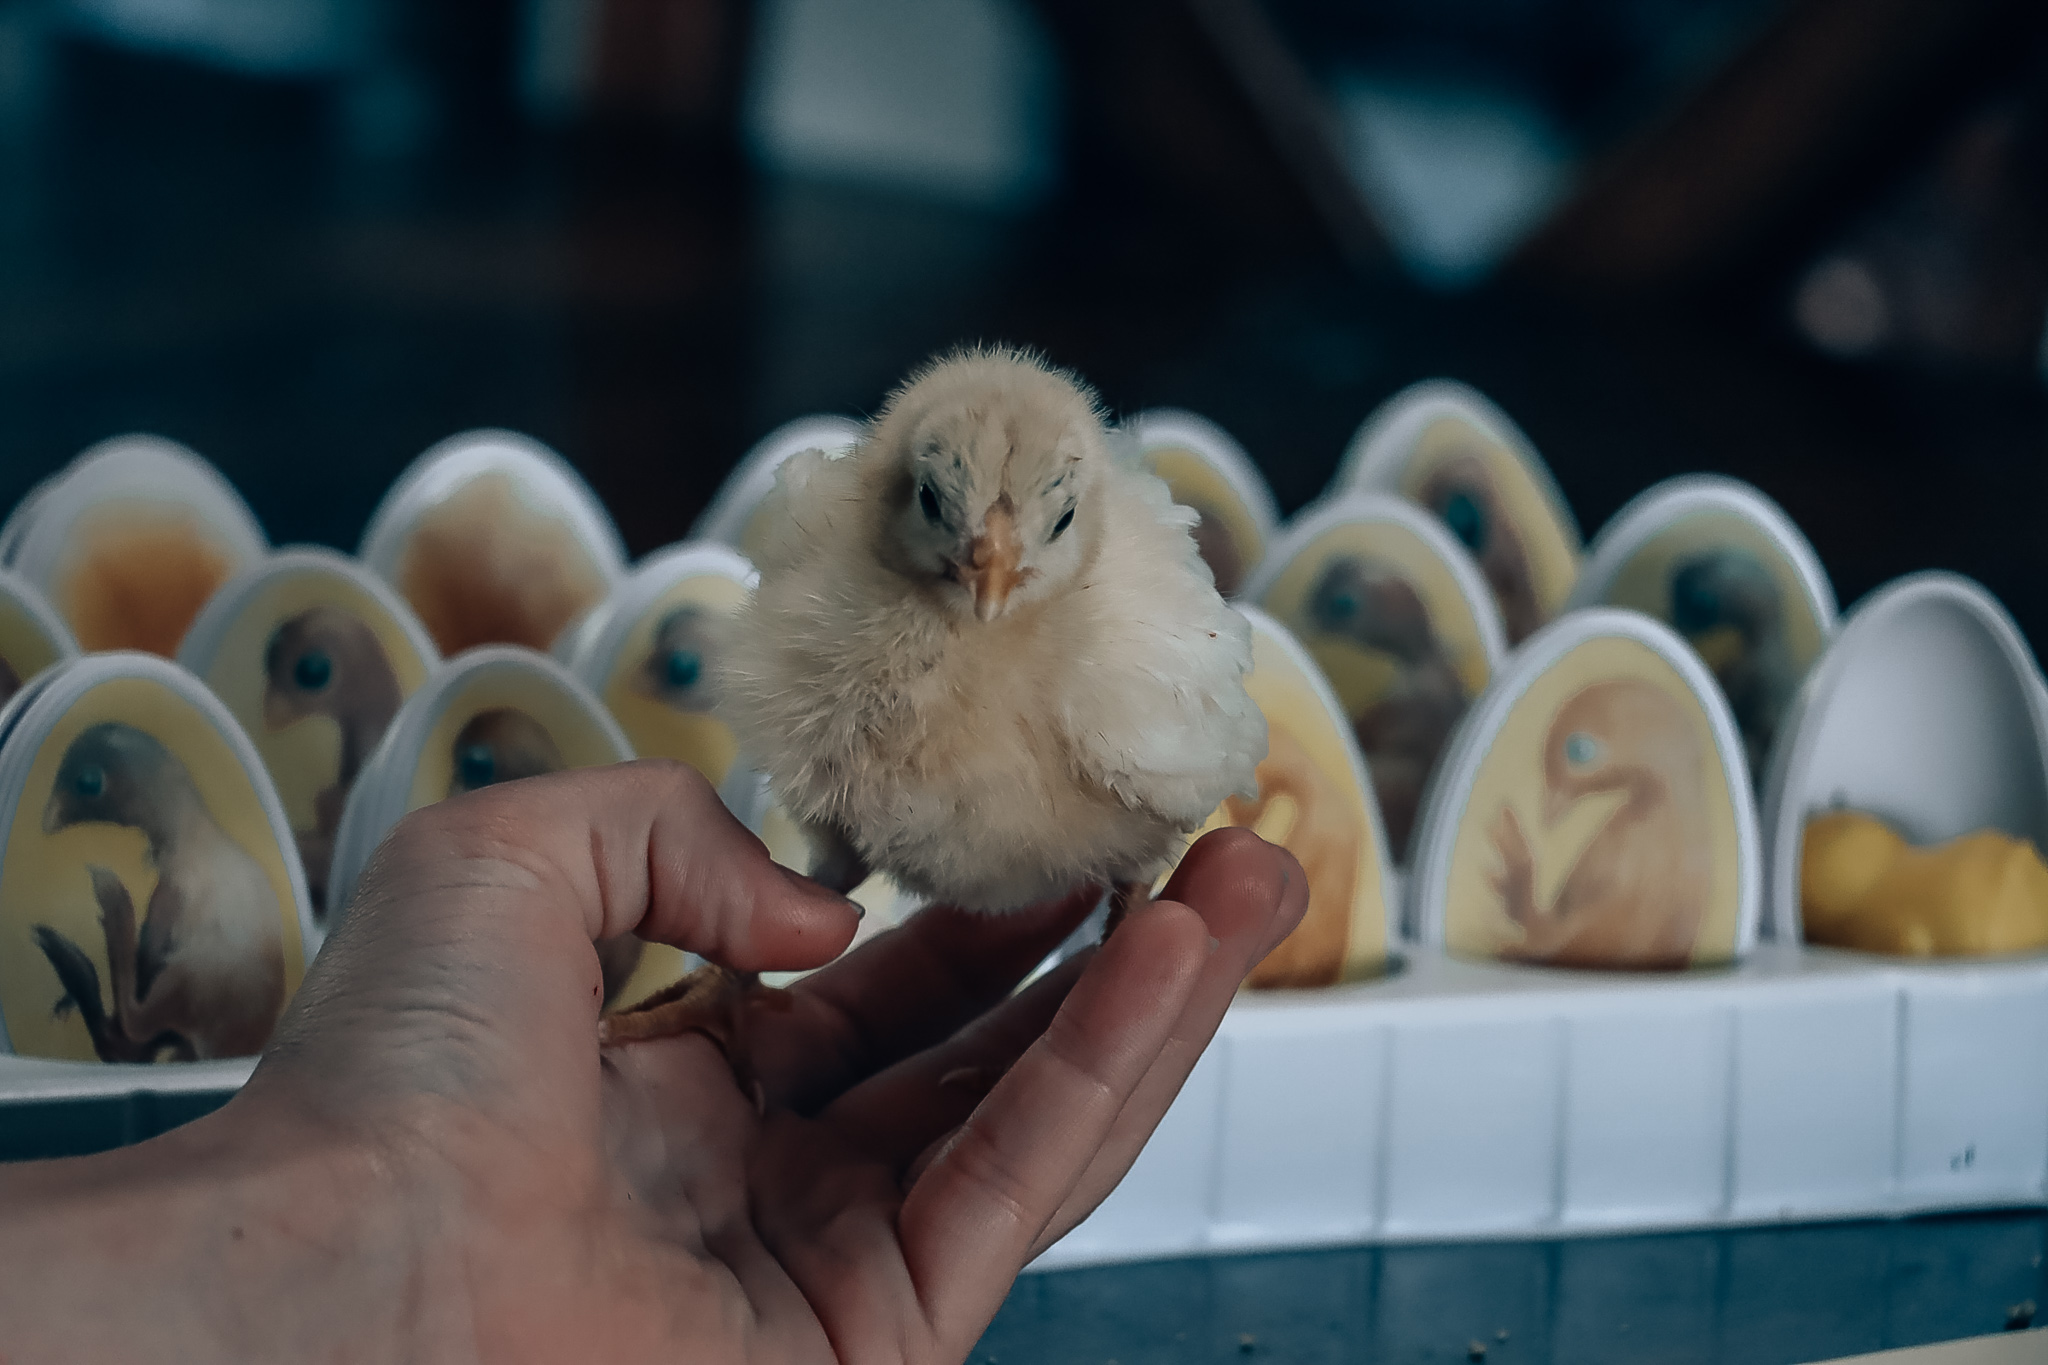
This was our first time incubating chicken eggs. This is an experience that every child deserves to see. You need two things: an incubator and fertile eggs. The temperature needs to be at 99.5 degrees and the humidity at 40 to 50 percent for the first 18 days and then 70 percent the rest of the days. For the first 18 days you want to turn the eggs. Then you want to leave the eggs alone. It takes 21 days for an egg to hatch. You don’t want to open the incubator until two days after they have hatched. You want the chicks to dry off first before you move them to the brooder.
Chick Life Cycle
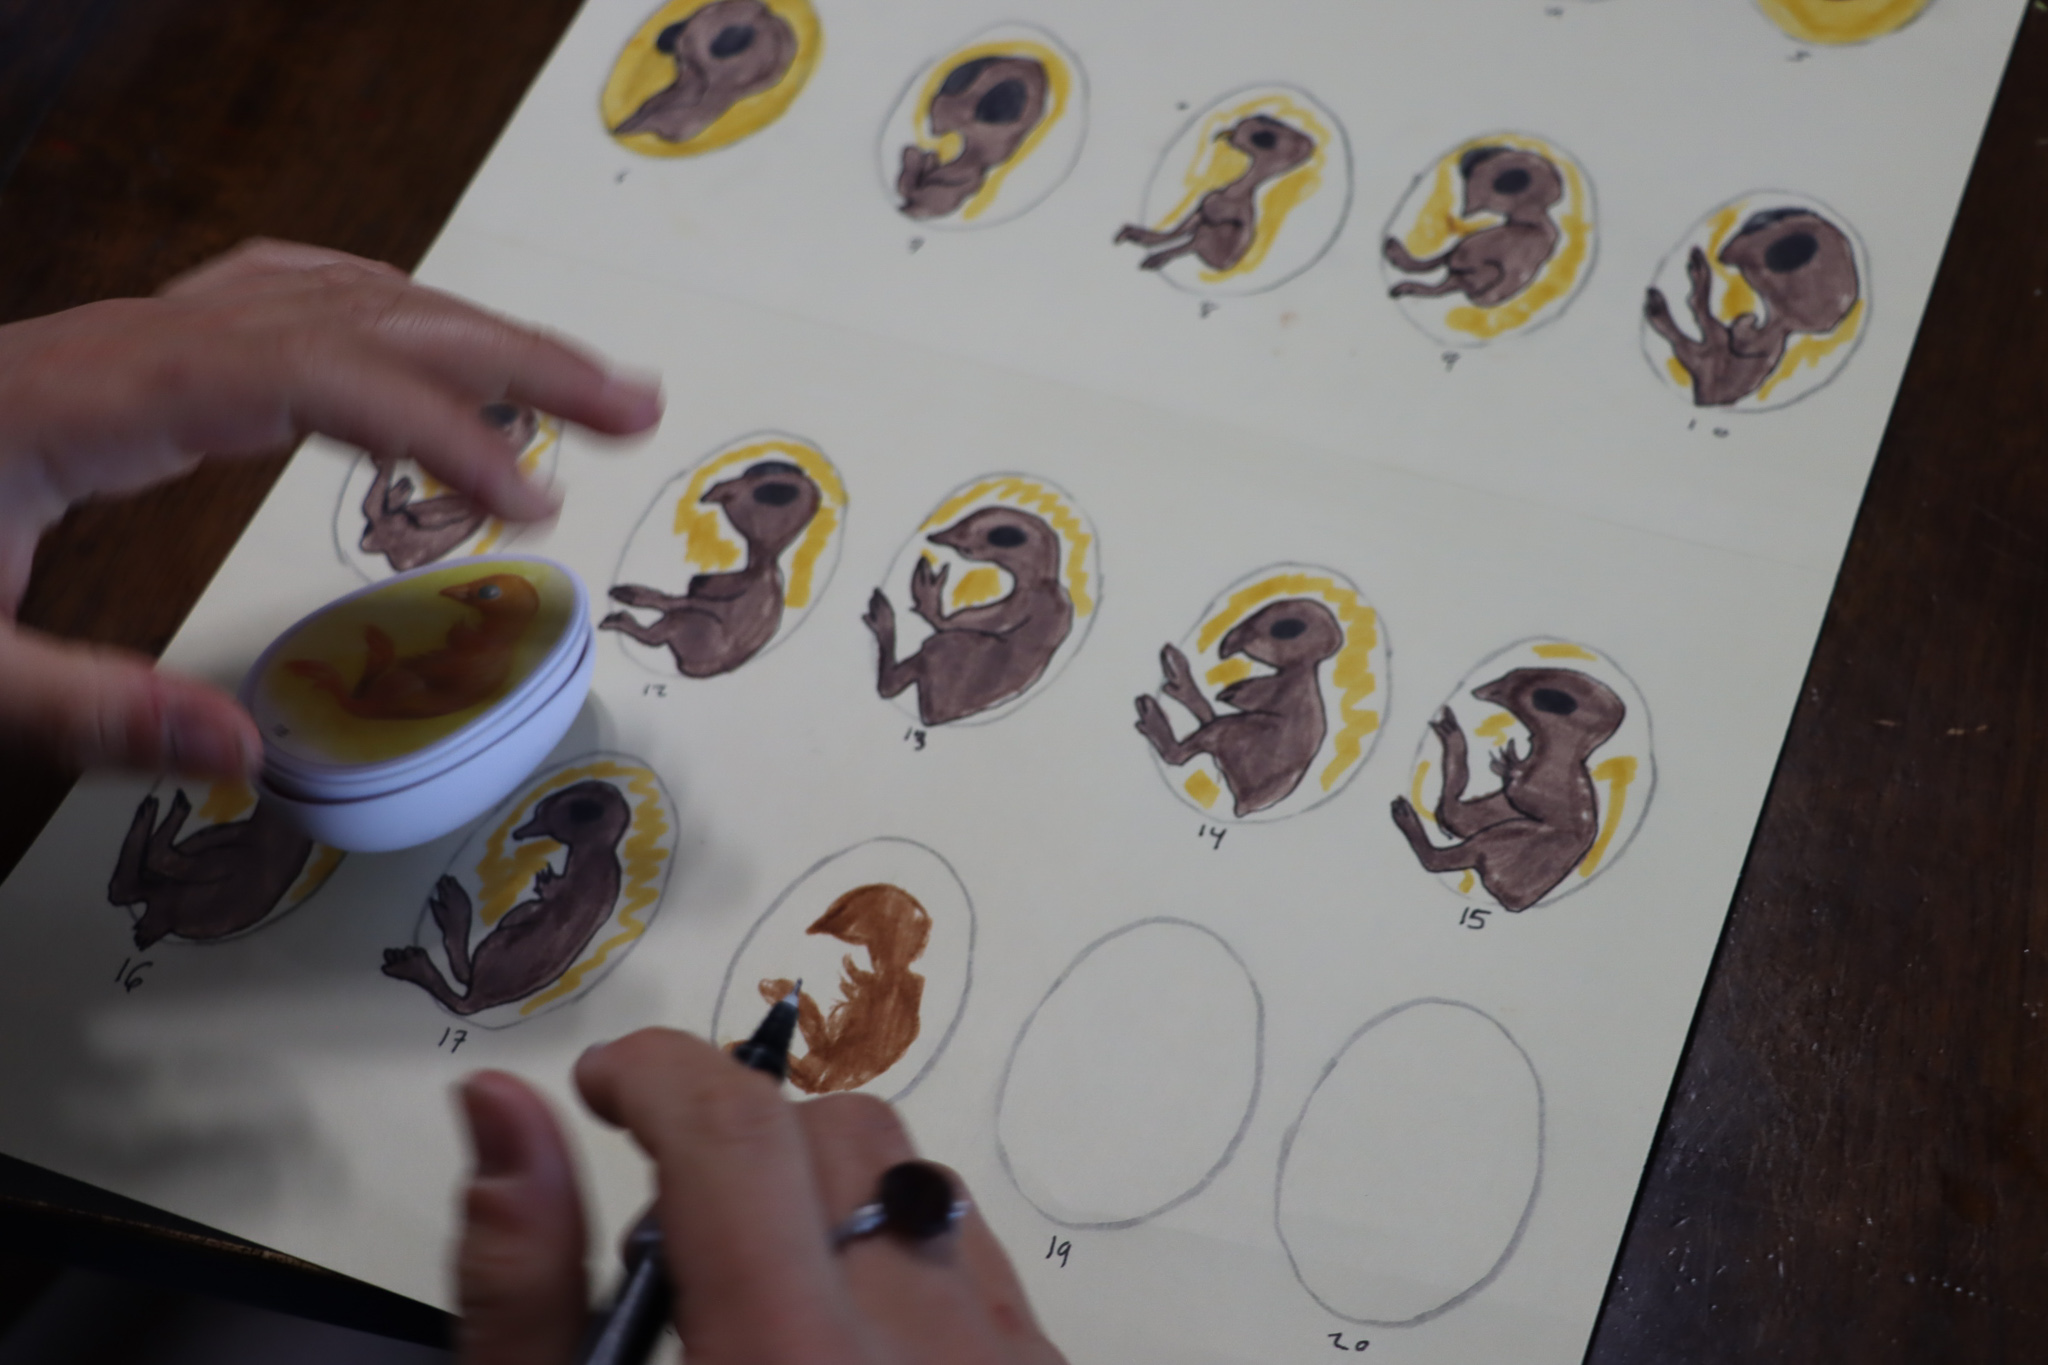
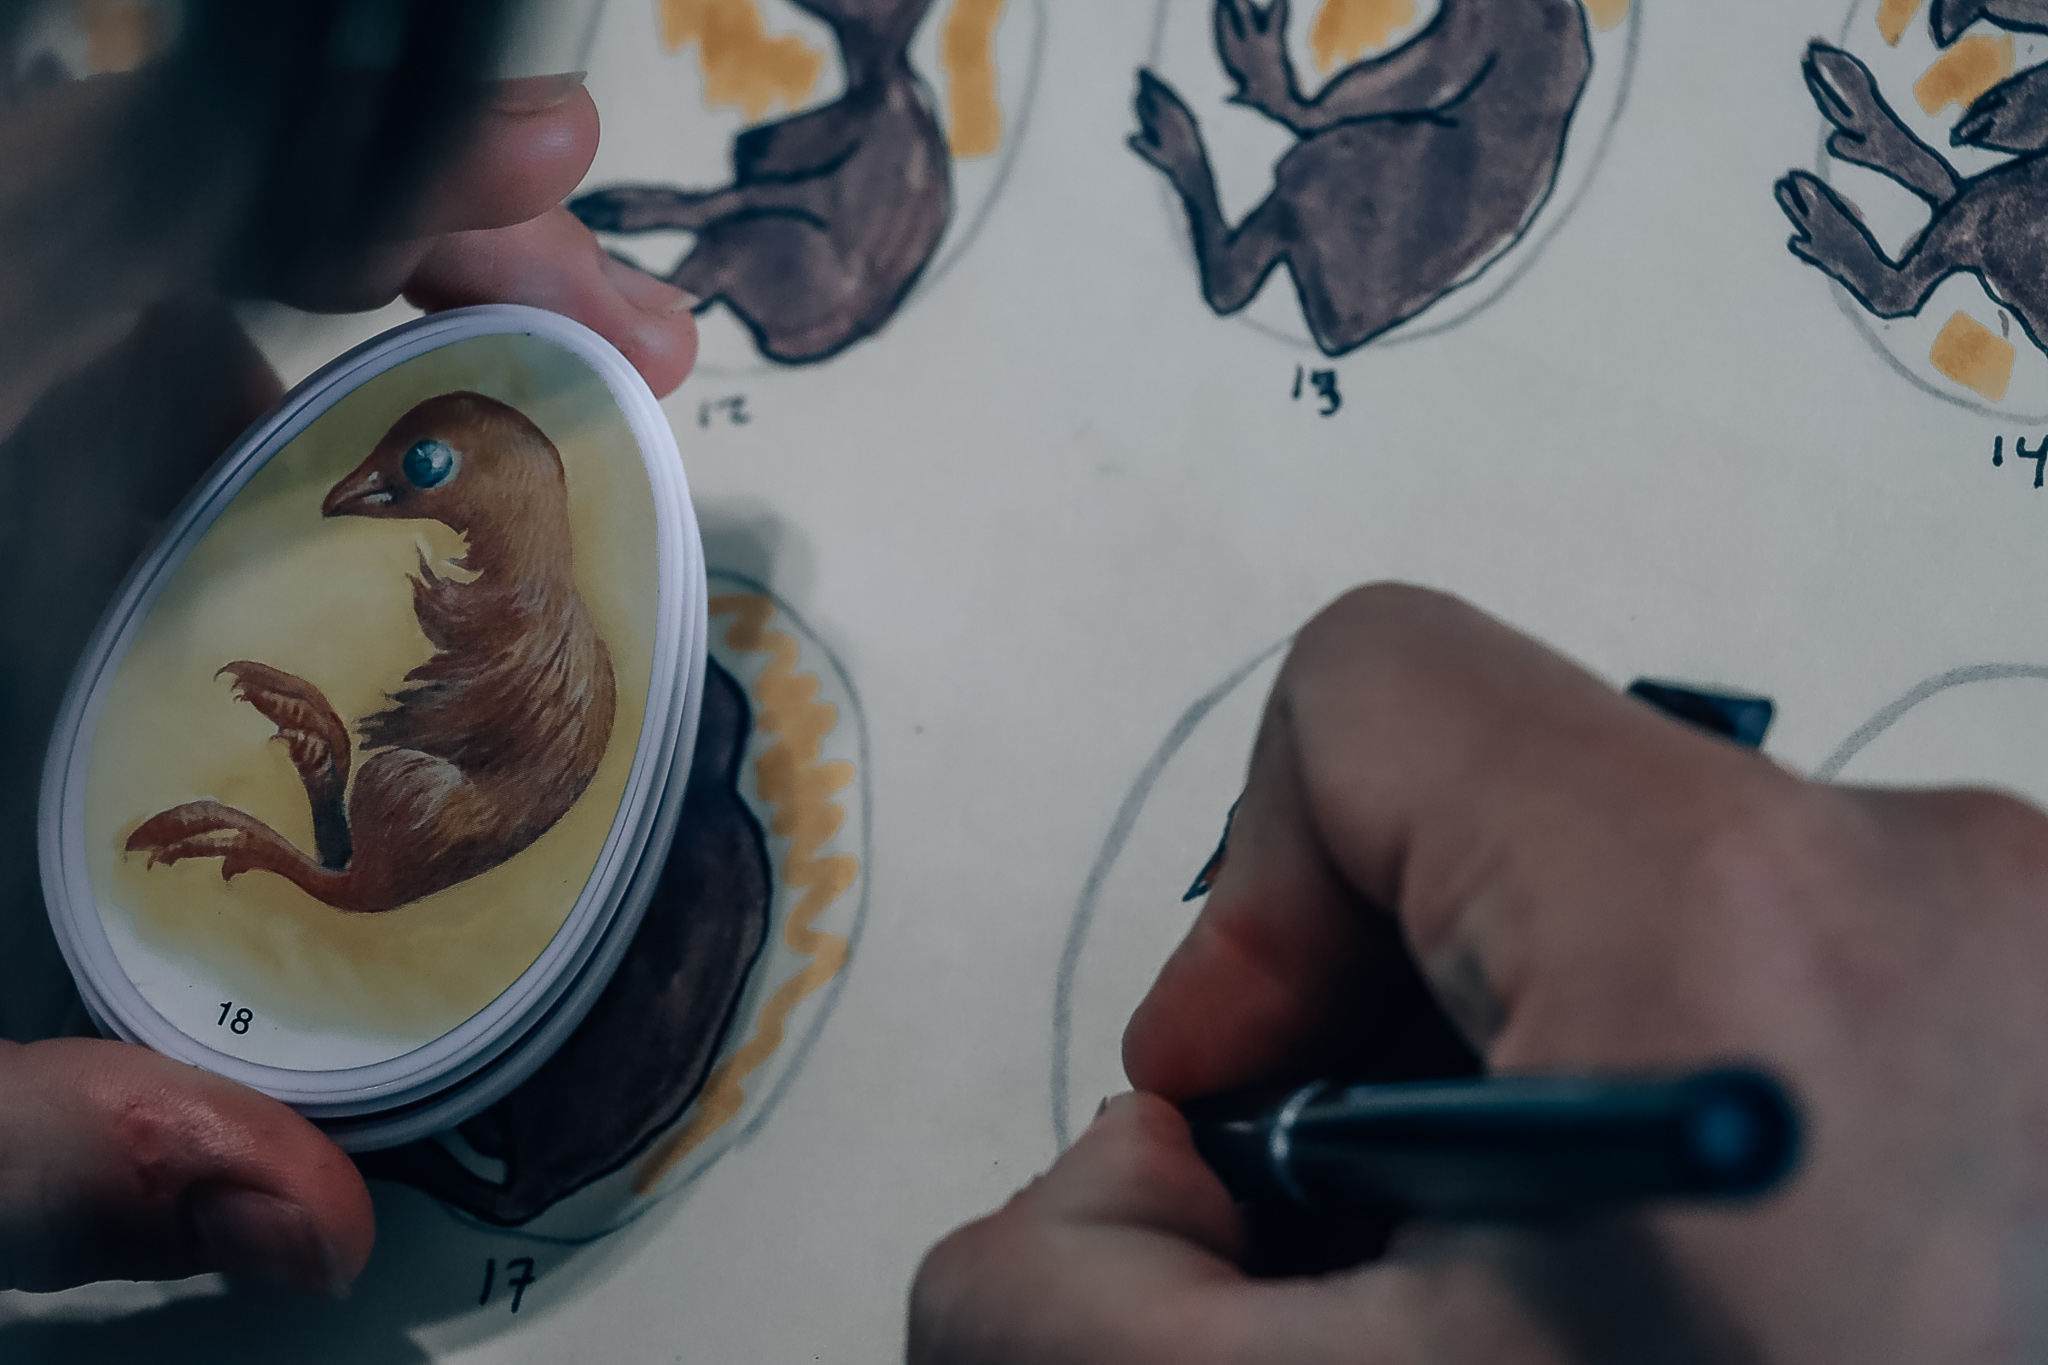
We ordered the Chick Life Cycle: Exploration Set from Learning Resources.
We made an egg calendar. It is a great idea to color the development everyday.
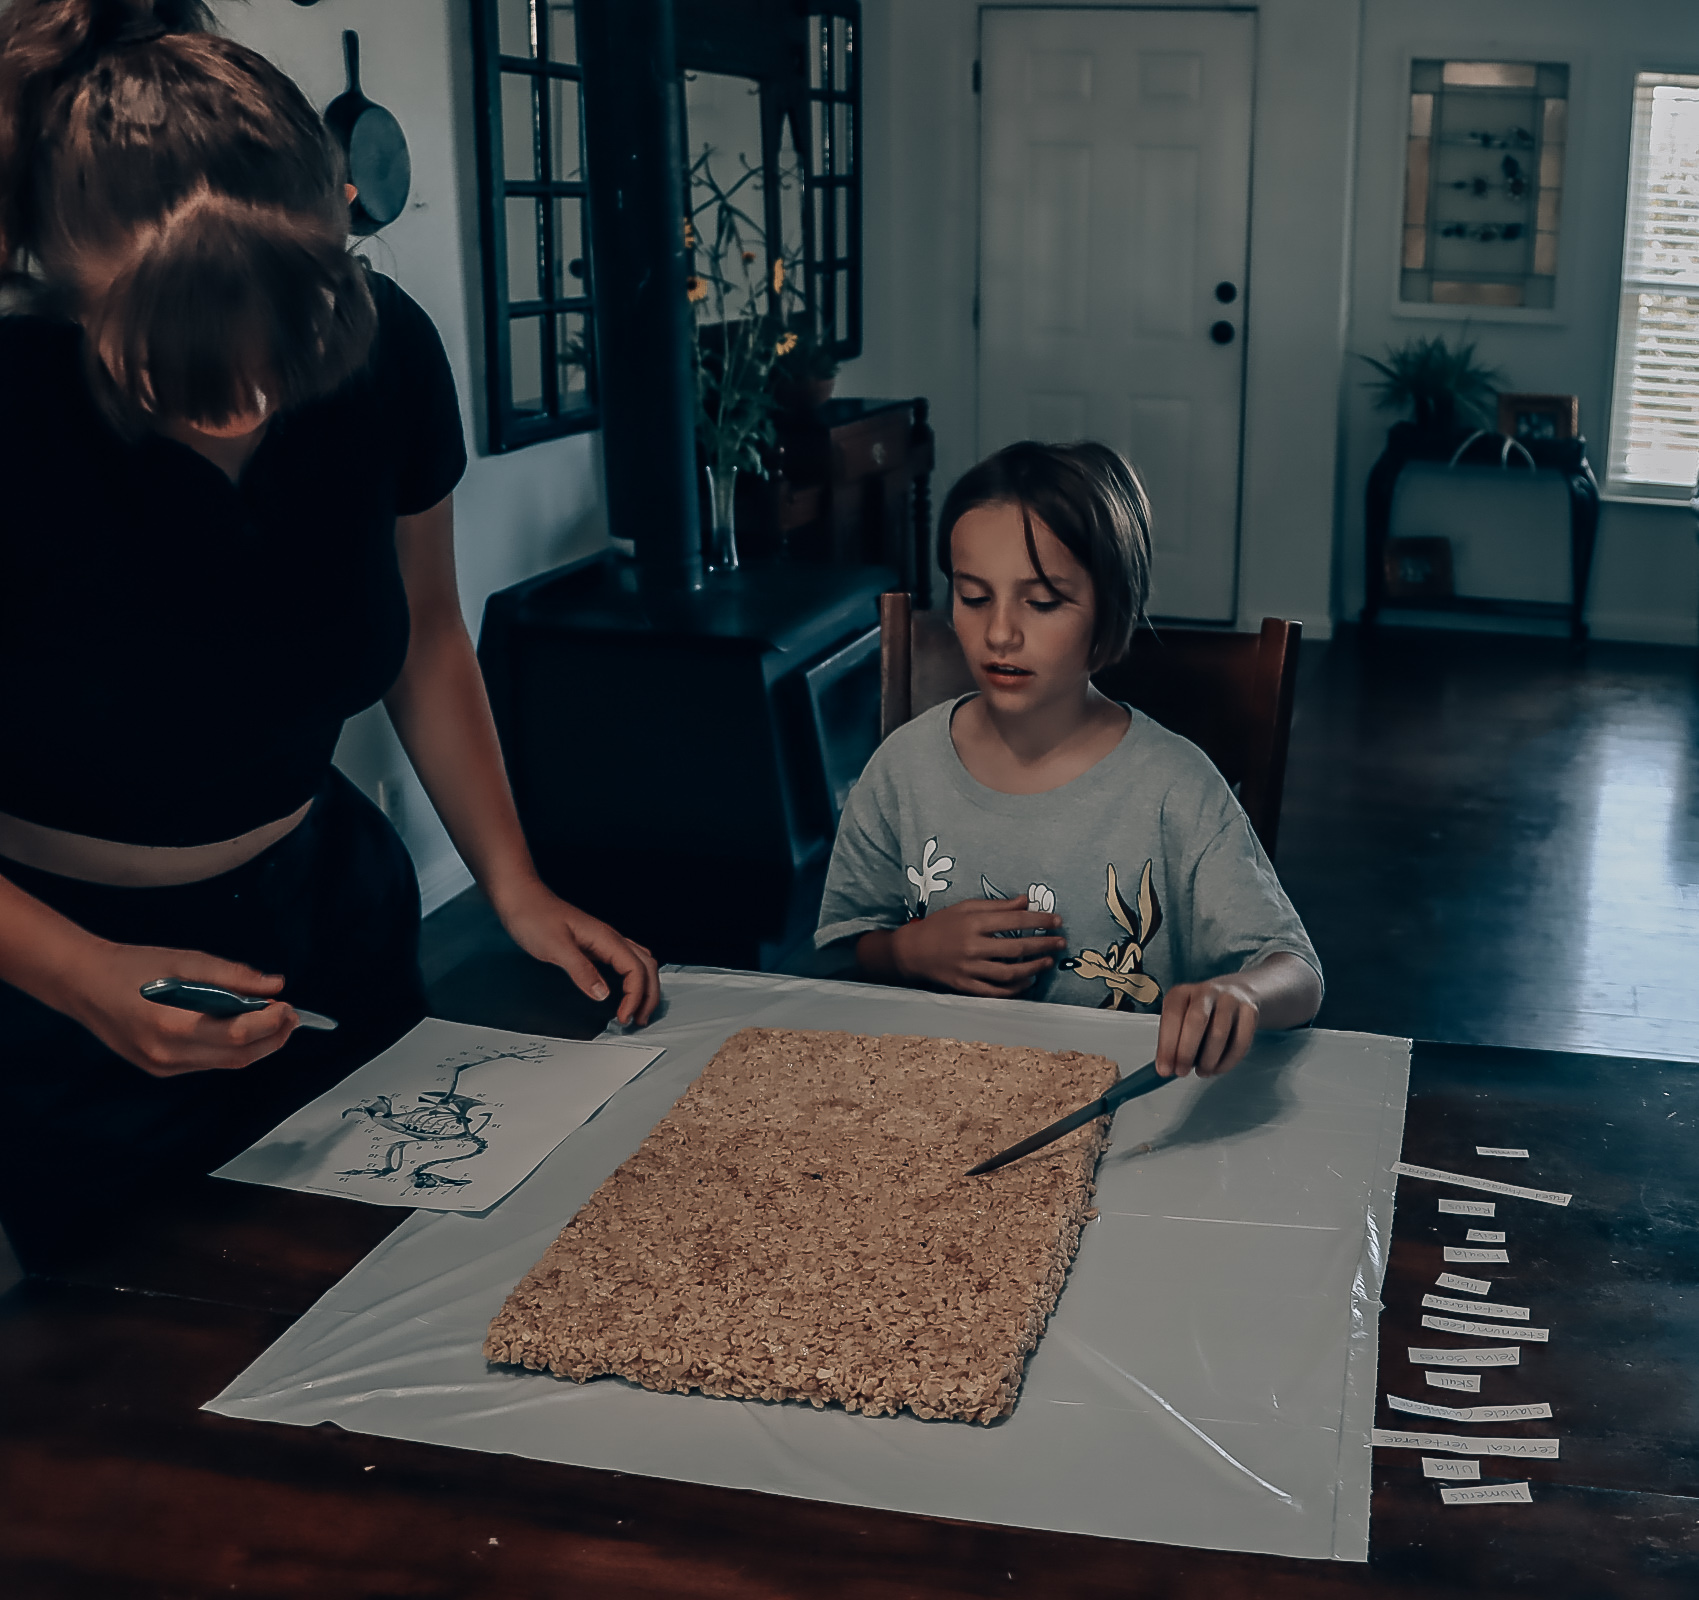
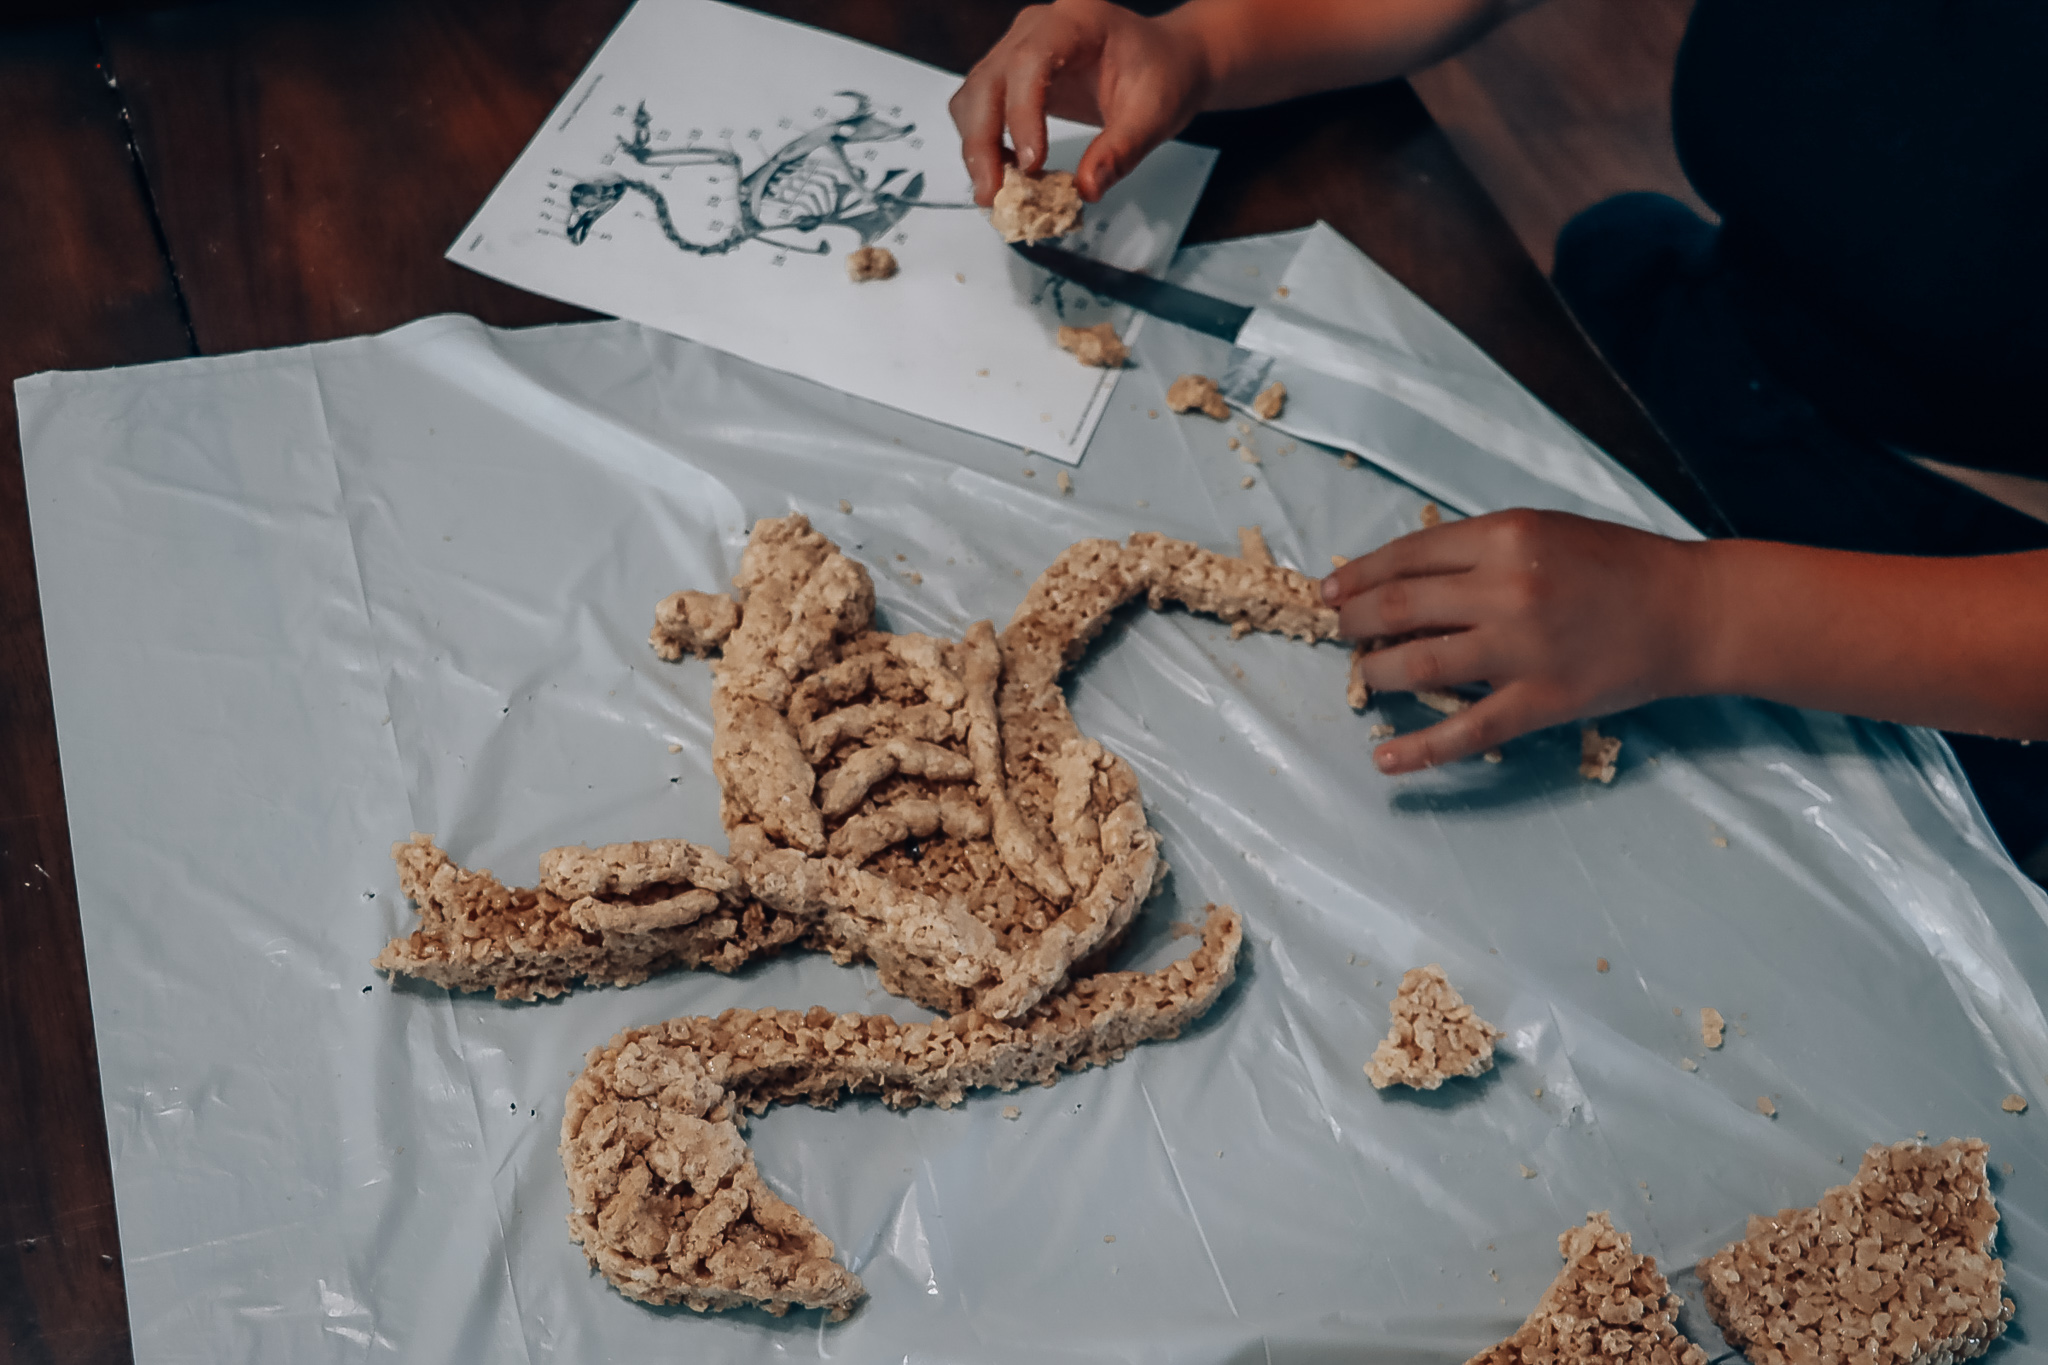
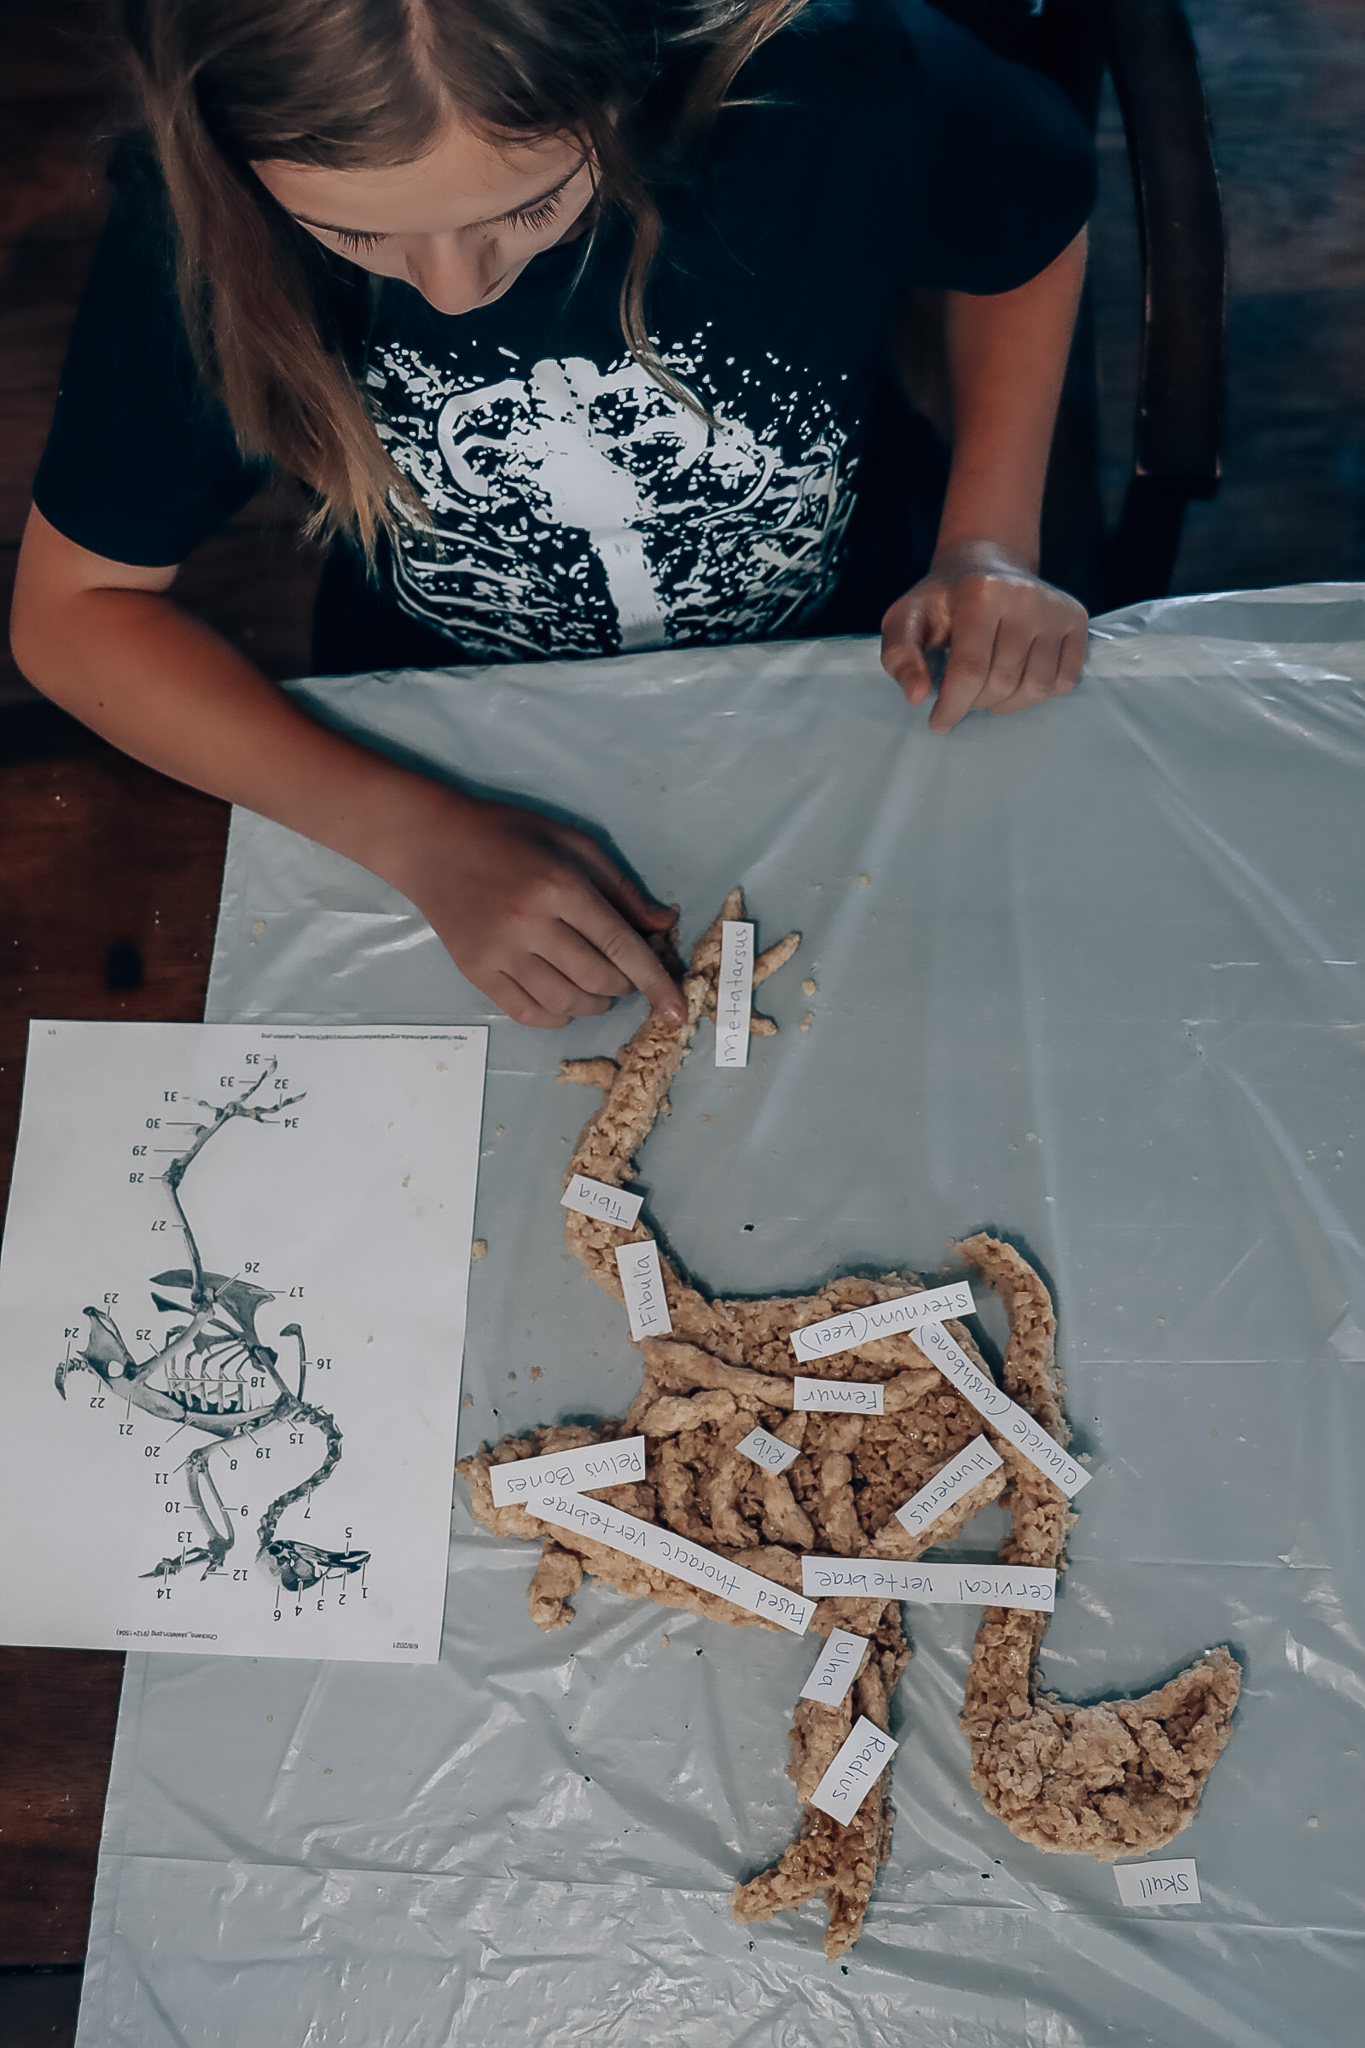
Chicken Anatomy
Did you know that a chicken has 120 bones?
We decided to make a chickens’ skeleton using Rice Krispies. There are a lot of good recipes online. Esther made ours. We then looked at a picture of the chicken’s skeleton and tried to replicate what we saw. The chickens skeleton is said to be very lightweight but at the same time strong. If you have been following us for awhile you probably have noticed that we love learning about the anatomy of different living things. My kids loved eating the chicken anatomy.
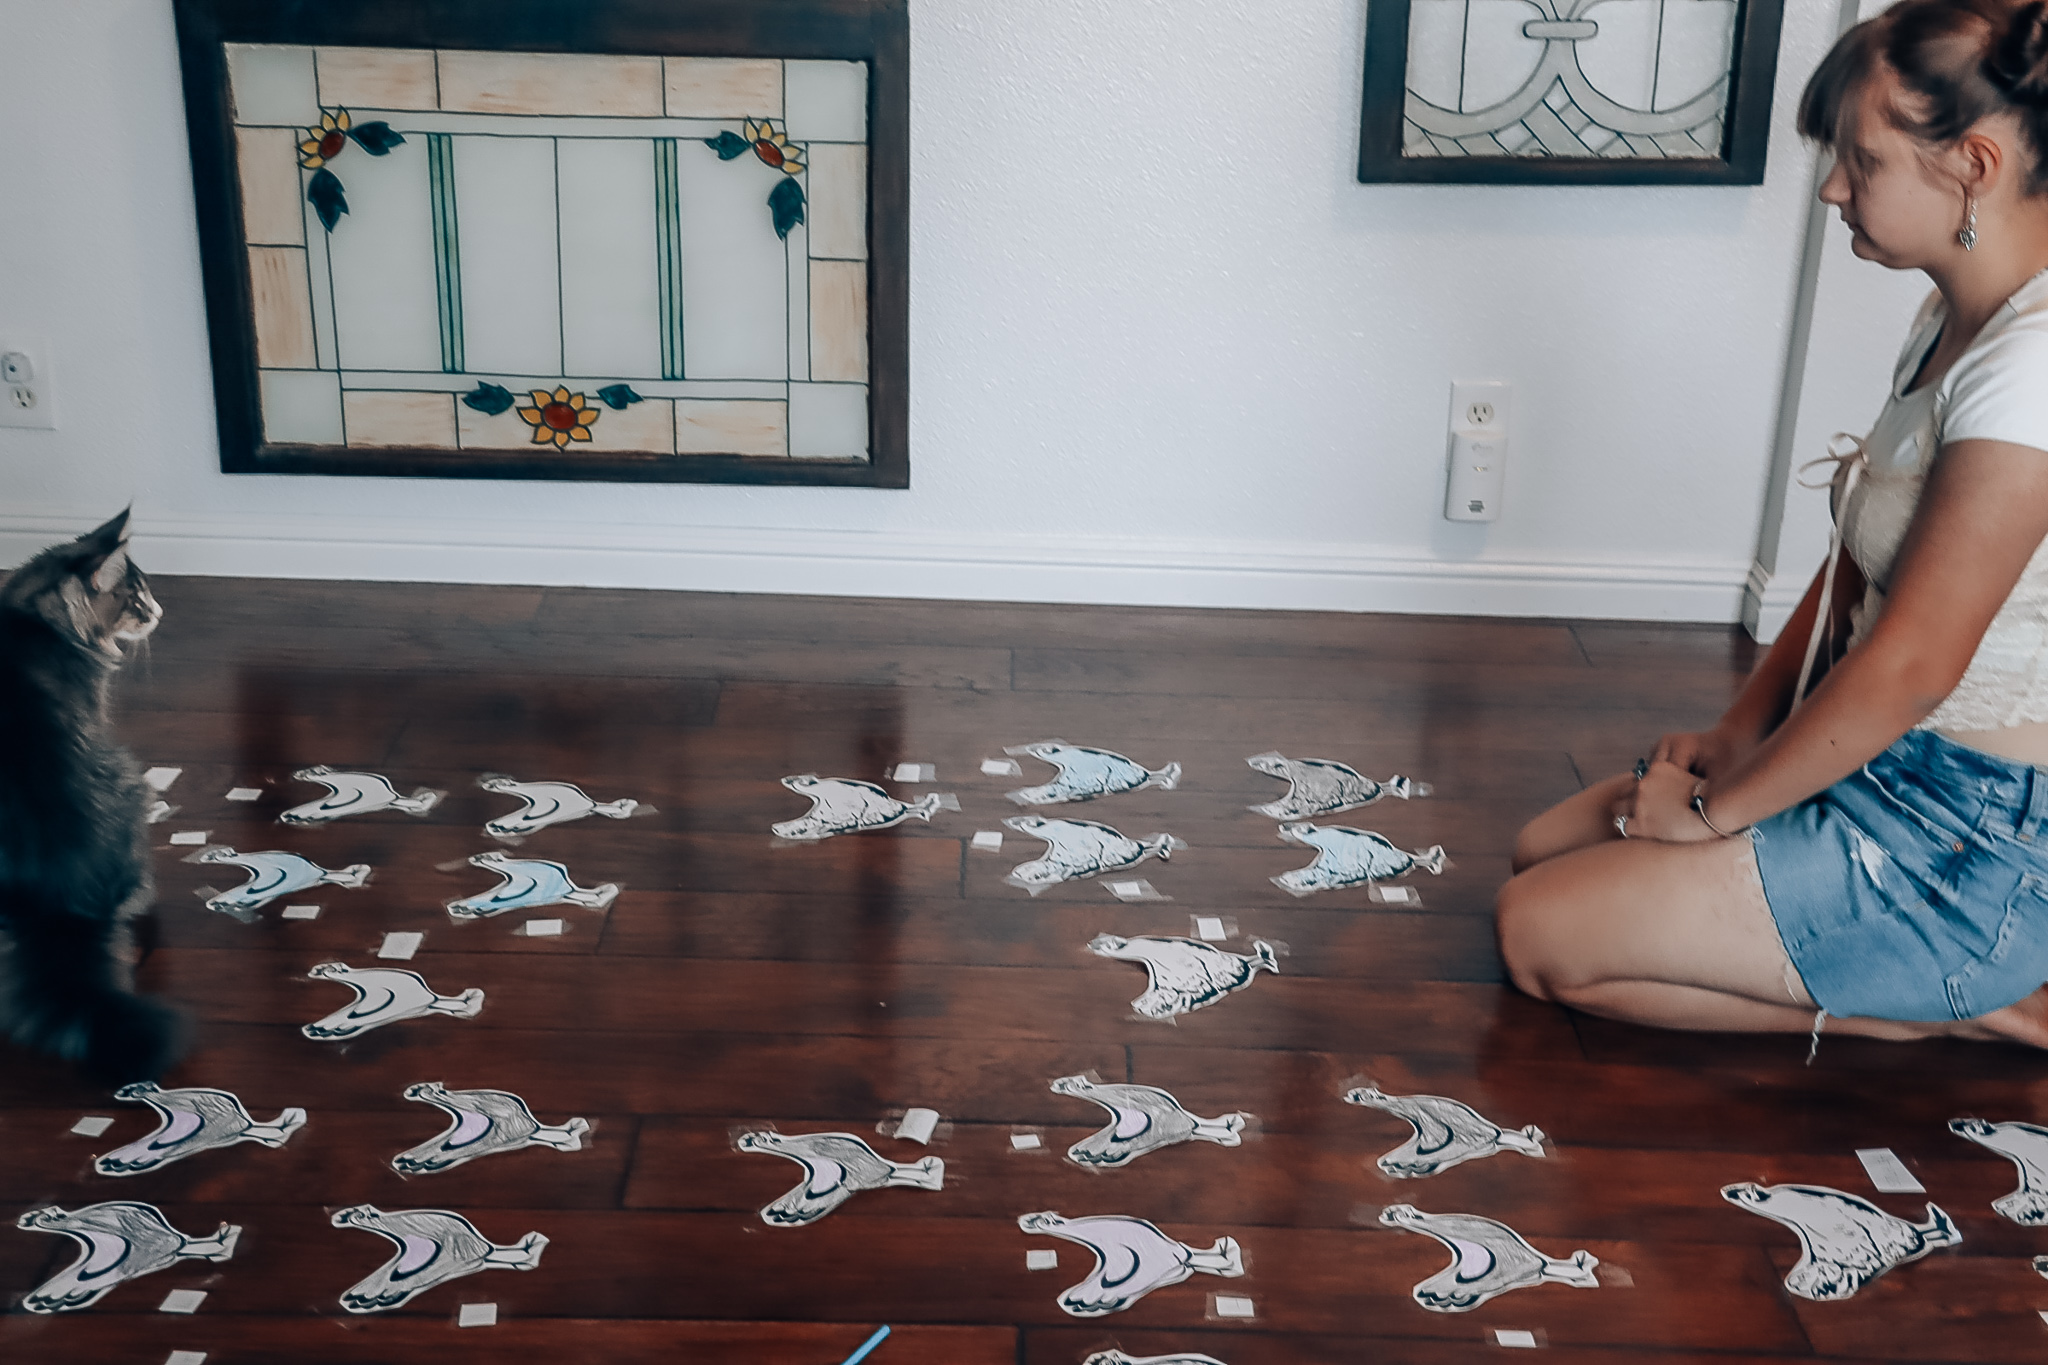
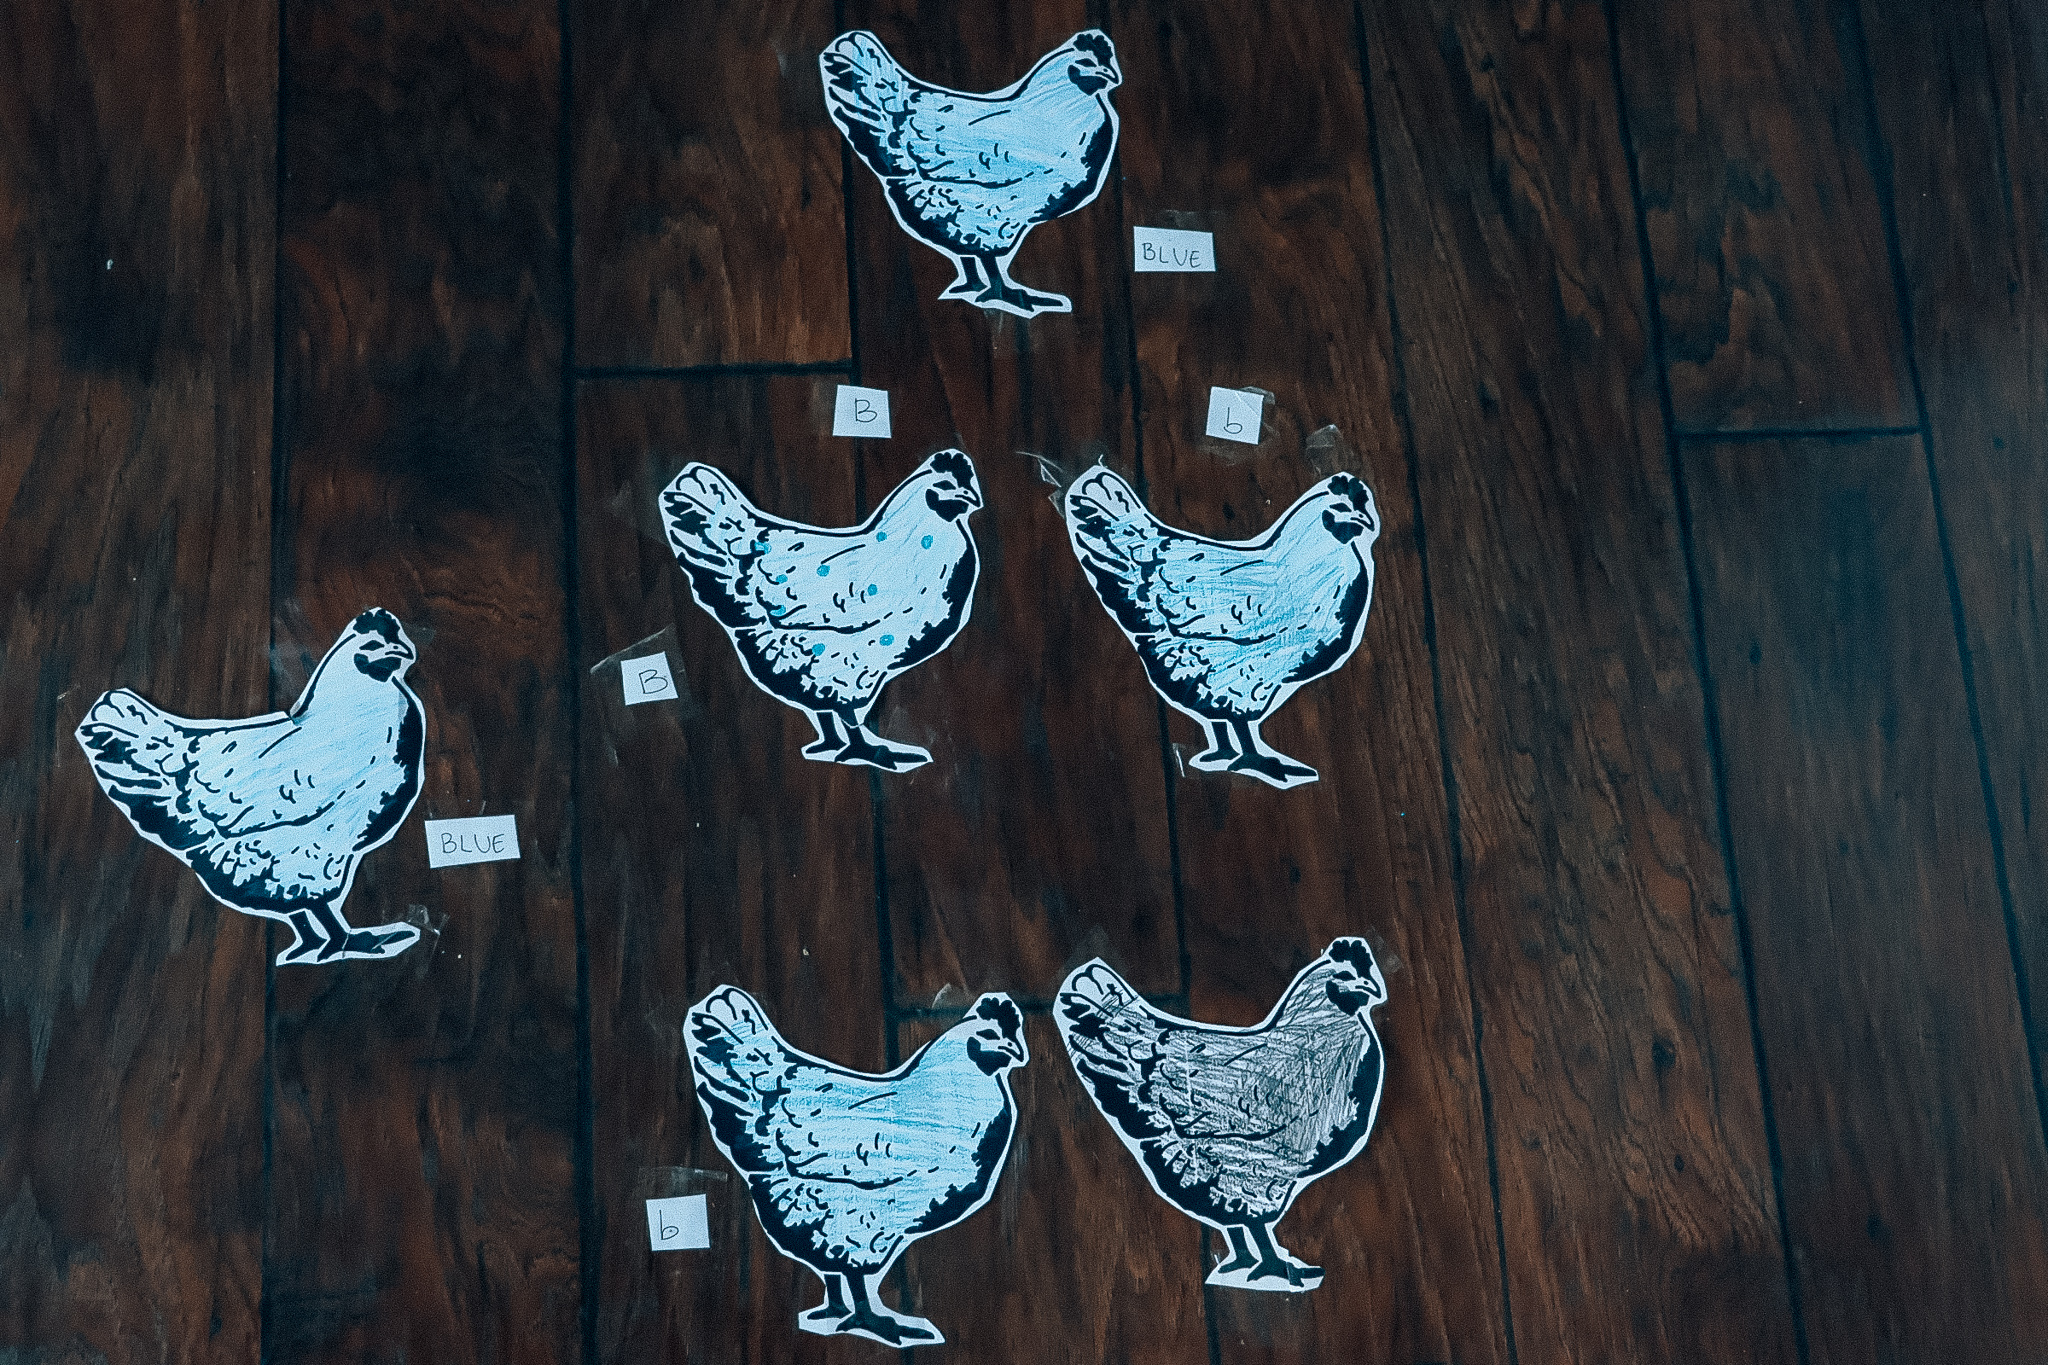
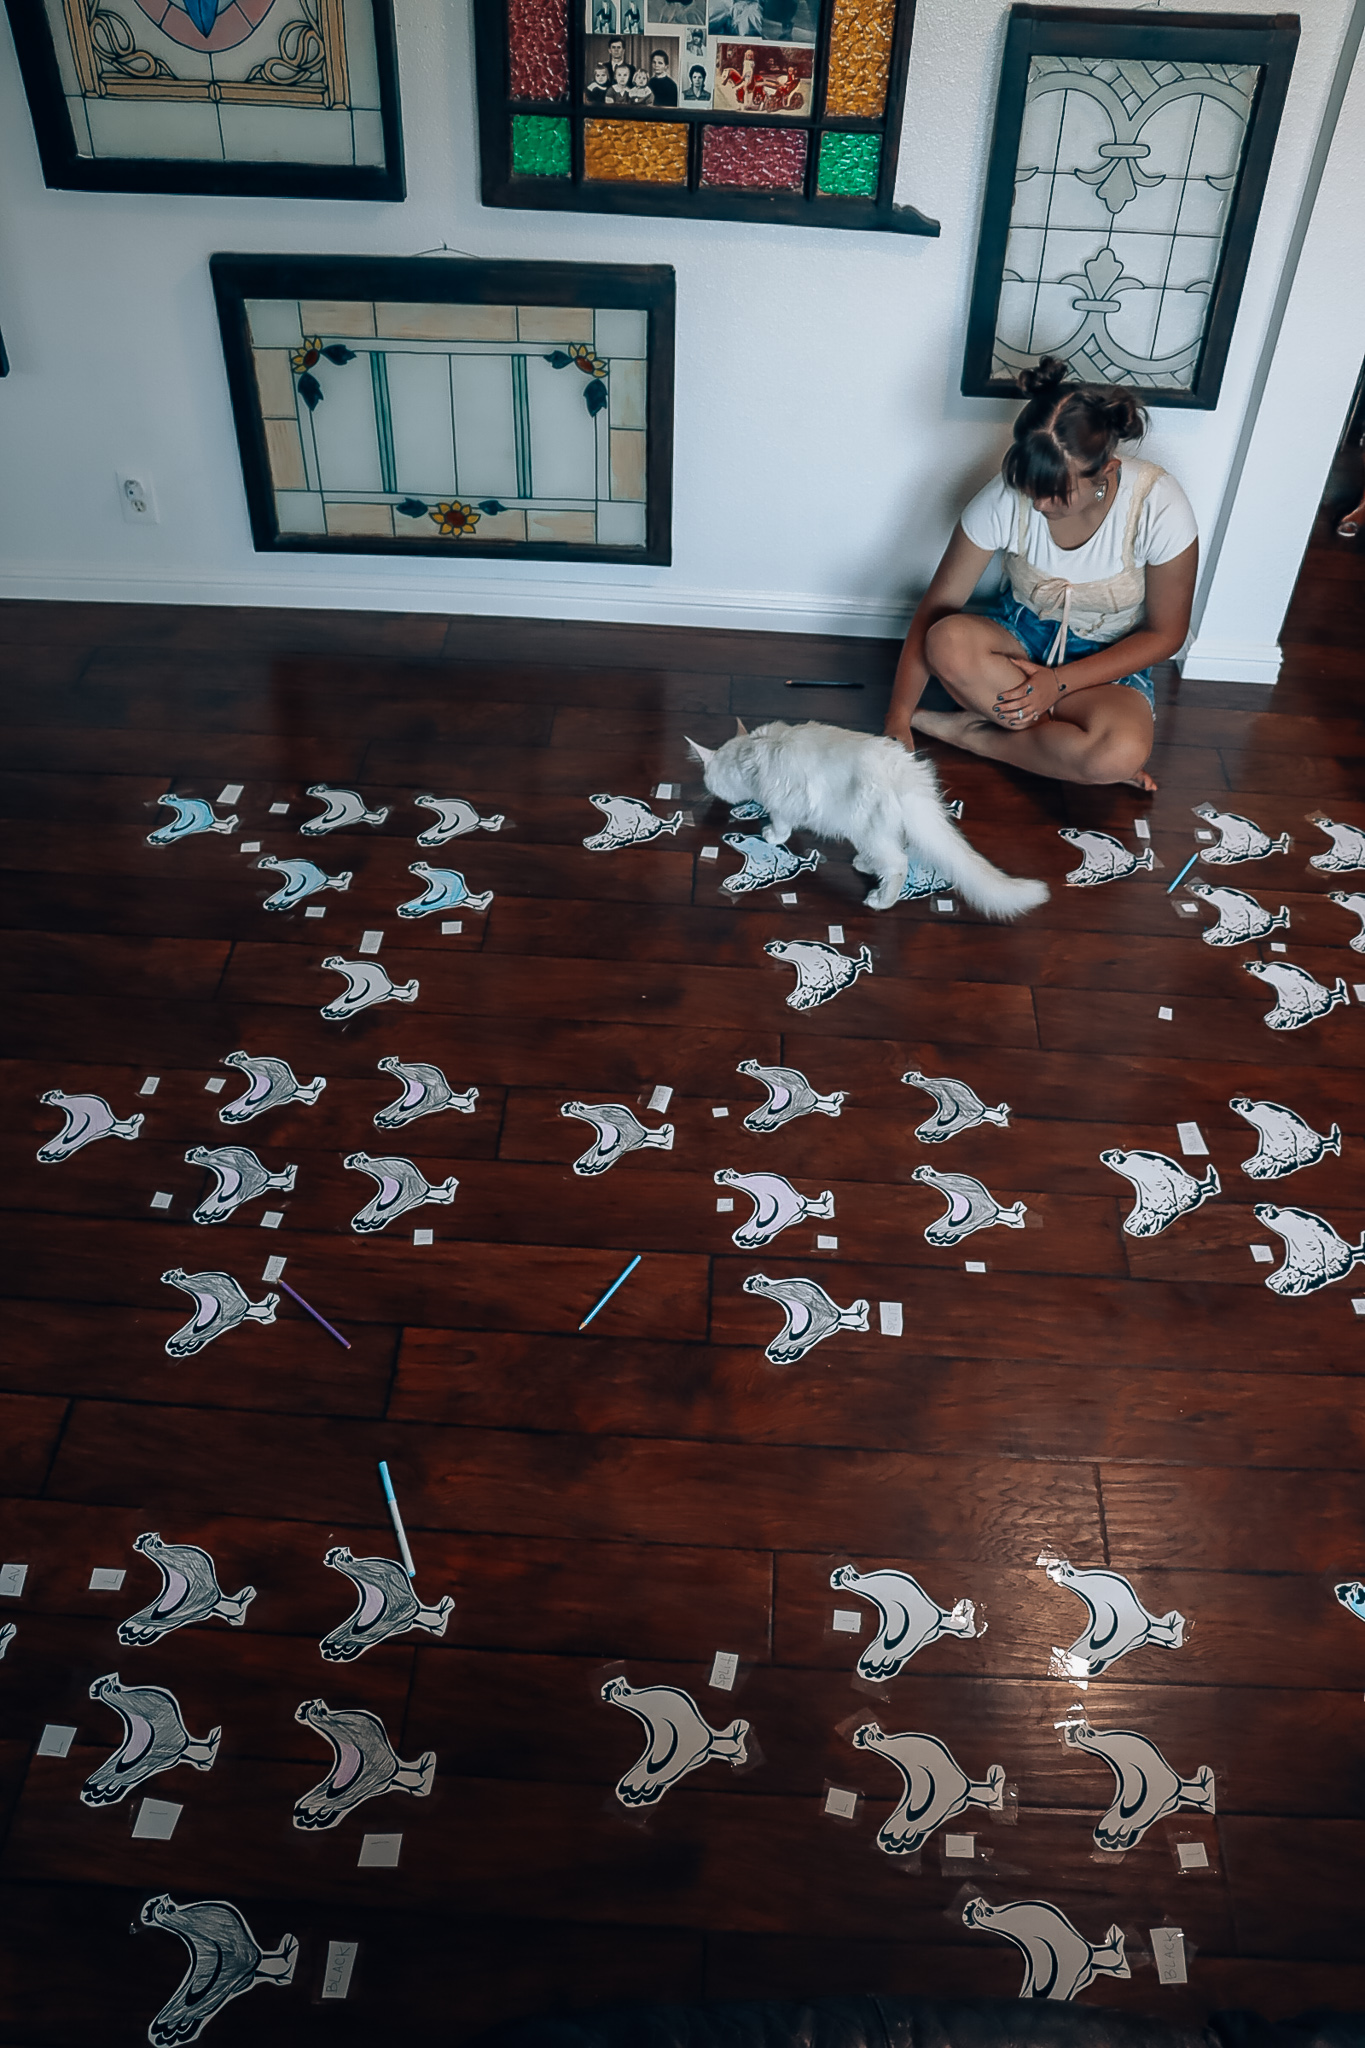
Chicken Genetics
We are always interested in the genetics of chickens. If we bred two different breeds of chickens what would we get? We printed out over sixty silhouette outline chickens. We cut them out and then used Chicken Punnett squares from Backyard Chickens. We covered our floor with chickens.
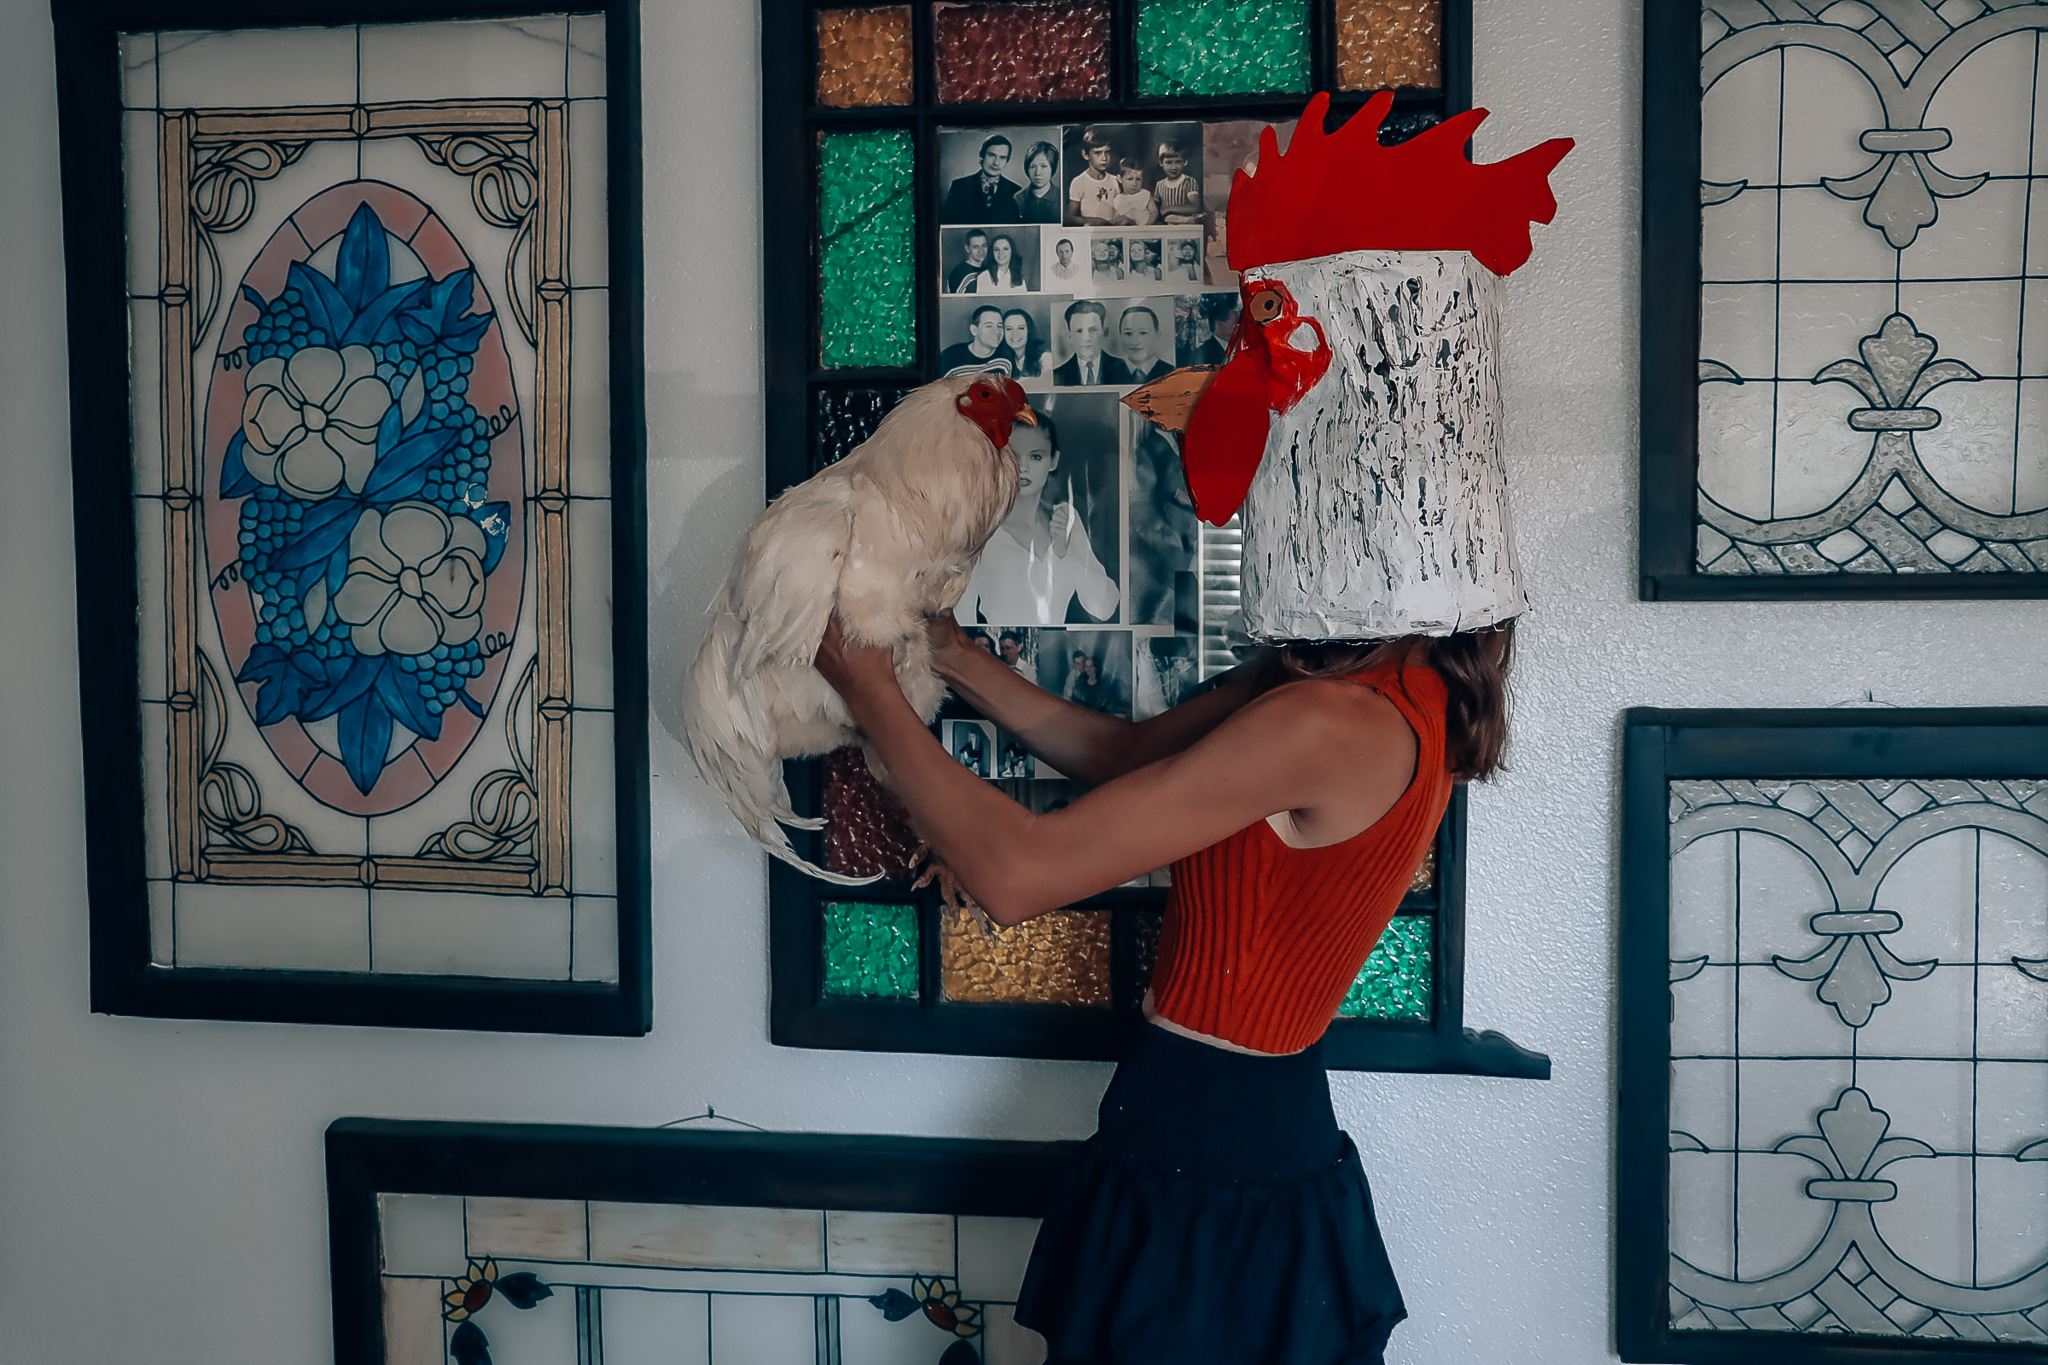
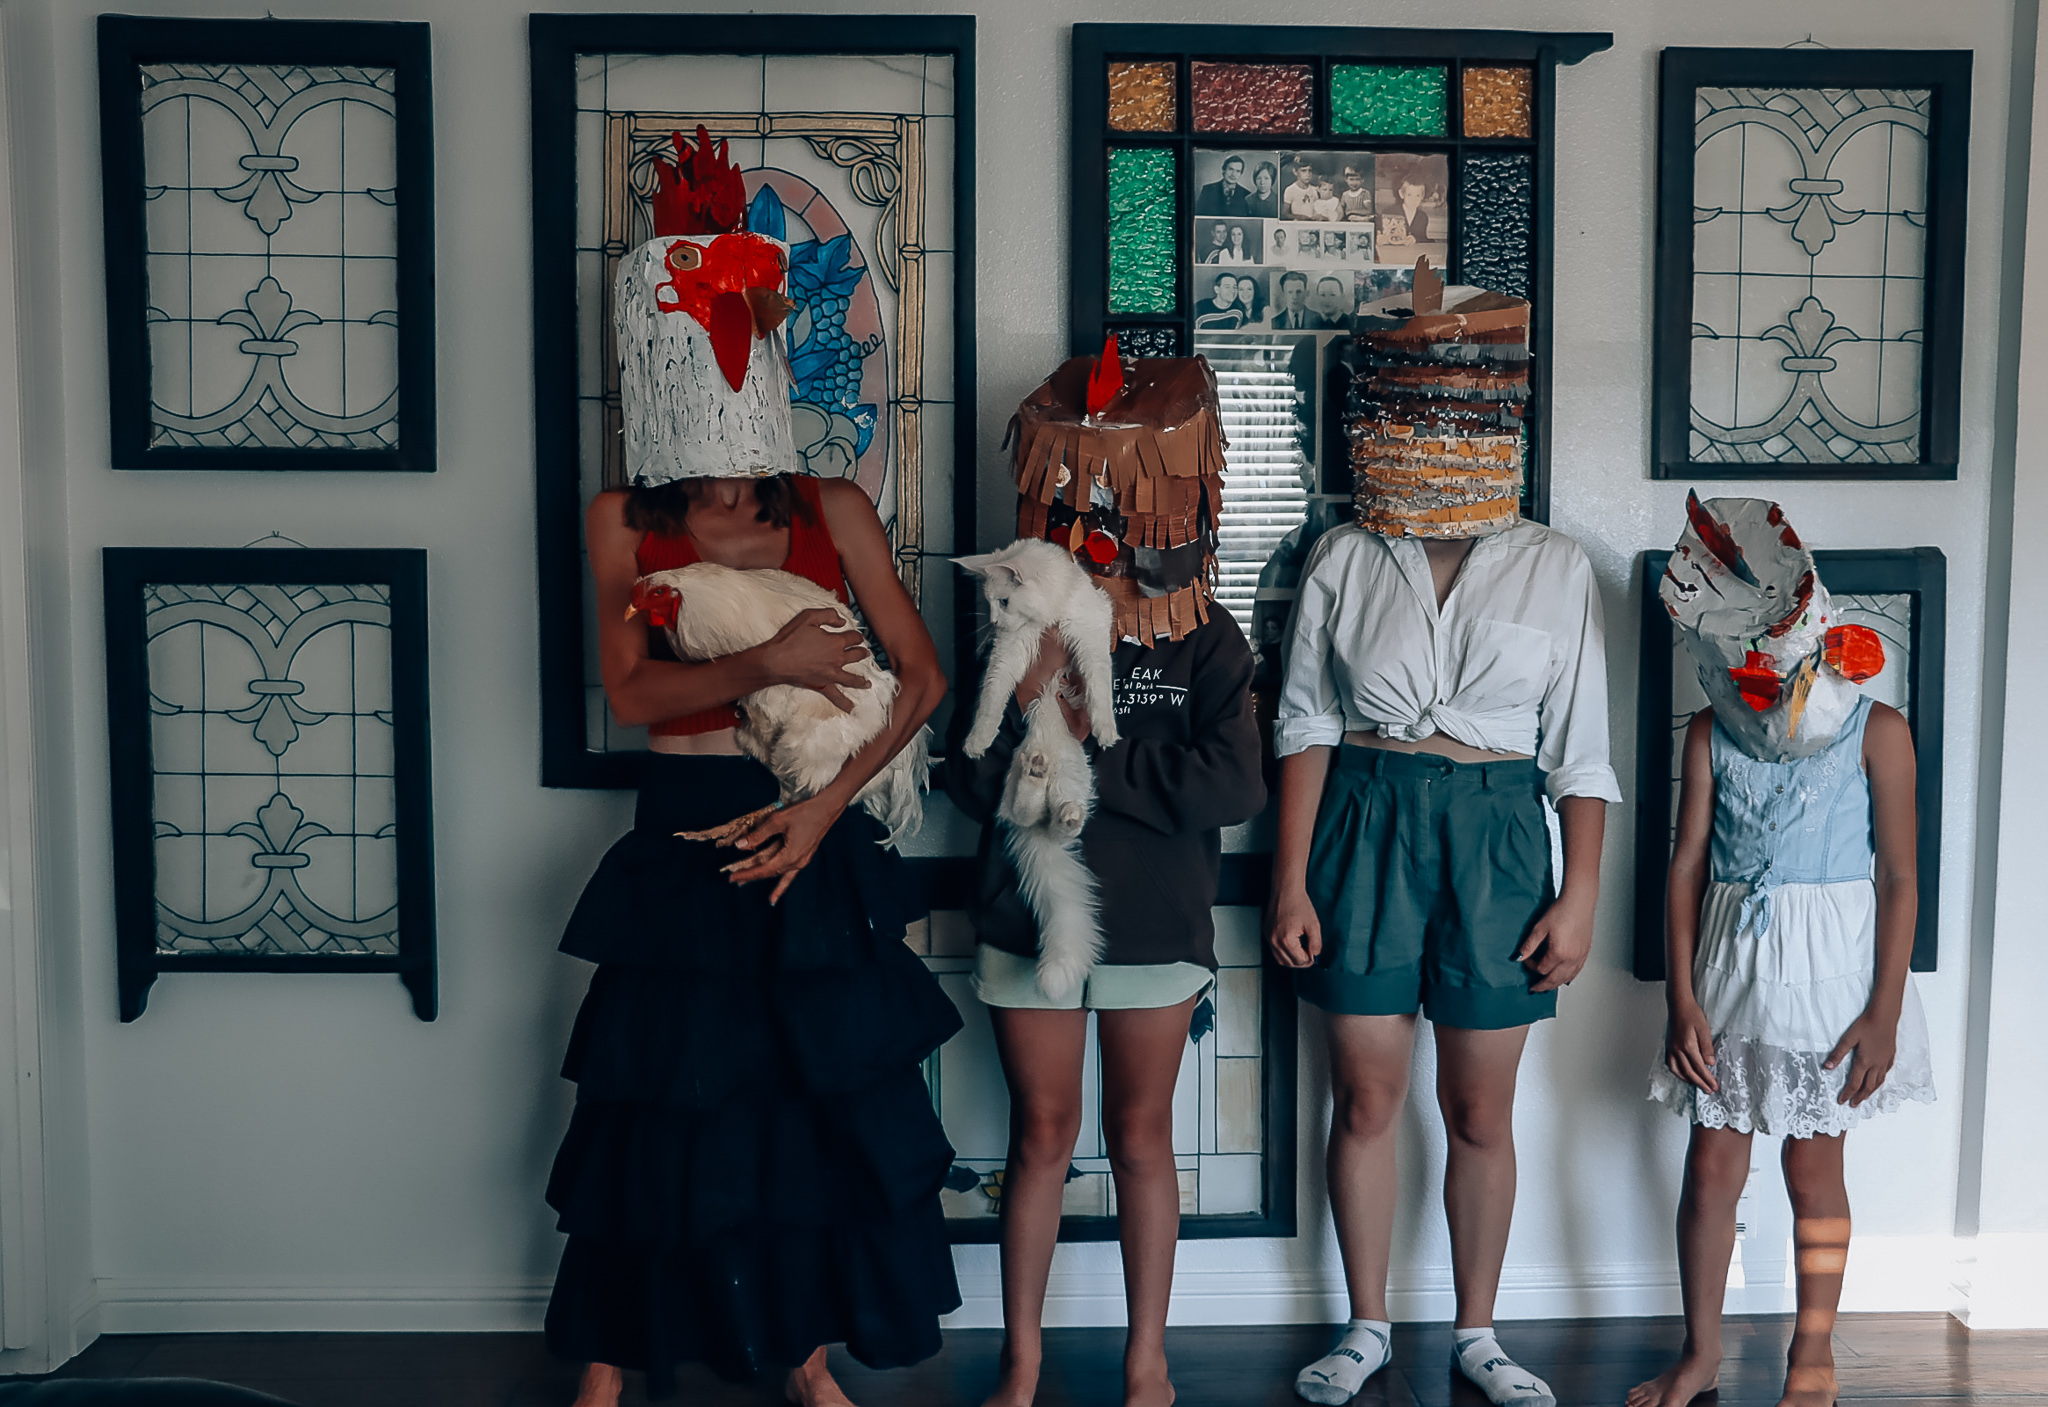
Chicken comb masks
Did you know that there are nine different types of combs in chickens? There is buttercup, carnation, cushion, pea, single, rose, strawberry, v comb, and walnut.
What you need is : chicken wire, wire cutters, masking tape, school glue, newspaper, cardboard boxes to cut out, gloves, glue gun with glue sticks, paint, and paint brush.
It only took us two days to do. We also painted only one layer but I recommend doing two layers so it should take three days to make a mask like this.
We plan to make many more of these type of paper Mache masks. We used school glue, water, and newspapers for our Mache. Lots of people use flour and water but in the past we haven’t had such success using that method so do it the way you know how to best.
Thank you for reading our blog post.
Rachael
We have been waiting for this much needed study, since we are new to the chicken life! You guys are awesome!!